
How to Tile a Kitchen Counter

Whether you’ve chosen large marble tiles or small mosaics, learning how to tile a kitchen countertop properly is essential if you want to take the task on yourself. There’s no need to feel intimidated by the project either, and with the right tools, materials, and processes, you’ll soon find yourself capable of crafting a beautiful tile countertop with ease.
Below, you’ll find a complete guide on how to tile countertops. We’ll walk you through each stage from start to finish and give you clear instructions on what you need to do the job and how to do it properly!
What Tools & Materials Do I Need to Tile a Kitchen Counter?
Before you start tiling, it’s essential that you get all of the tools and materials you need throughout the process in place. These include:
Tools You'll Need:
- Tile Cutter/Wet Saw
- Notched Trowel
- Rubber Grout Float
- Tile Spacers
- Spirit Level
- Measuring Tape
- Bucket & Mixing Drill Attachment
- Clean Sponge
- Safety Gear (Mask, Gloves, and Goggles)
Materials You'll Need:
- Tiles
- Tile Primer
- Tile Adhesive/Thin Set Mortar
- Grout
- Sealant
Step-by-Step Guide on How to Tile a Kitchen Counter
Now you’ve got everything in order and close to hand, you can start the exciting job of tiling a countertop. Be sure to follow each of the below steps closely and read through them before you start.
Step 1: Prepare the Countertop Base
The first step is all about preparation. Clean the surface of the countertop base to remove any loose dirt, grease, and residue. It’s best to do this by sweeping it down with a brush and then using a damp sponge with a bleach-free detergent that will cut through grease.
Leave everything to dry completely, and once you’re certain there is no moisture left at all, you can apply the tile primer. This is an optional step, but it’s worth doing if the base is uneven or porous, as this will help improve adhesion when you start laying your tiles.
Step 2: Measure the Area
Next, grab your measuring tape and measure the countertop to get an exact idea of the number of tiles you’ll need to cover the area and determine where you’ll start tiling from.
At this stage, you can also create layout lines or dry lay your tiles to visualise their final placement, which is especially useful if you’ve chosen tiles that will create a pattern or mural.
You’ll also be able to check that they fit properly when doing this, and where necessary, use your tile cutter or wet saw to cut them down.
Step 3: Mix the Tile Adhesive
Following the manufacturer’s instructions, mix your chosen tile adhesive or thin set mortar in a bucket using a mixing drill attachment. You’ll know it’s ready to use when it has a smooth, lump-free consistency.
It’s a good idea to wear gloves, goggles, and a face mask when doing this, as tile adhesive is typically cement-based, and this can cause irritation to your skin. Likewise, breathing in the dust cloud created by the unmixed powder may cause you to cough and choke.
Step 4: Apply the Adhesive
Take your notched trowel and spread a little adhesive onto the countertop surface, starting from the point you marked out when dry laying your tiles. Don’t be tempted to spread all of your adhesive out at once, as this risks it drying out before you’ve had a chance to lay all of your tiles.
Instead, work in small sections, applying just enough adhesive to lay 4-6 tiles at a time. Try to lay as evenly as possible as well, making grooves with the side of your notched trowel as you go.
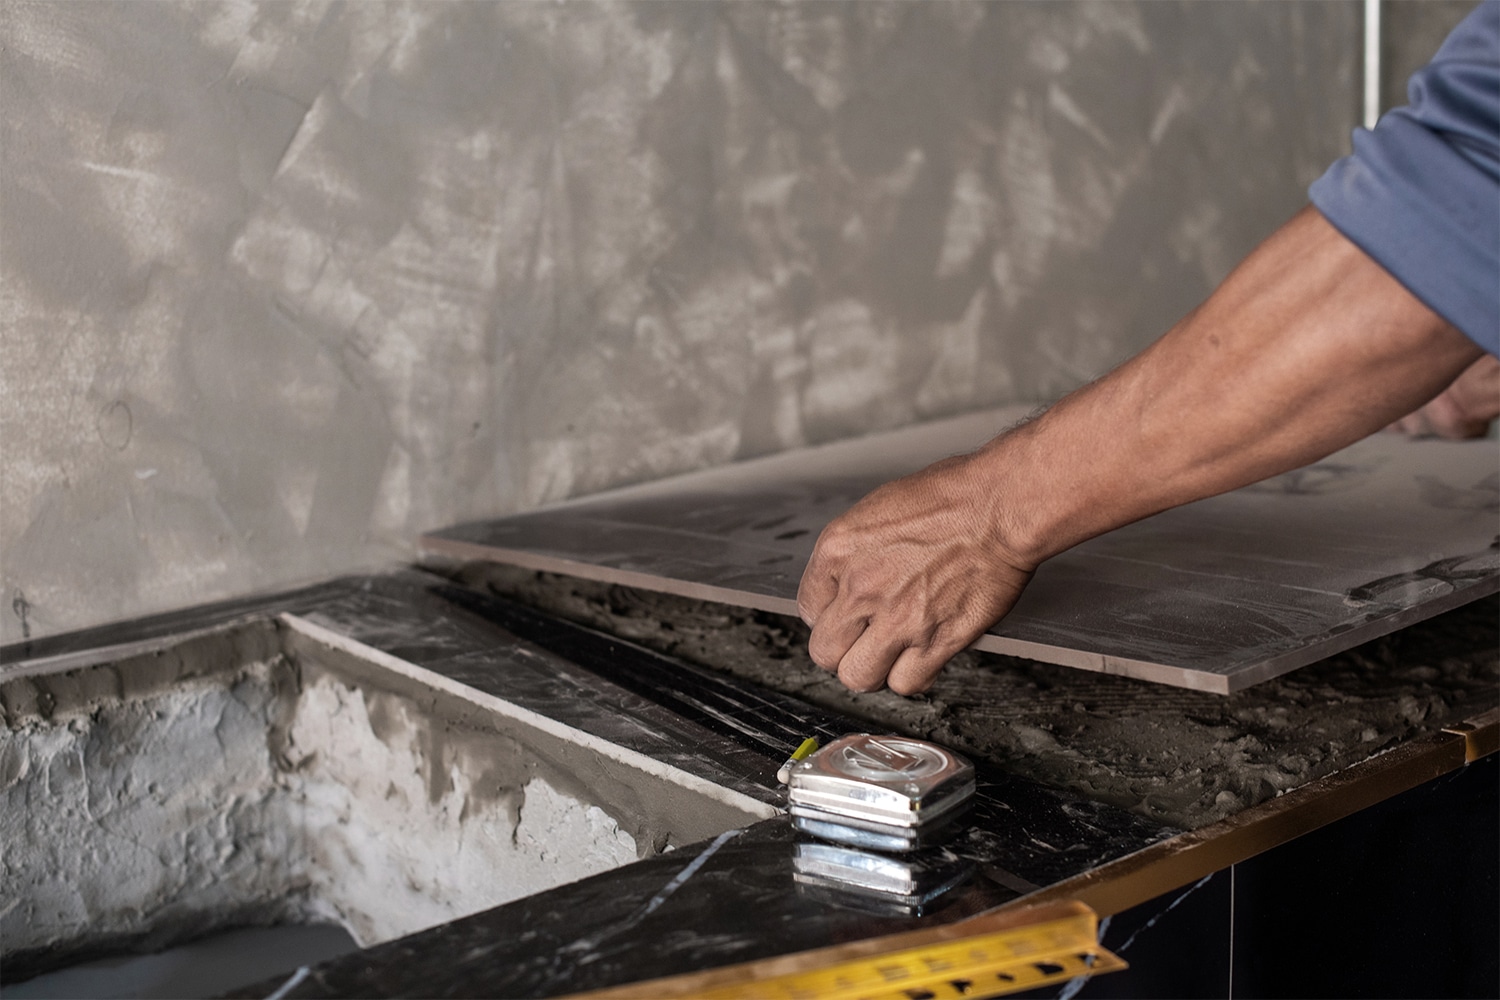
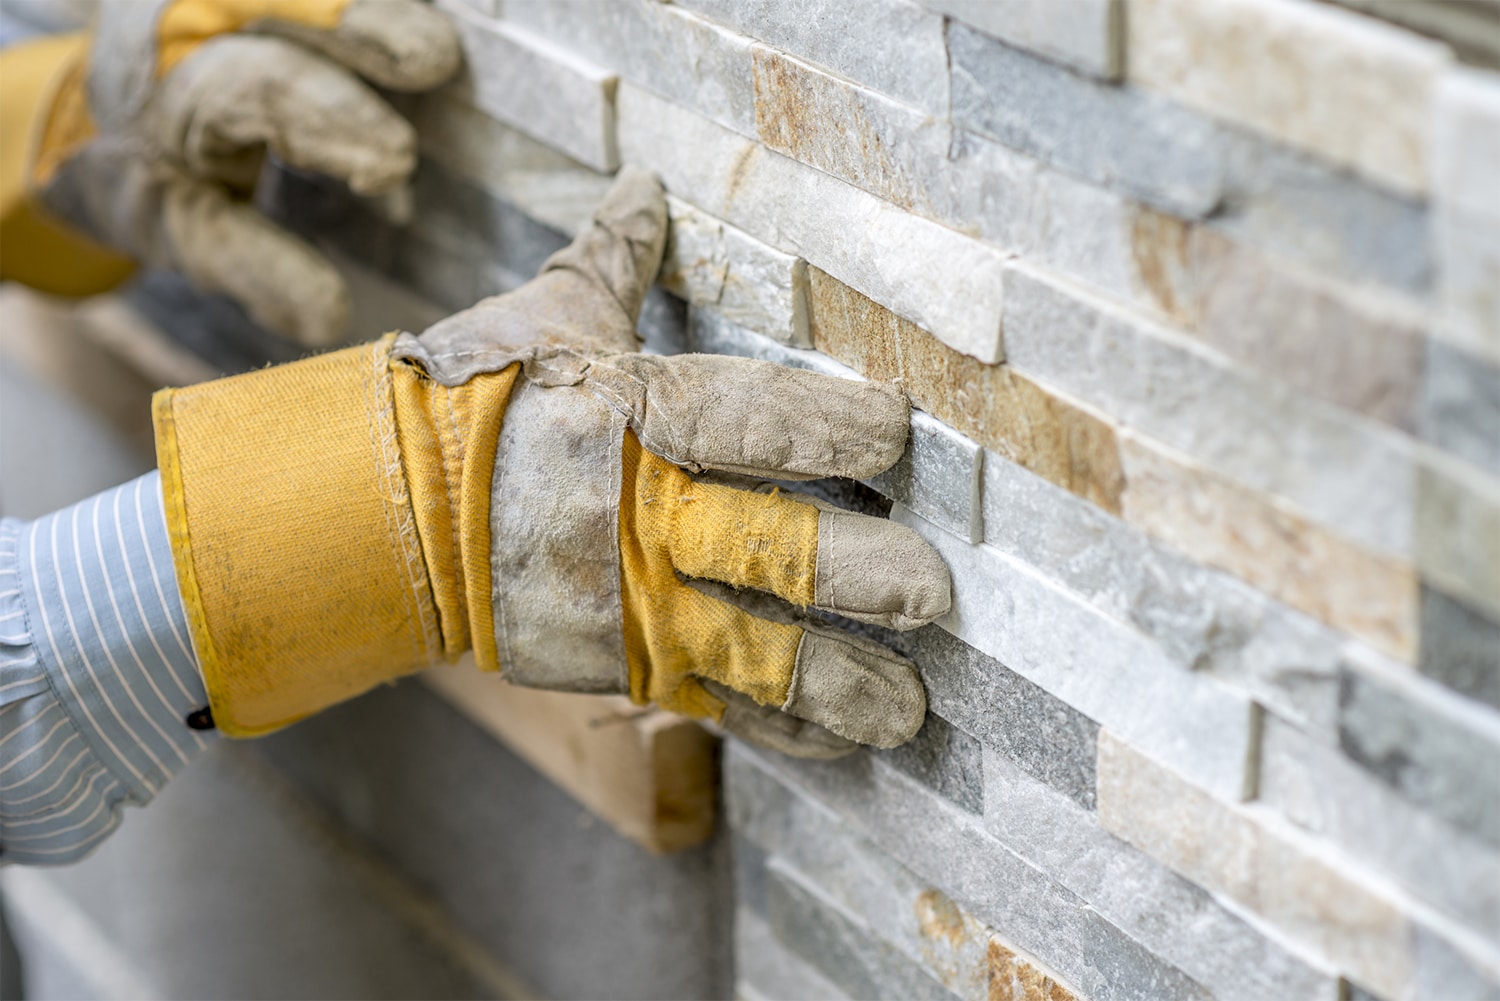
Step 5: Lay the Tiles
Steps 4 & 5 work together, and you’ll need to keep applying adhesive, laying tiles, and repeating until you’ve covered the countertop. To lay your tiles, press them into the adhesive and place a tile spacer on each side before moving on to the next.
This helps to maintain a consistent gap between each tile that will eventually lead to beautifully straight, evenly-spaced grout lines. Once you’ve laid the last tile, return to your start point and start removing your tile spacers so they don’t set into the adhesive alongside the tiles.
Make sure you use your spirit level as you lay your tiles down as well, making sure that everything is perfectly flat and even and adjusting uneven tiles as needed.
Step 6: Leave the Tiles to Set
You’ll now need to step away from your project for a while to allow your tiles to set into the adhesive. While this part of the process isn’t particularly exciting, it’s incredibly important, so fight any temptations you may have to fiddle with the tiles or move on to the next step!
The amount of time you’ll need to wait will be outlined on the adhesive packaging, but, in general, it’s usually around 24 hours.
Step 7: Apply the Grout
Step 8: Remove Excess Grout
After about 15-20 minutes, take a damp sponge and clean off any excess grout from the surface of the tiles, making sure you regularly rinse the sponge in clean water to prevent grout from spreading around. When this is done, you should be left with beautifully even grout lines and clean tiles.
Step 9: Apply Sealant
This is an optional step, but certainly worth doing if you want to protect your tiles against stains and water damage as much as possible, adding to their longevity in the process.
Wait until the grout is fully cured before applying your sealant, and follow the manufacturer’s instructions closely. As with laying your tiles, there will likely be a wait time after applying sealant, so you’ll need to exercise patience again before moving on to the final step.
Step 10: Finishing Touches
When you’re satisfied that the sealant is dry, clean your tiles thoroughly using a dry cloth to remove any remaining grout haze. It’s worth waiting another 24-48 hours after this just to make sure everything is dry and set, after which you can start using your beautiful new tiled countertop.
Are There Any Safety Considerations I Need to Know Before Tiling a Kitchen Counter?
One of the most important things you need to do to keep yourself safe when tiling a countertop is to wear personal protective equipment in the form of gloves, goggles, and a mask. This will stop loose tile shards from getting into your eyes, and sharp edges from cutting your hands, and it will prevent you from inhaling dust particles.
You should also make sure you follow the manufacturer’s instructions to the letter when mixing adhesive, grout, and sealant, as this will dramatically reduce the chances of any chemical damage.
Similarly, any electrical tools you’re using should be properly grounded and kept away from water sources at all times to prevent electric shocks. It’s also essential that you exercise due care and attention when using power tools, keeping them as far away from your body as possible and keeping the number of people surrounding you to a minimum.
FAQs
Can I tile over an existing countertop surface?
How long do I need to wait before using a newly tiled countertop?
Do I need to seal the grouting on a kitchen countertop?
Sealing the grout on a kitchen countertop is highly recommended as it will keep it protected from moisture and stains, which, in turn, will improve its durability and keep it in good condition for many years to come.
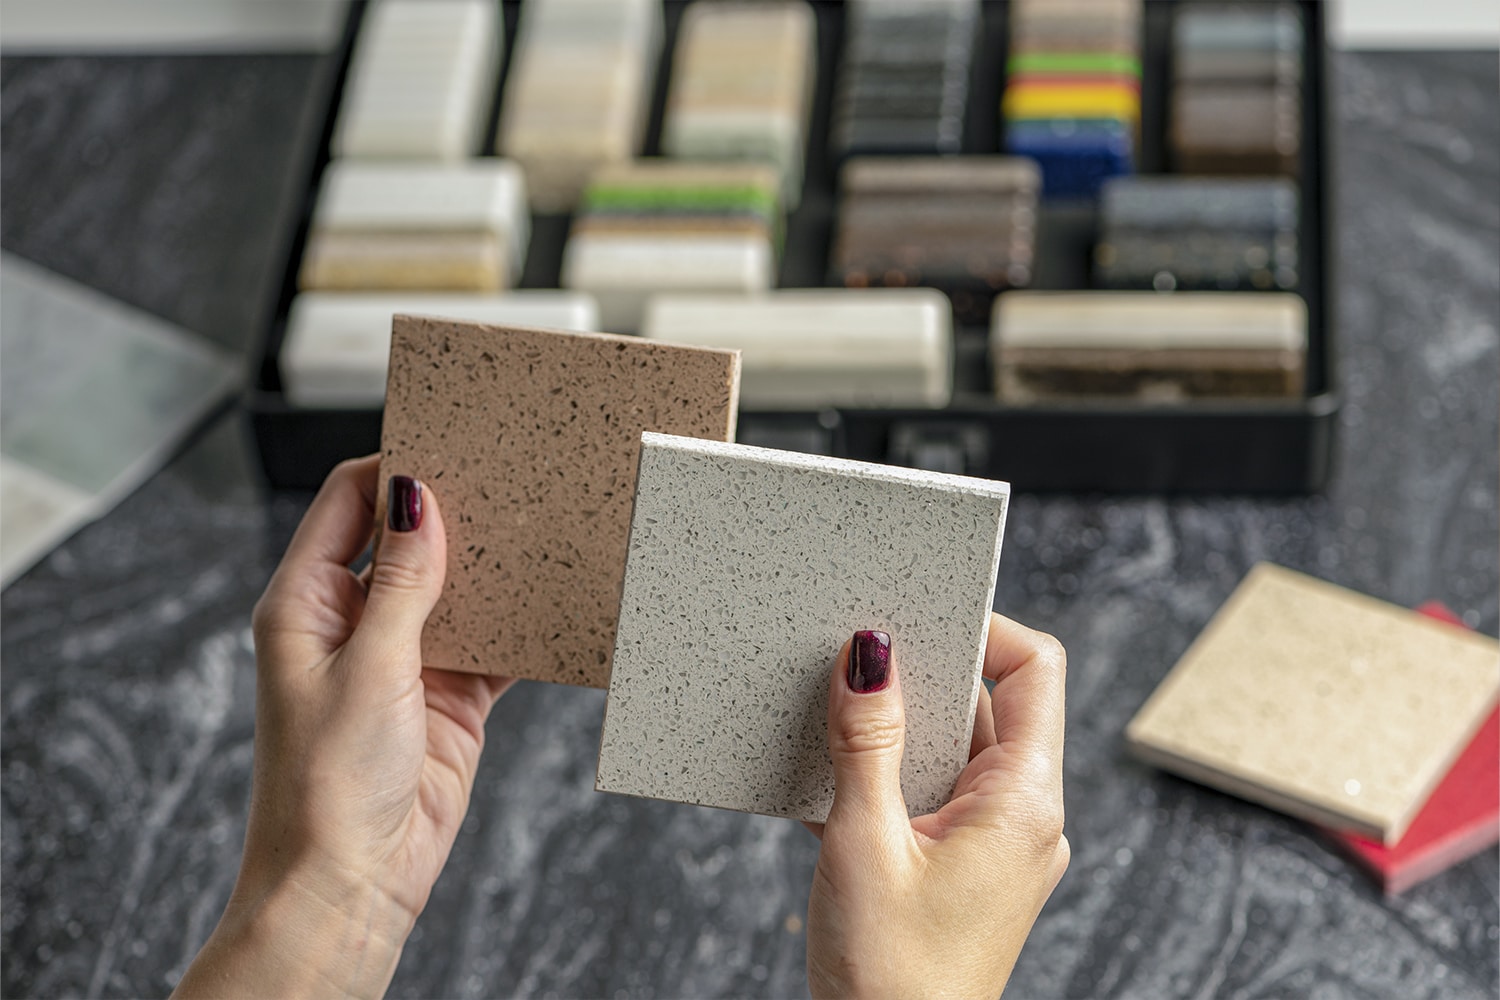
What tiles are best for a kitchen countertop?
Porcelain, ceramic, natural stone, and glass tiles are most commonly used for kitchen countertops as they are incredibly durable and have a good level of heat resistance.
What's the best way to cut corners and edges on a splashback?
This depends on the intricacy of the space you’re laying tiles onto. For cutting straight lines, a tile cutter is your best choice, while corners and more intricate cuts are best achieved using a wet saw. Tile nippers are also good and are especially useful for cutting out patterns from mosaic sheets.
How many tiles do I need for a kitchen countertop?
This will ultimately depend on the size of the countertop you’re tiling. To get an accurate number, measure the length and width of the countertop, then look at the length and width of your chosen tiles. Multiply the tiles by the area space and add an extra 10% to your calculations to allow for cuts, mistakes, and future repairs.