How to Lay Square Tiles
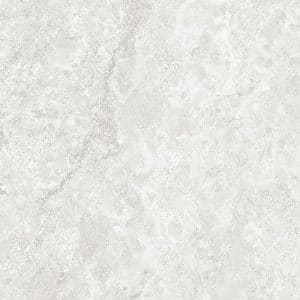
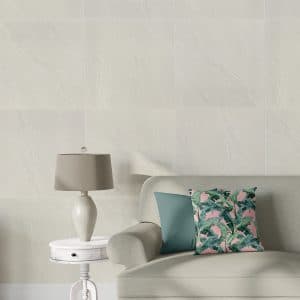
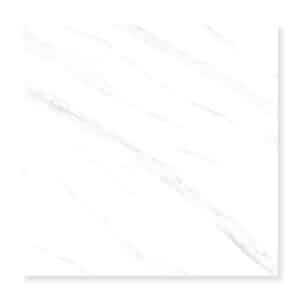
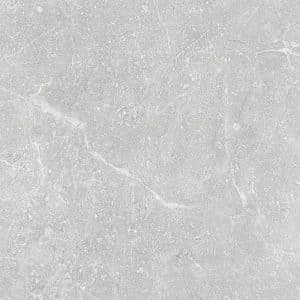
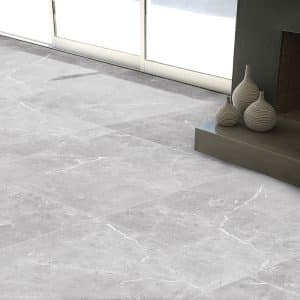
While tiles are available in a plethora of different shapes and sizes, one shape continues to reign supreme as the most popular: the square. Square tiles don’t only offer a classic look for any space, but they’re also perfect for creating uniformity and the vast range of colours and patterns they’re available in means you’ll find a square tile for any project.
But how do you lay square tiles yourself and still achieve that perfect finish? That’s what we’re going to look at today. Below, you’ll find a step-by-step guide on how to lay square tiles, along with a list of everything you need to do the job properly.
What Tools & Materials Do I Need to Lay Square Tiles?
Let’s start by looking at the tools and materials you need to lay square tiles. Here’s what you’ll need to gather together:
Tools You'll Need:
- Tile Cutter/Wet Saw
- Notched Trowel
- Grout Float
- Tile Spacers
- Spirit Level
- Measuring Tape
- Bucket
- Mixing Drill Attachment
- Clean Sponge
- Personal Protective Equipment (Goggles, Gloves, Mask)
Materials You'll Need:
- Tiles
- Tile Primer
- Tile Adhesive
- Grout
- Sealant
Step-by-Step Guide on How to Lay Square Tiles
Step 1: Preparation!
Before you do anything, you need to make sure that the surface you’re laying your tiles on is clean, dry, and free from any loose debris. Whether it’s walls, floors, or a countertop, sweep the surface down to remove any loose dirt and dust, and then wash them with a bleach-free detergent that will cut through and remove grease before allowing them to dry completely.
Once everything is clean and dry, continue preparing the base surface by applying a tile primer. This is especially important if the surface is porous or uneven, as it will help promote better adhesion when you start laying your tiles.
Step 2: Measure and Dry Lay
Next, measure the total area you’ll be tiling to get an exact idea of how many square tiles you need to fill the space. You should also determine your start point when doing this, and it’s often best to start from the centre of your area and work outwards, as this can help to minimise the amount of cutting and wastage.
It’s also a great idea to dry lay your tiles during this step and create layout lines using a pencil to map out where you’ll be placing them. This will help ensure you lay them evenly and get that perfectly square finish, and it is especially useful if you’re creating a pattern or using mosaic sheets.
This is also your opportunity to cut and shape your tiles as needed, and doing this now rather than when you’re laying them will stop applied adhesive from drying out too quickly.
Step 3: Mix the Tile Adhesive
Now you’ve measured and know the placement of your tiles, you can start mixing your adhesive. Follow the manufacturer’s instructions when doing this, and use a bucket and mixing drill attachment, aiming for a smooth consistency.
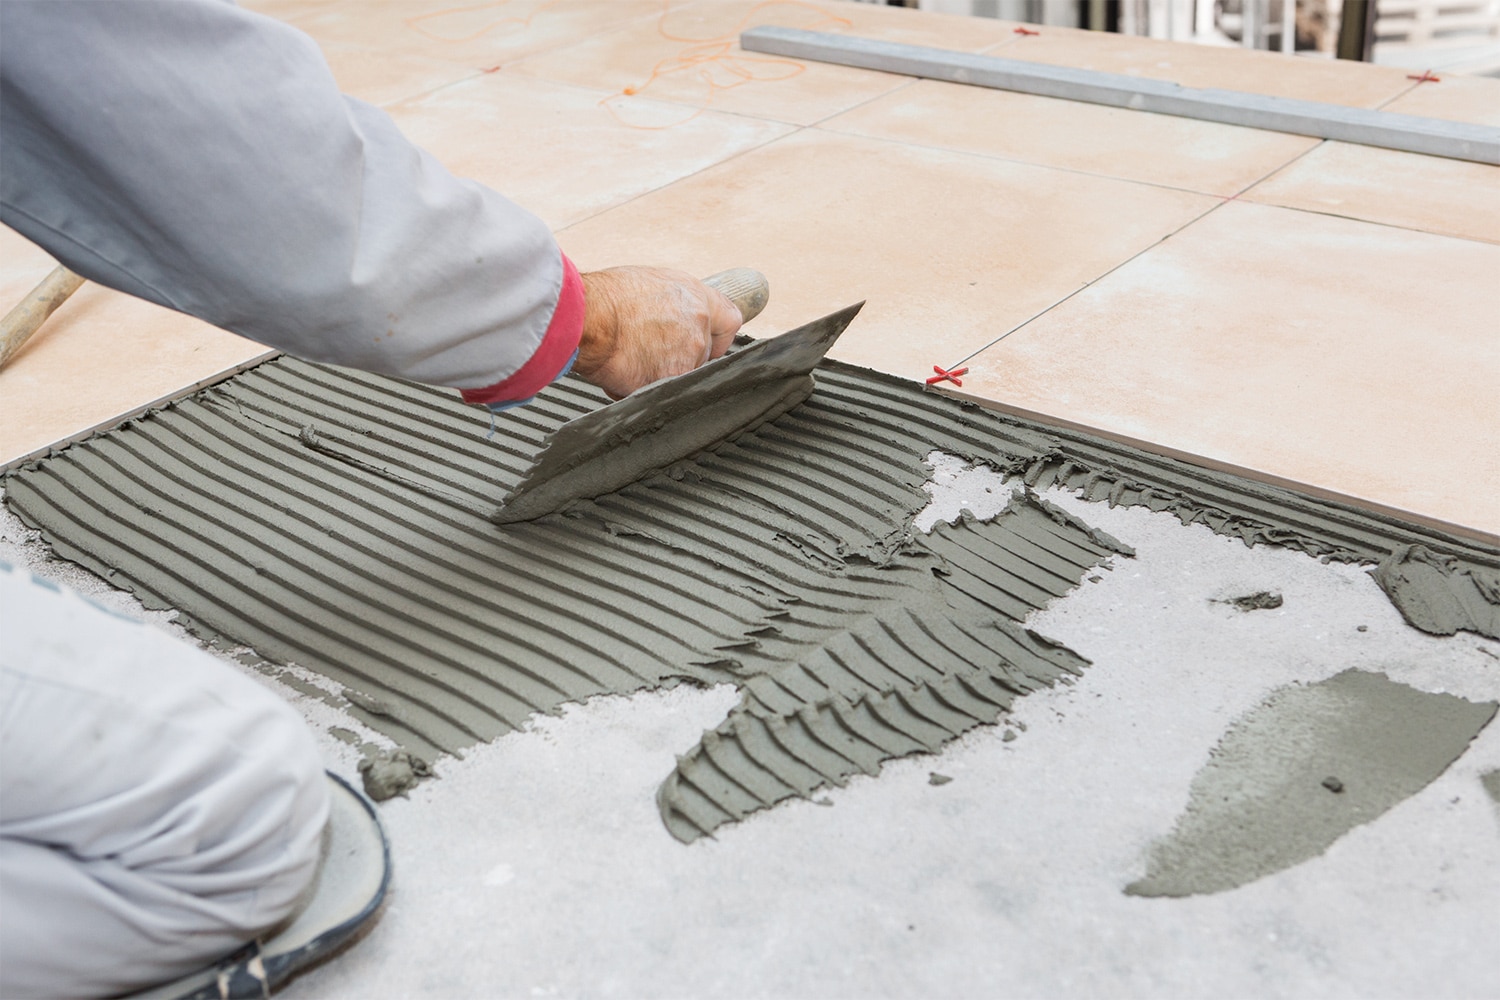
Step 4: Apply the Tile Adhesive
The next step is to start applying your tile adhesive to the primed work surface. Work in small sections when doing this, laying tiles as you go (which we’ll discuss more in the next step) and using your notched trowel to spread the adhesive evenly onto the surface.
Work from your predetermined starting point when doing this as well, laying just enough adhesive to lay 4-6 tiles at a time before repeating the process.
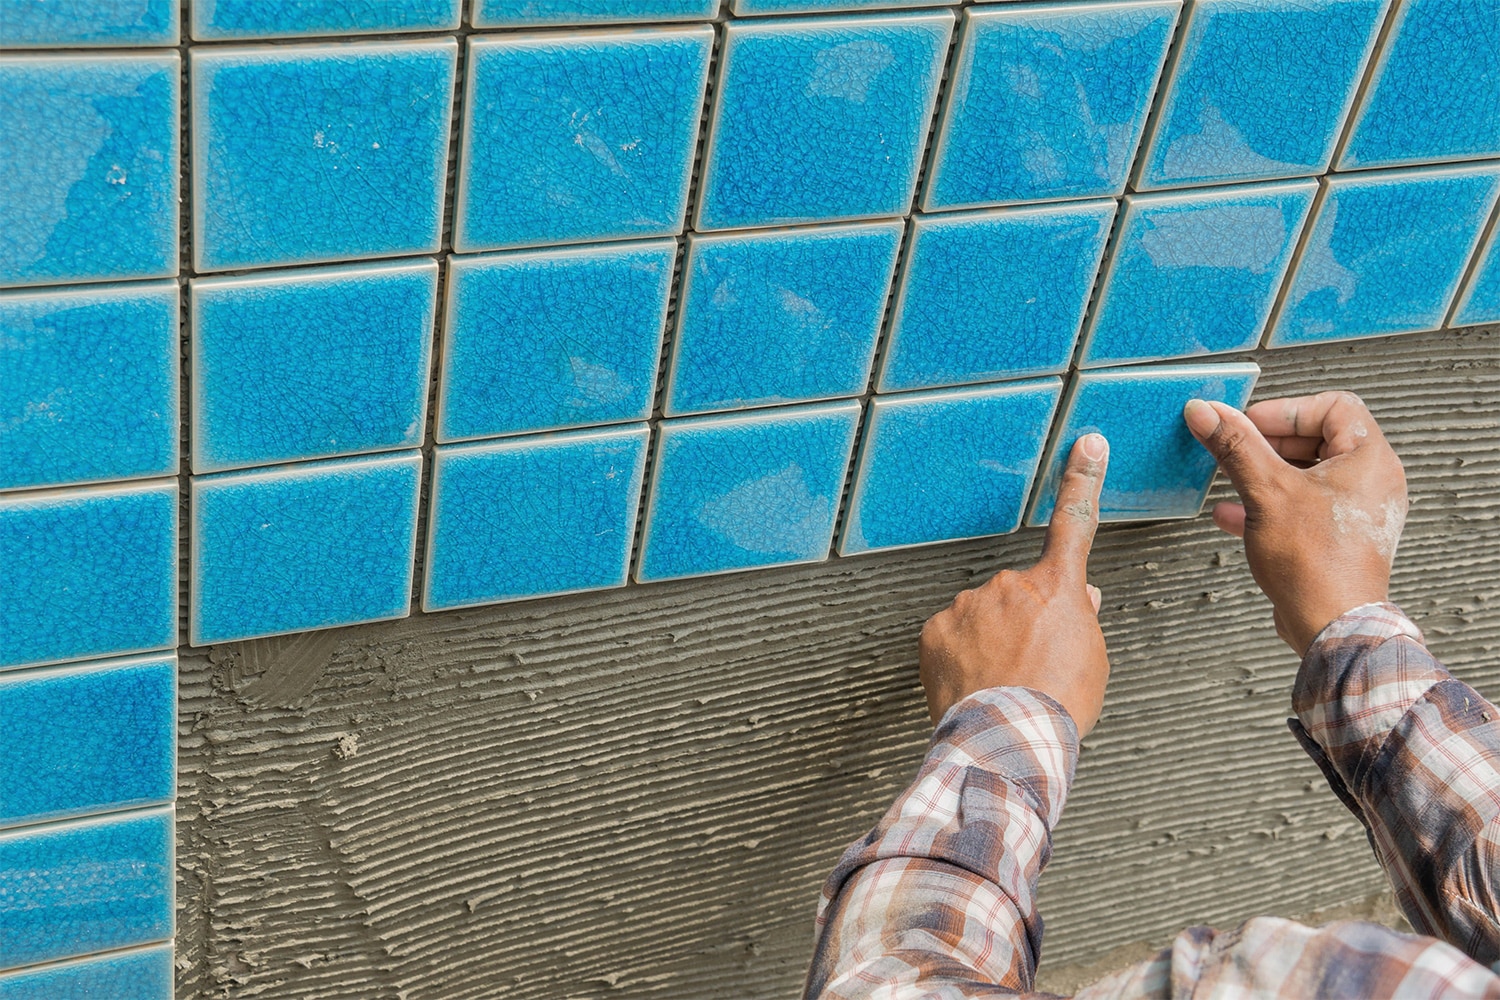
Step 5: Lay the Tiles
Working in unison with step four, lay the tiles as soon as you’ve applied the adhesive. Press each square tile firmly into the adhesive and place a tile spacer on each edge before moving on to the next.
It’s also very important that you use a spirit level after laying each tile to ensure that the surface is straight and even and the tiles are positioned properly. You should also return to the start point once you’ve laid all of your tiles and start removing your tile spacers to prevent them from setting into the adhesive.
Step 6: Setting
This is potentially the most boring part of the process but also one of the most important. Once all of your tiles have been laid, you’ll need to wait until they are fully set before moving on to the next steps. The setting time will vary between manufacturers but tends to be around 24 hours.
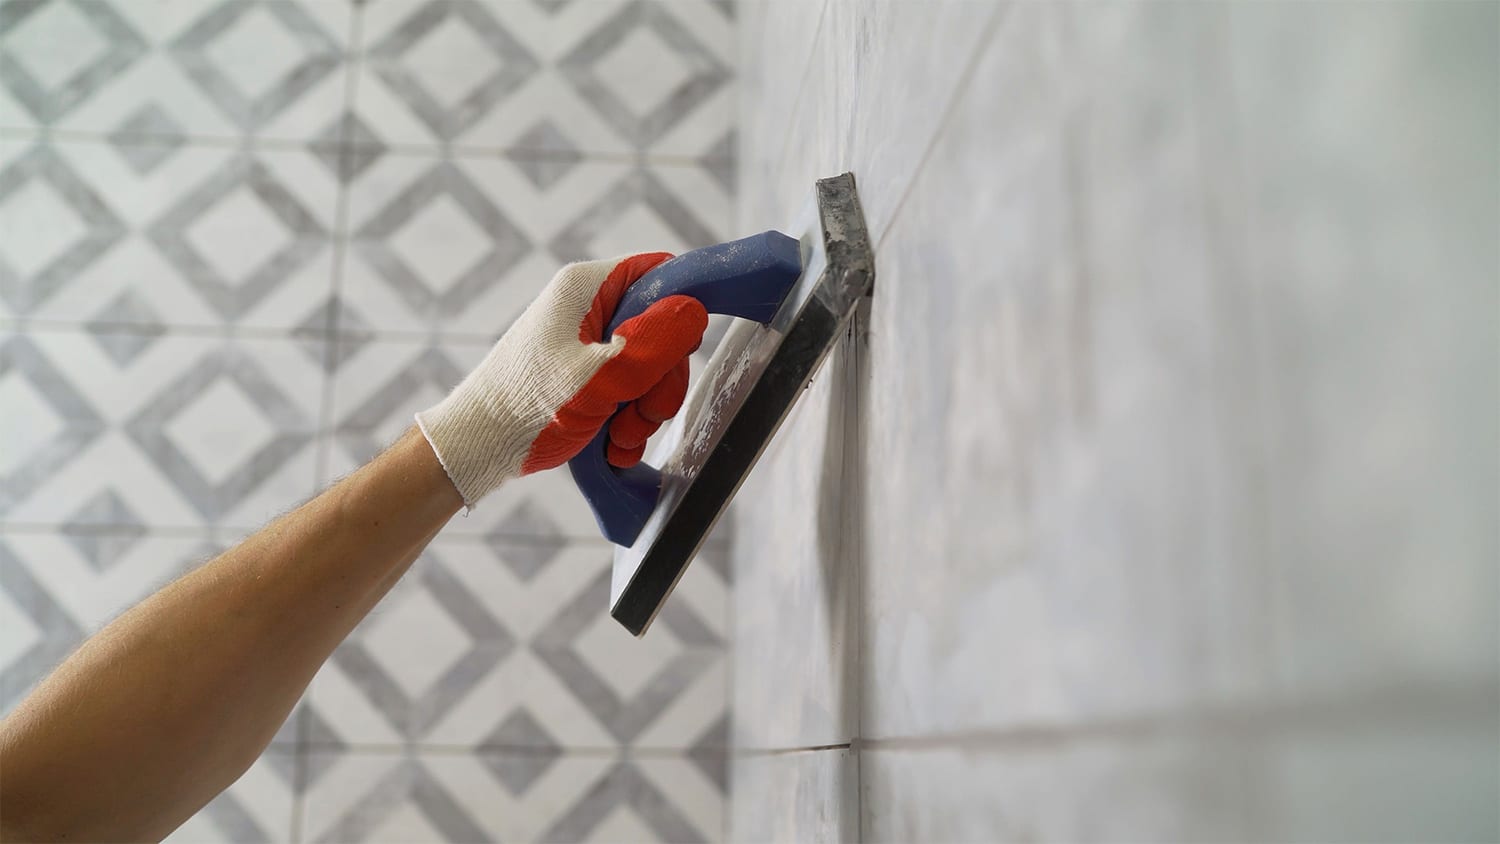
Step 7: Apply the Grout
When enough time has passed, and the tiles are fully set, you can start applying the grout. Mix this according to the manufacturer’s instructions and use a rubber grout float to apply it diagonally across the surface of your tiles, pressing it into the gaps and joints to achieve those perfect grout lines.
Step 8: Clean Excess Grout
There will be a good amount of excess grout on the surface of your tiles after you’ve applied it, and to stop this from setting, you’ll need to grab a clean, damp sponge and wipe it away. Be sure to regularly rinse out the sponge as you work to stop excess grout from being moved around rather than cleaned.
Timing-wise, it is best to do this about 15-20 minutes after you’ve finished grouting, as this will allow enough time for the grout lines to start setting.
Step 9: Apply Sealant
Once you’ve cleaned off the excess grout and have left enough time for the grout to fully cure (check the manufacturer’s instructions for this), you can apply a sealant. This is entirely optional, but we highly recommend doing this if you’re tiling an area that is prone to staining or splashes, as it will protect against both and add to the durability of your tiles.
As with the adhesive and grout, there will be a certain amount of time you’ll need to wait after applying your sealant, but your patience will pay off!
Step 10: Cleaning
Before you can start enjoying your newly tiled space, you’ll need to clean the surface with a dry cloth to remove any remaining grout haze. You’ll also need to wait around another 24 hours before you can use the surface, and this is especially important if you’ve chosen tiles as a flooring material or created a countertop, as heavy use can cause them to shift if the adhesive or grouting isn’t fully dried yet.
That’s all there is to it. As you can see, laying square tiles doesn’t have to be scary, and with the right materials and proper care and attention, you can save yourself quite a lot of money by taking it on as a DIY project.
Are There Any Safety Considerations I Need to Know Before Laying Square Tiles?
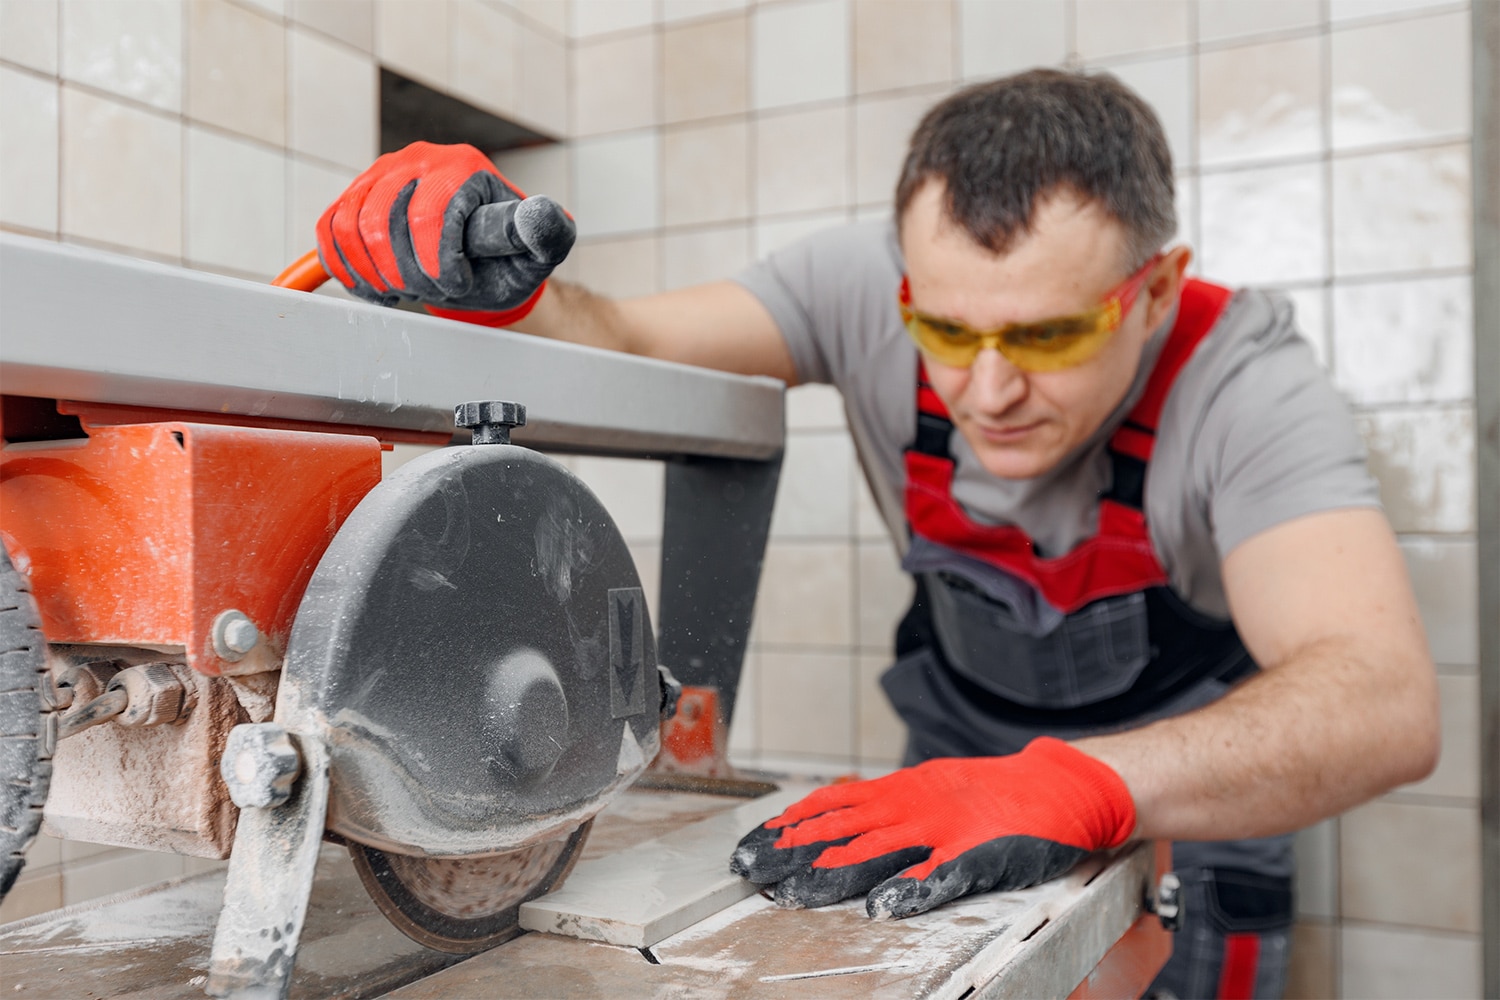
As with any home improvement project, there are certain safety elements you need to have in place before you start laying square tiles. The most important is personal protective equipment, namely in the forms of gloves, masks, and goggles, as wearing these will prevent you from inhaling dust and chemicals, as well as keep your hands and eyes protected from loose tile shards created when you cut tiles to size.
You also need to make sure that the surface you’re tiling is structurally sound and stable enough to work on. Remember, adding tiles to anything adds extra weight, and if the surface isn’t strong enough, everything could come crashing down around you.
Make sure that any power tools you’re using are also grounded and kept away from water sources while you work.
FAQs
Can square tiles be laid in different patterns?
Absolutely! Square tiles are one of your best options for creating different patterns, whether you’re looking to create a grid pattern, herringbone pattern, or diagonal layout.
What size tile spacer should I use when laying square tiles?
This ultimately depends on the desired size of your grout lines. Tile spacers range from 1/16th-inch to 1/4-inch, and each is suitable for a square tile; you’ll just need to think about the overall look you are trying to achieve. It’s also worth remembering that thicker grout lines will show dirt and stains more easily.
What type of grout should I use for square tiles?
You’ll have quite a few options of grout mix, and the most suitable for your project will depend on the material and size of your tiles as well as the grout lines you want to create. For example, sanded grout is generally used for larger grout lines, while unsanded grout is better suited for smaller, more delicate lines and tiles.