How to Tile a Splashback
Tile splashbacks are a great choice for both kitchens and bathrooms, especially in areas such as sinks where splashes and stains are inevitable. But how easy is it to tile a splashback by yourself? In this step-by-step guide, you’ll find everything you need to know on how to tile a bathroom or kitchen splashback, along with a list of all the tools and materials needed to do the job properly.
What Tools & Materials Do I Need to Tile a Splashback?
Tools You'll Need:
- Tile Cutter or Wet Saw
- Notched Trowel
- Grout Float
- Tile Spacers
- Spirit Level
- Measuring Tape
- Tile Nippers
- Bucket and Mixing Drill Attachment
- Clean Sponge
- Safety Gear (including Gloves, Goggles, and Masks)
Step-by-Step Guide on How to Tile a Kitchen Splashback
Now that you’ve got everything in place and you’ve made sure you have enough tiles, tile adhesive, and grout to complete the job, you can begin laying your tiles. Each of the steps below will take you through a clear way of doing this, but to ensure you get the best possible installation, make sure you follow each of them closely.
Step 1: Prepare the Surface
Start by cleaning the wall you’re going to be laying your tiles on to remove any grease, dirt, dust, or residue, and then allow it to dry completely. You can then apply a tile primer, and this is an especially good idea if the surface of the walls is uneven or porous.
Step 2: Plan and Measure
Next, measure out the area of the splashback and determine your starting point. As a general rule, it’s best to start in the centre of the space and work out towards the edges, and you also use this opportunity to dry lay the tiles on the wall to visualise the layout and ensure everything fits properly before you commit to laying.
You should definitely do this if you’ve chosen a mosaic tile that will create an overall picture or pattern, as not checking your placement beforehand could result in your tiles being laid off-centre.
At this stage, you’ll also have the opportunity to cut tiles using a wet saw or tile nippers to fit the space, which is much easier than trying to rush to do it as the adhesive starts to dry!
Step 3: Mix the Adhesive
Put on your safety gloves and mask, and mix the tile adhesive according to the manufacturer’s instructions. The best way of doing this is by using a bucket and mixing drill attachment, and you’ll be aiming for a smooth consistency without any lumps.
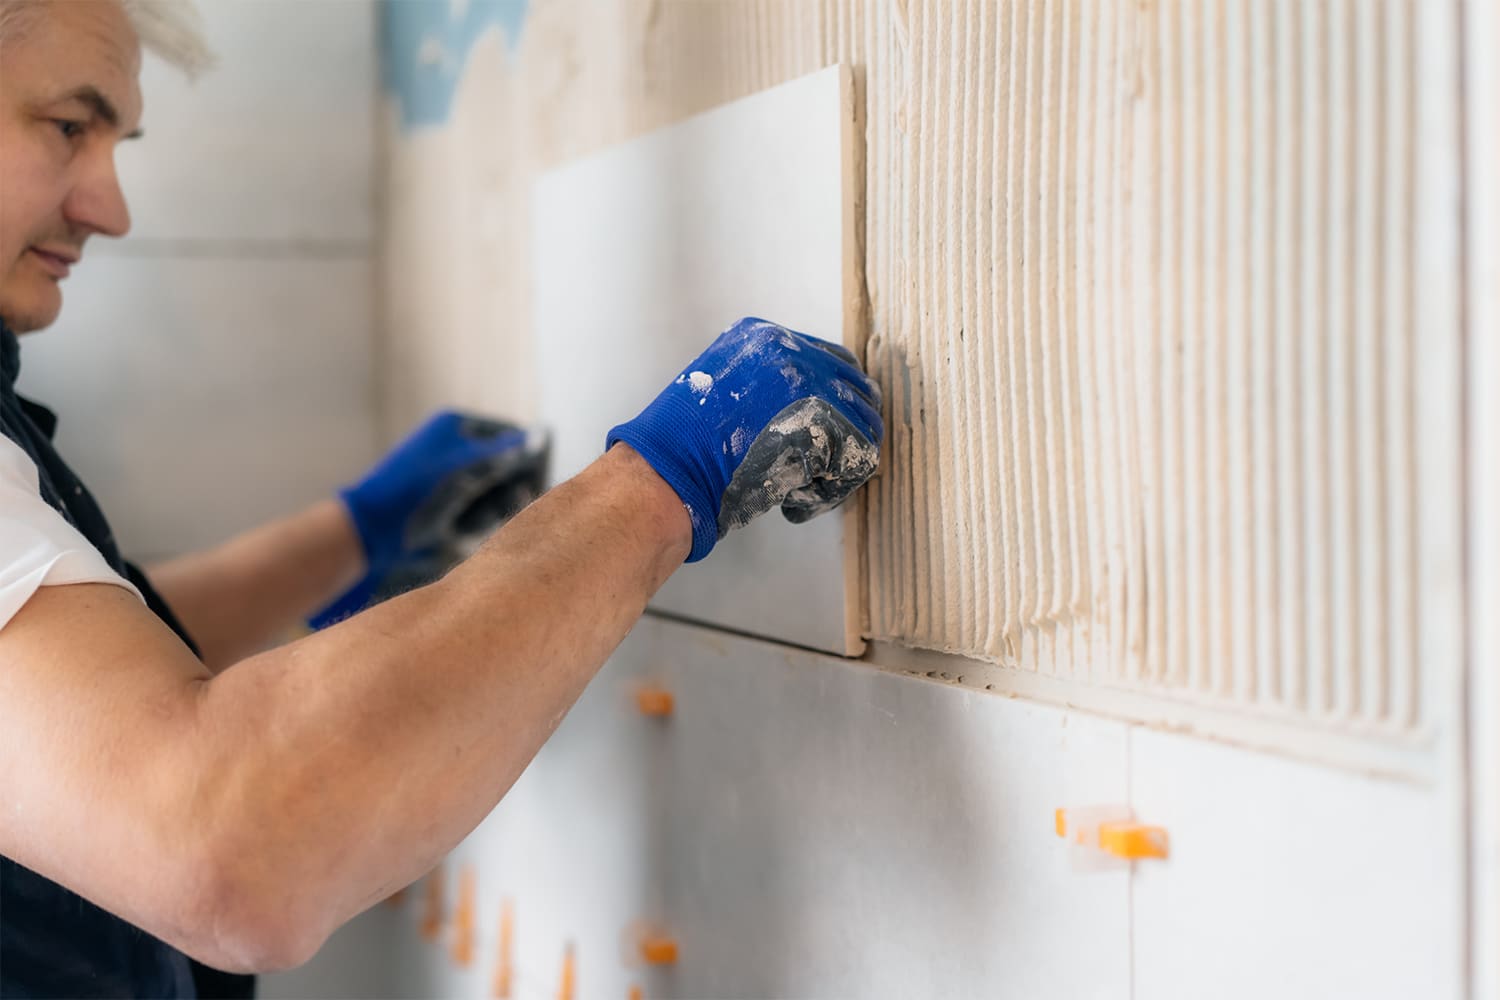
Step 4: Apply the Adhesive
Once the adhesive is mixed to the right consistency, grab your notched trowel and begin applying it to the wall. It’s best to work in small areas when doing this, starting from your predetermined starting point and laying tiles as you go, usually between 4-6 after each adhesive application.
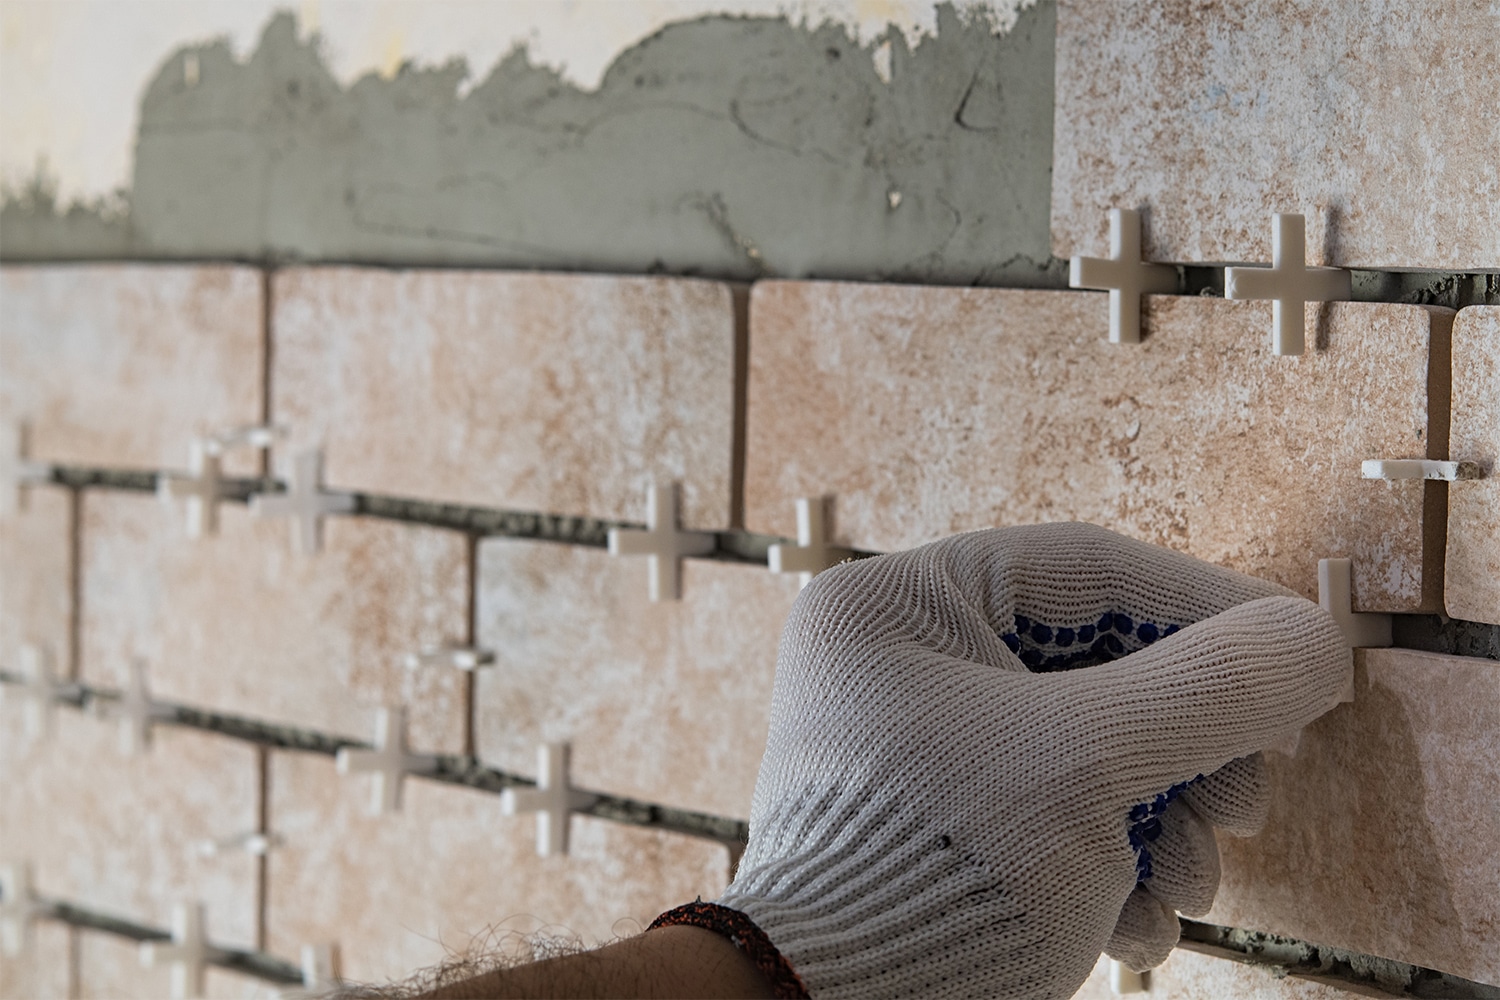
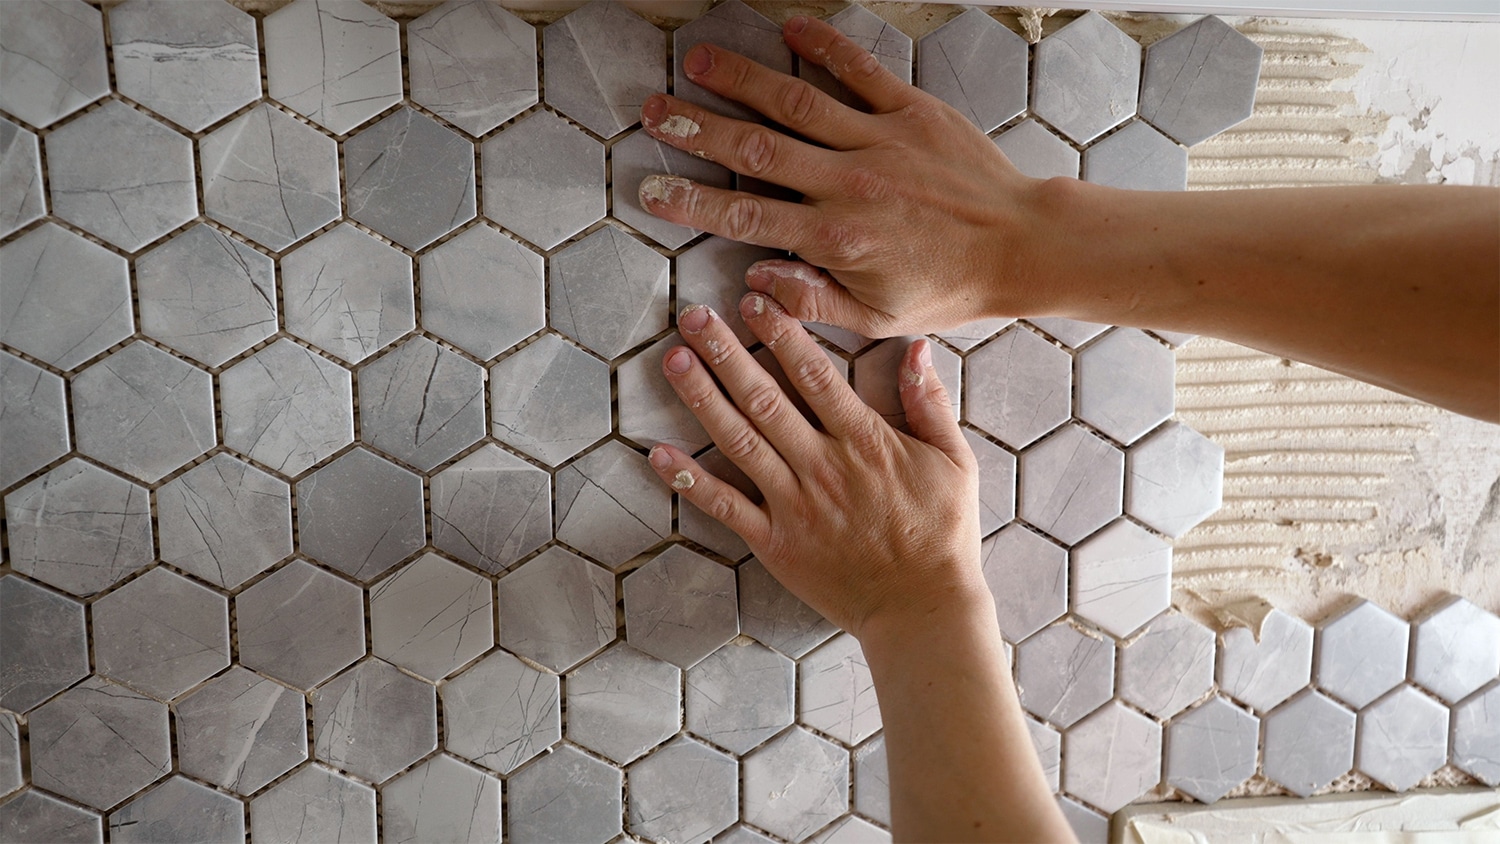
Step 5: Lay the Tiles
As you lay each tile into the adhesive, press them firmly into place and then lay tile spacers on each side. This will help you create a consistent space between each individual tile and, ultimately, make it easier to achieve the neat grout lines you want.
Continue laying all of the tiles until you’ve covered the designated space, making sure you also continue to use the spacers throughout the process. Also, make sure you use a spirit level as you lay to keep the entire surface straight and aligned.
Step 6: Allow the Tiles to Set
You’ll have to exercise a bit of patience here, as it can take a few hours for the tiles to set firmly against the wall. Make sure you follow the recommended setting time outlined by the tile adhesive manufacturer, and most importantly, don’t be tempted to move or fiddle with any of the tiles in the meantime unless absolutely necessary!
Step 7: Apply the Grout
Once the tiles are fully set, mix the grout until it reaches a smooth consistency and start applying it to your tiles using your grout float. It’s best to work diagonally when doing this, moving in the same direction and pressing the grout mix into all of the gaps using firm but gentle pressure.
Step 8: Clean Excess Grout
After applying the grout, wait according to the manufacturer’s instructions (usually around 15-20 minutes) and then use a clean, damp sponge to wipe off the excess grout mix from the tile surfaces. You’ll need to keep rinsing the sponge as you do this to ensure you’re not spreading grout across the tiles.
Step 9: Apply Sealant
While this is an optional step, sealing your tiles after installation is highly recommended, as it will protect the grouting from stains and water damage. It also keeps them looking good and ensures you get a durable performance for many years.
Step 10: Finishing Touches
Finish by cleaning the tiles with a damp cloth to remove any leftover grout haze using a circular motion, and allow them to dry completely. That’s it – you’re done. You now have a beautiful splashback that you installed all by yourself!
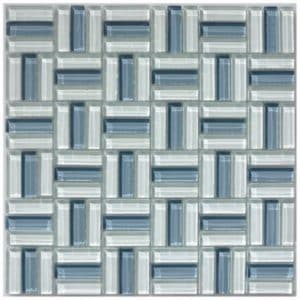
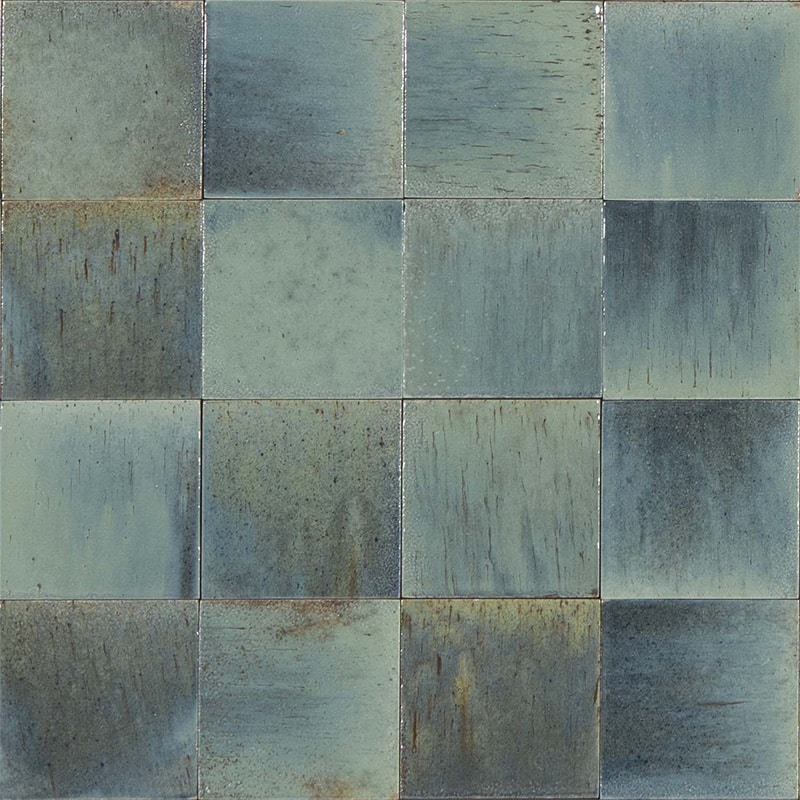
Bamboo Smoke Mosaic Poolsafe tiles 285×295 sheet
$13.95 / sheet
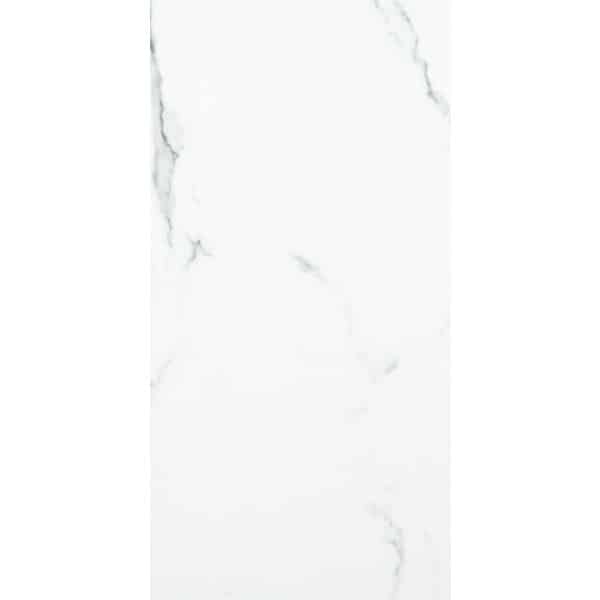
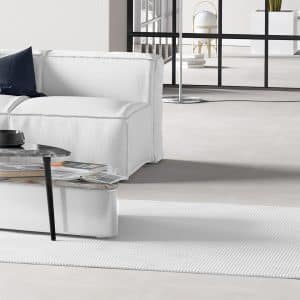
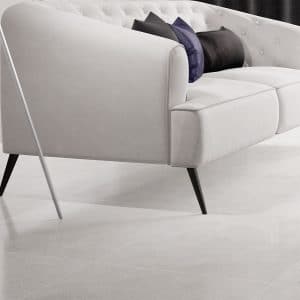
Carrara X Matte Internal tiles 600×1200
$51.95 / square metre

White Gloss Subway Pressed Edge Wall tiles 100×300
$24.95 / square metre

White Gloss Pressed Edge Wall tiles 250×400
$34.95 $18.00 / square metre
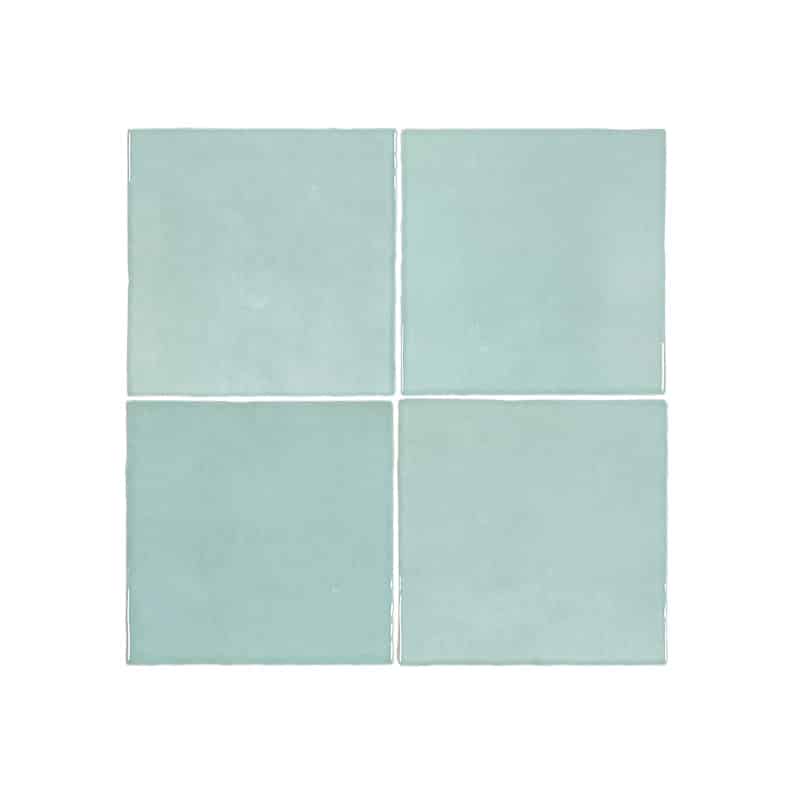
Casablanca Mint Gloss Internal Wall tiles 120×120
$45.95 / square metre
Gleeze Turchese Blue Gloss Internal Wall tiles 100×100
$155.95 / square metre
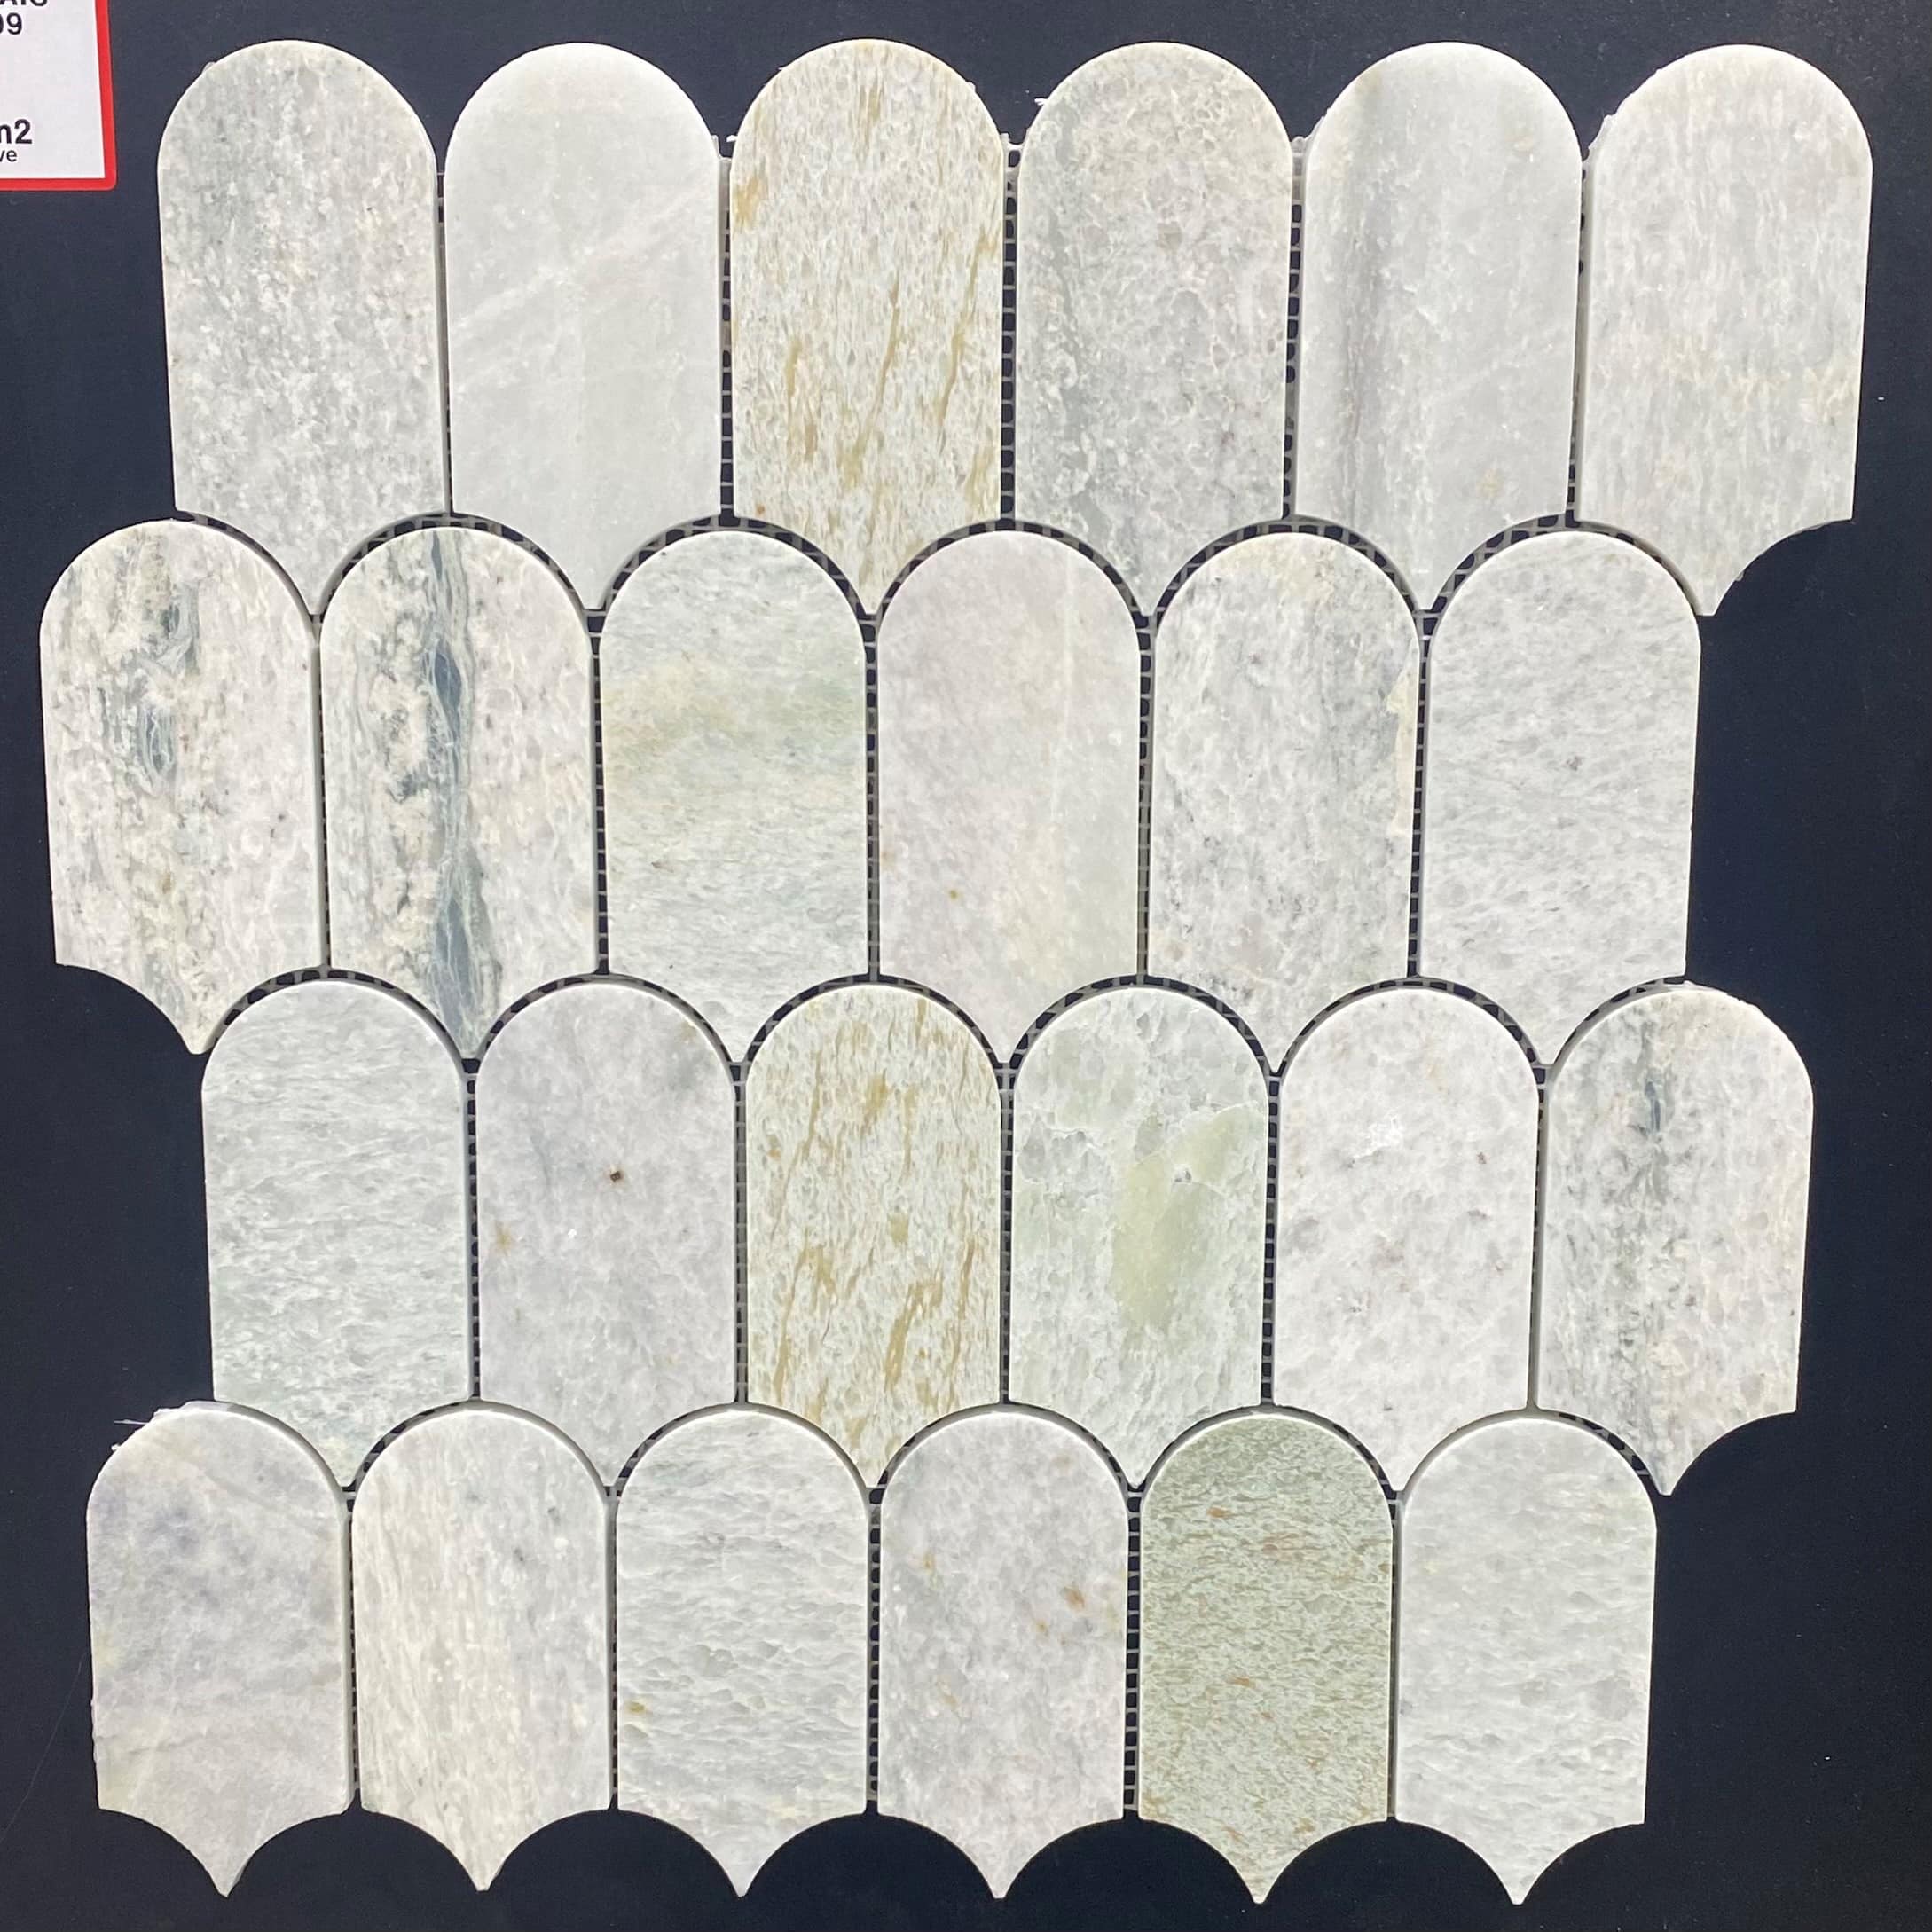
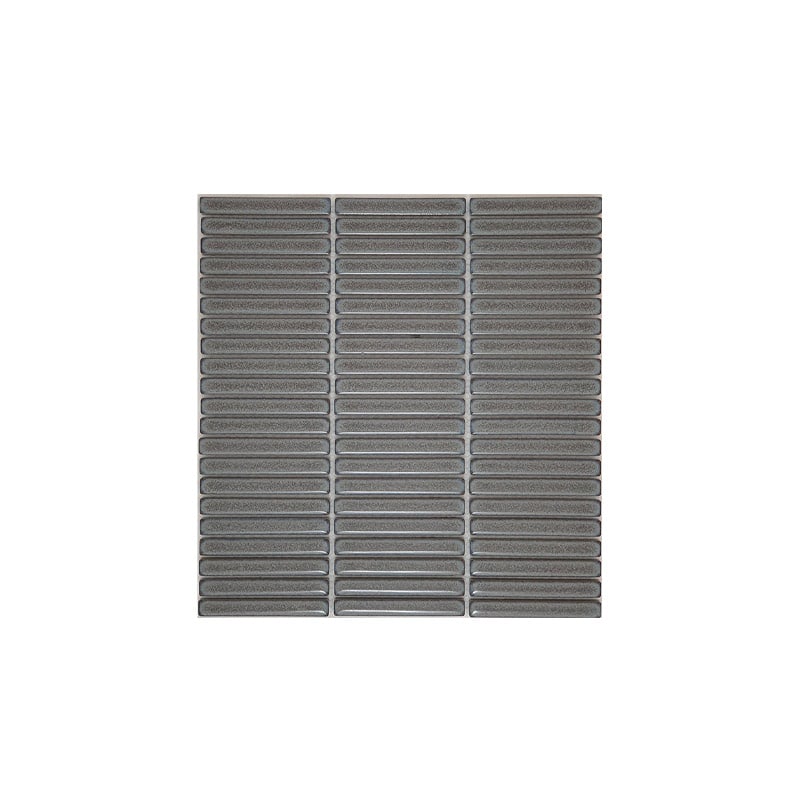
Ming Green Arch/Long Fish Scale Carrara Mosaic 315×345
$249.00 $199.00 / m2
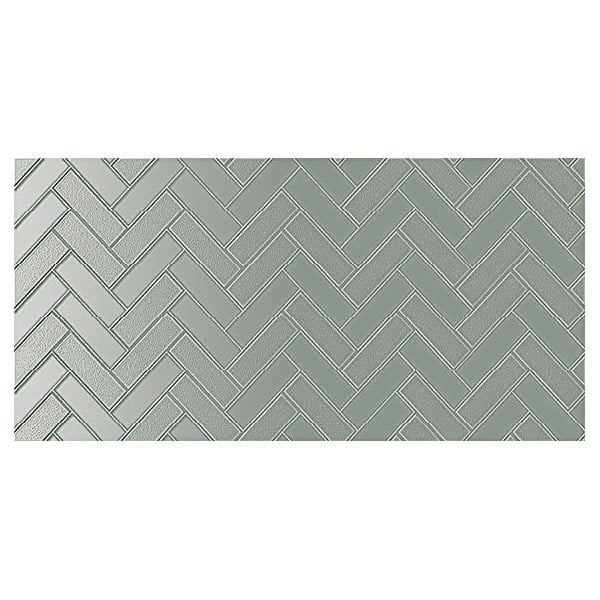
Infinity Mason Sage Wall tiles 300×600
$185.95 / square metre
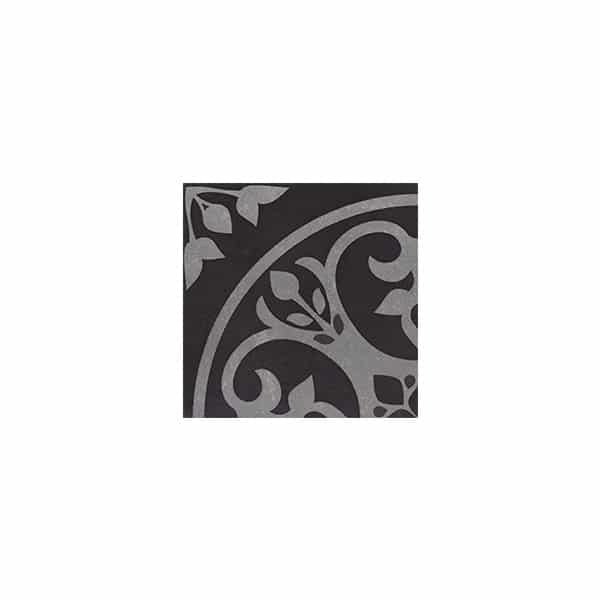
Artisan Oslo Black Dark Matte tiles 200×200
$229.95 / square metre
Are There Any Safety Considerations I Need to Know Before Tiling a Splashback?
One of the most important things you can do to keep yourself safe when tiling a splashback is to wear personal protective equipment, including goggles, gloves, and a mask. These will protect your hands and eyes from loose tile fragments and sharp edges and stop you from breathing in dust and toxic chemicals while you work.
You should also ensure that you’ve carried out the correct electrical safety measures before you start laying. Power tools, such as mixing drills, electric tile cutters, or wet saws, need to be properly grounded and kept away from any water sources at all times.
It’s also important that you make sure the walls you’re laying tiles on are stable and structurally sound before you start working. Remember, adding tiles means adding extra weight to a wall, so any damaged areas or weak spots will need to be repaired before tiling can begin.
FAQs
Can I tile a splashback over a painted wall?
It is possible to tile a splashback over a painted wall, but you must make sure the wall is properly cleaned and dry before you start. It should also not be peeling or have any paint chipping away, and it’s best to prepare the wall using a primer for better adhesion.
How long should I wait before using a kitchen splashback after tiling?
It’s usually best to wait around 24 hours before using a kitchen splashback after tiling, although all grout and adhesive manufacturers have their own time recommendations, so it’s best to follow that advice.
Do I need to apply a waterproofing membrane behind the tiles on a splashback?
This is really a matter of personal preference. As splashback tiles aren’t going to see the same amount of water as other tiled surfaces, such as shower floors, it isn’t always necessary to apply a waterproofing membrane. However, if you’re concerned or want to make your splashback as durable as possible, you can apply a waterproofing membrane if you wish.
What is the best way to clean and maintain a tiled kitchen splashback?
To keep your tiles looking clean and in good condition, it’s best to use a mild detergent that doesn’t contain any bleach or ammonia when cleaning. You should also use a soft cloth for regular cleaning and use a grout pen to retouch grouting where needed.
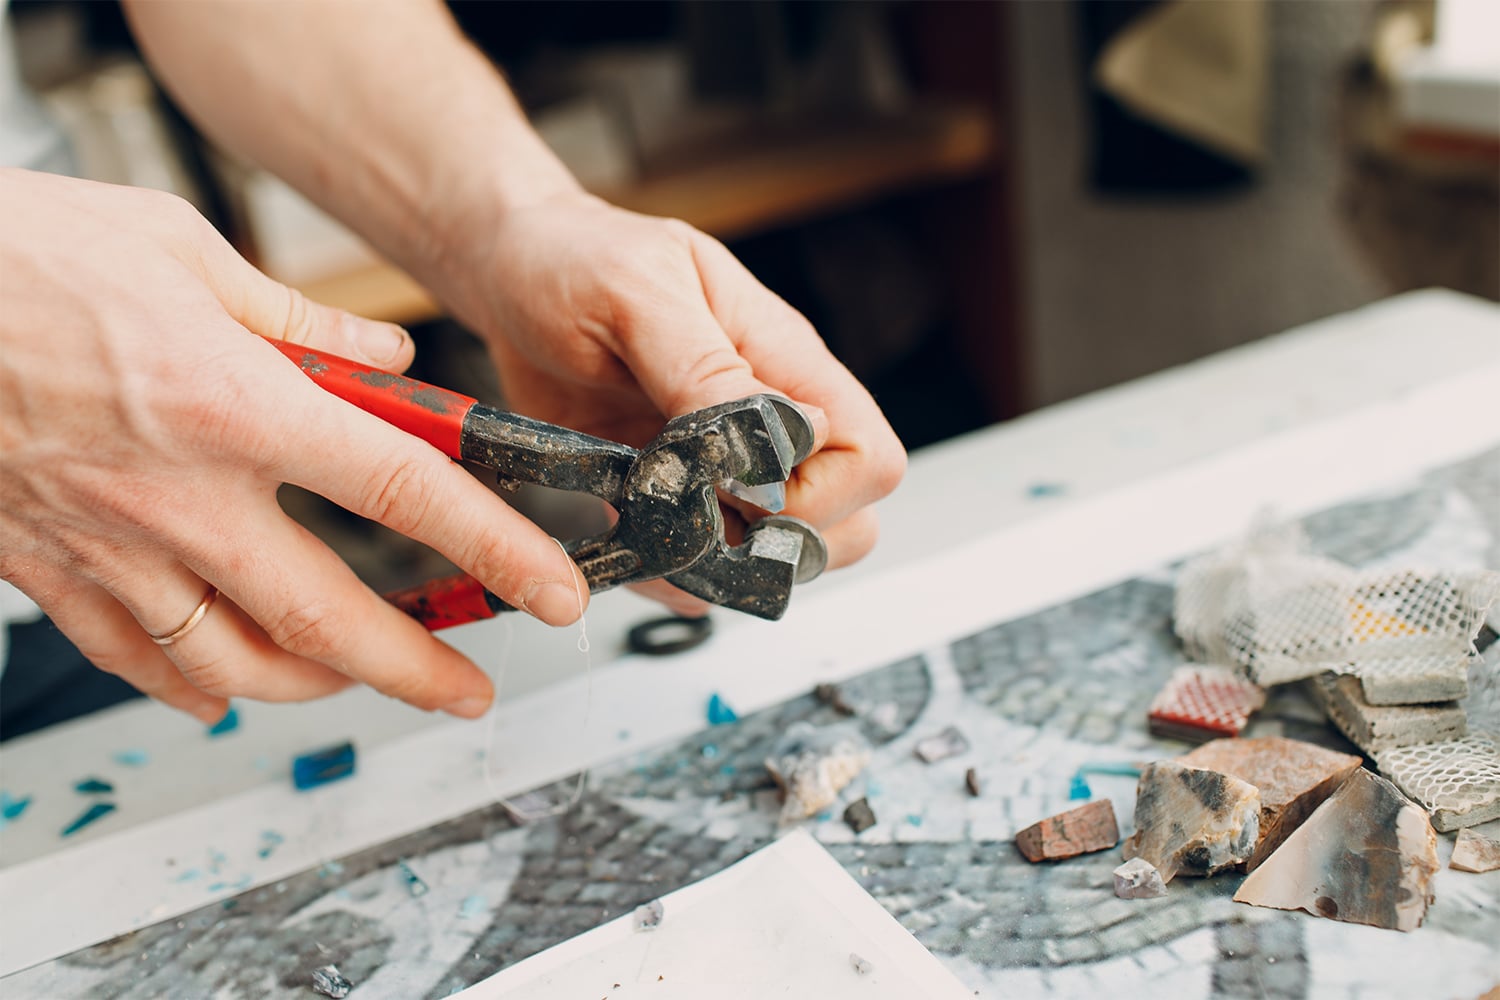
What's the best way to cut corners and edges on a splashback?
This depends on the intricacy of the space you’re laying tiles onto. For cutting straight lines, a tile cutter is your best choice, while corners and more intricate cuts are best achieved using a wet saw. Tile nippers are also good and are especially useful for cutting out patterns from mosaic sheets.
How do I measure the area for a splashback?
Start by measuring the entire height and width of the space, then measure any outlets and switches and deduct those from the overall measurements. You can then calculate how many tiles you’ll need per square meter.
What type of tiles are best for a kitchen splashback?
The most popular choice of tiles for kitchen splashbacks are ceramic, porcelain, and glass, as these are super durable and have a good level of water resistance. They’re also easy to clean, which is essential in a space like a kitchen, and they’re available in a wide range of designs to suit any theme.