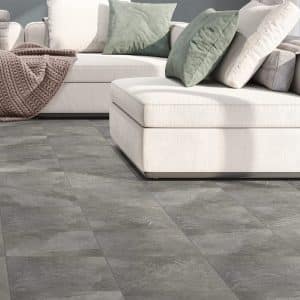
How to Lay Travertine Tiles?
Adding a touch of timeless elegance to your space? Travertine tiles might be just what you need. These beauties are not only charming but also incredibly durable – perfect for any room in your home. But how do you install them, you ask?
No sweat! Here at Cheap Tiles Online, we’re all about making things simple for you. In this blog post, we’ll walk you through the installation process of travertine tiles, one easy step at a time. So, let’s roll up our sleeves and get started!
What Tools and Materials Do I Need to Lay Travertine Tiles?
Before we jump into the nitty-gritty of installing travertine tiles, let’s make sure you’ve got all the tools and materials ready to roll. Here’s a quick list of what you’ll need:
Step-by-Step Guide on How to Lay Travertine Tiles
Step 1: Prepare Your Surface for the Travertine Tiles
The first step in any tiling project is to prepare the existing concrete surface where the tiles will be installed. If you’ve got a painted or varnished concrete slab, give it a good scuff with coarse sandpaper. This helps create a strong bond with the adhesive when you’re installing travertine pavers.
Don’t forget to clean up afterwards – sweep away all dust and debris to ensure the tiles can adhere properly. It’s all about starting off on the right foot.
Step 2: Plan Your Travertine Tile Layout
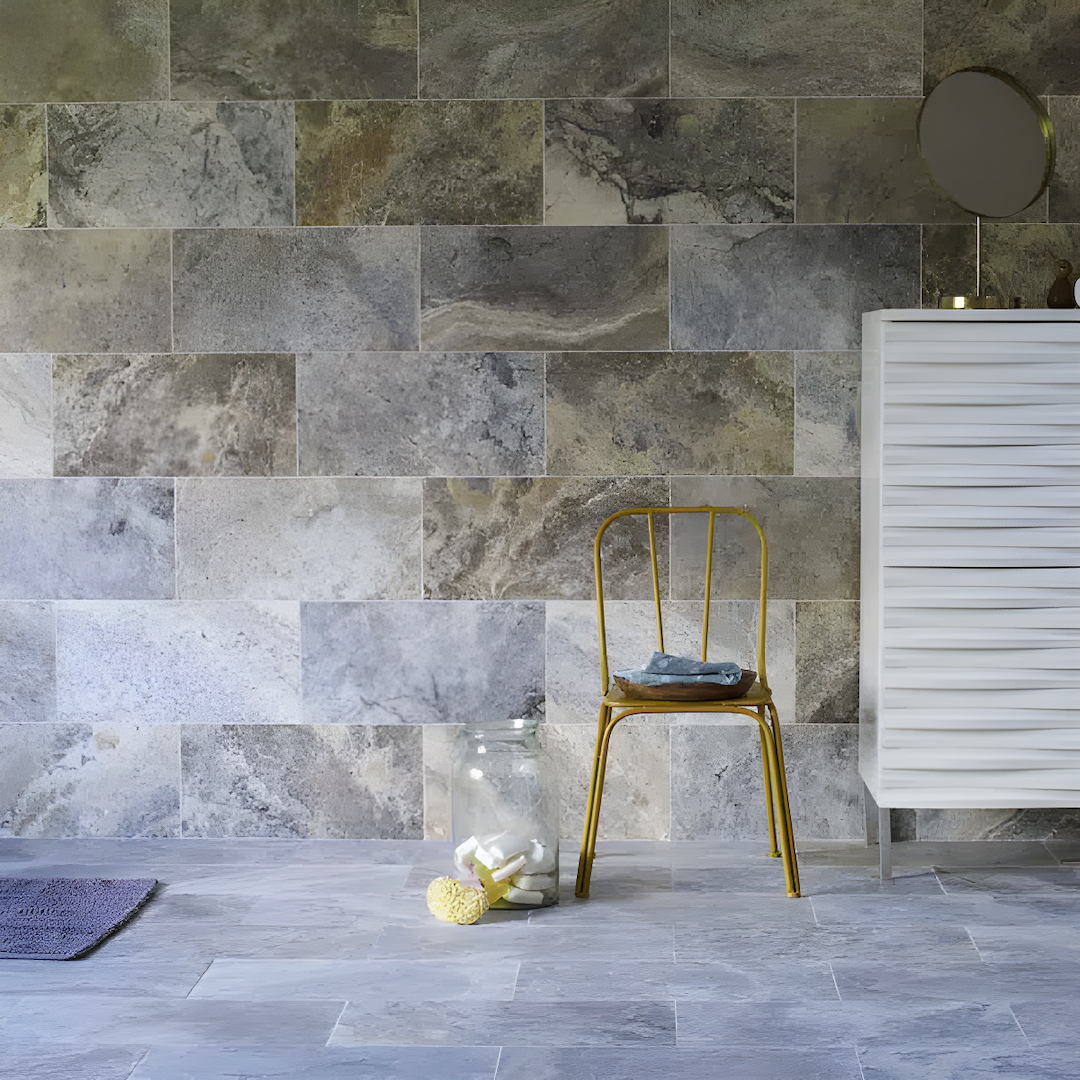
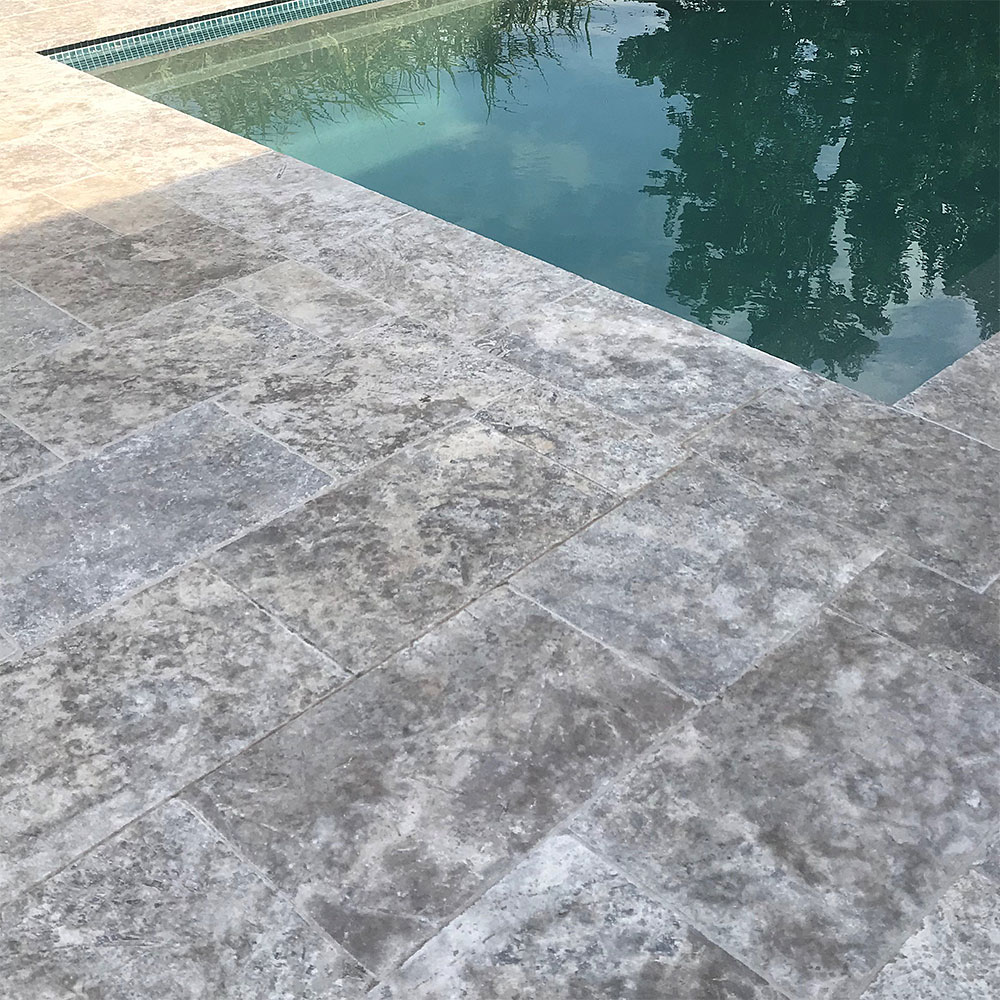
Before you dive into sticking down your natural stones, take a moment to plan your layout of the project area. This step is especially important if you’re working with multi-coloured travertine. Since each tile can differ in hue, mix them up randomly. This way, you’ll create a balanced blend of colours across your solid base.
Step 3: Apply the Adhesive for Your Travertine Tiles
Now we’re getting to the fun part! It’s time to apply your adhesive. Grab your notched trowel and hold it at a 45-degree angle. This will help you create full, even ridges in the mortar mix underneath.
Start from a corner furthest from the door and work your way back – you don’t want to paint yourself into a corner, literally! Spread only as much adhesive as you can comfortably reach over to place your natural stone travertine pavers directly onto. Adjusting the amount of thin-set ensures all tiles sit evenly in the mortar bed. Remember, it’s all about balance.
Step 4: Positioning Your Travertine Tiles Just Right
Here’s the trick to a professional-looking finish – spacing. When settling your travertine tiles into place, keep an eye on the gaps between each one. Usually, you’d aim for a grout space of 1/4″ or 3/8″, depending on the size of the tile. Little tools called tile spacers can help you get this just right.
If your tiles are honed or polished, you might be tempted to nudge them right up against each other, but it’s better to leave a tiny joint of 1/16″ – 1/8″. This ensures all the tiles sit well with the existing material and gives a neat, even finish.
Step 5: Tailoring Your Travertine Tiles to Size
Don’t fret if your travertine tiles are a little too large for your space – they’re easy to cut down to the perfect size. For the smoothest cuts, use a wet saw equipped with a diamond blade. But don’t forget your safety goggles. Always stick to the manufacturer’s guidelines when handling power tools.
Step 6: Secure Your Travertine Tiles
Now, it’s time to ensure each travertine tile is snug and secure. Give each one a firm press into the adhesive using a rubber mallet. This not only guarantees a solid bond but also keeps your tiles from shifting around. Don’t forget to remove any excess grout with a damp sponge for a clean finish.
Step 7: Allow Time for Drying
All your natural stone travertine tiles are now snugly in place. But don’t rush to the finish line just yet. Your handiwork needs some time to dry. Usually, it’s best to wait around 24-36 hours before grouting those joints. Remember, if the weather’s acting up, you might have to adjust your waiting time. Patience is key when installing travertine pavers.
Are there any safety considerations I need to be aware of before laying travertine tiles?
Absolutely! Laying travertine tiles can be a rewarding DIY project, but like any home improvement task, it’s important to keep safety at the forefront. Here are three key safety considerations to keep in mind:
- Proper Protective Equipment: Don’t skimp on safety gear when working with travertine tiles. You’ll need some safety glasses to shield your eyes from dust and debris, tough gloves to protect your hands from those sharp tile edges, and knee pads for comfy kneeling.
- Safe Handling of Tools and Materials: Tools are your best friends here, especially power tools like wet saws. Just make sure you’re using them as per the manufacturer’s guidelines. Also, keep your workspace tidy to avoid any mishaps.
- Ventilation and Dust Management: Laying tiles can cause quite a dust storm, which isn’t great for your lungs. Keep your space well-aired, and consider donning a dust mask or respirator when you’re cutting tiles or mixing mortar.
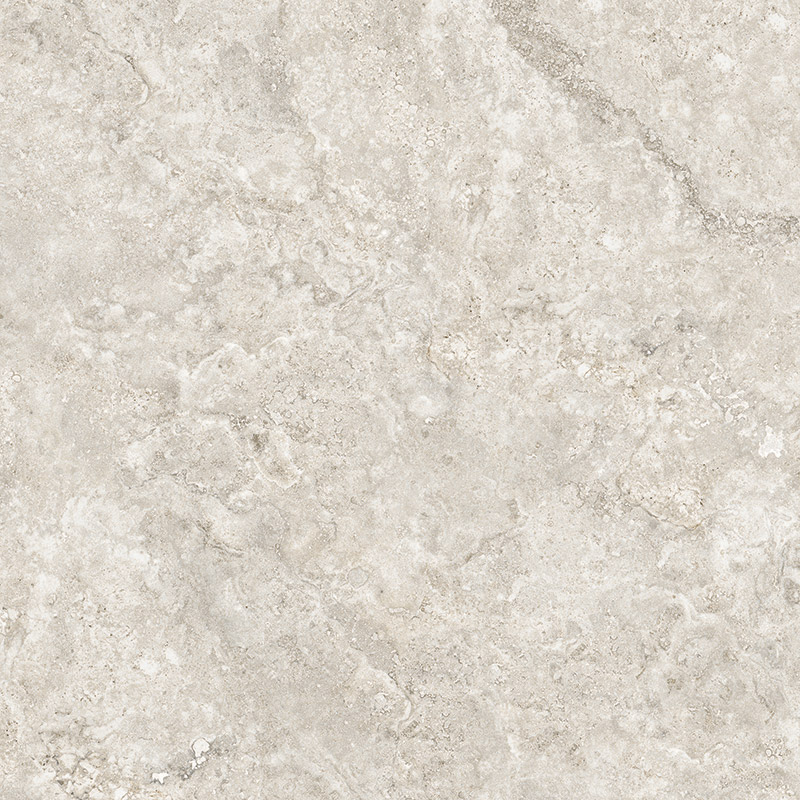
Travertine Stone Natural Internal Lappato tiles 600×600
$38.95 $23.95 / square metre
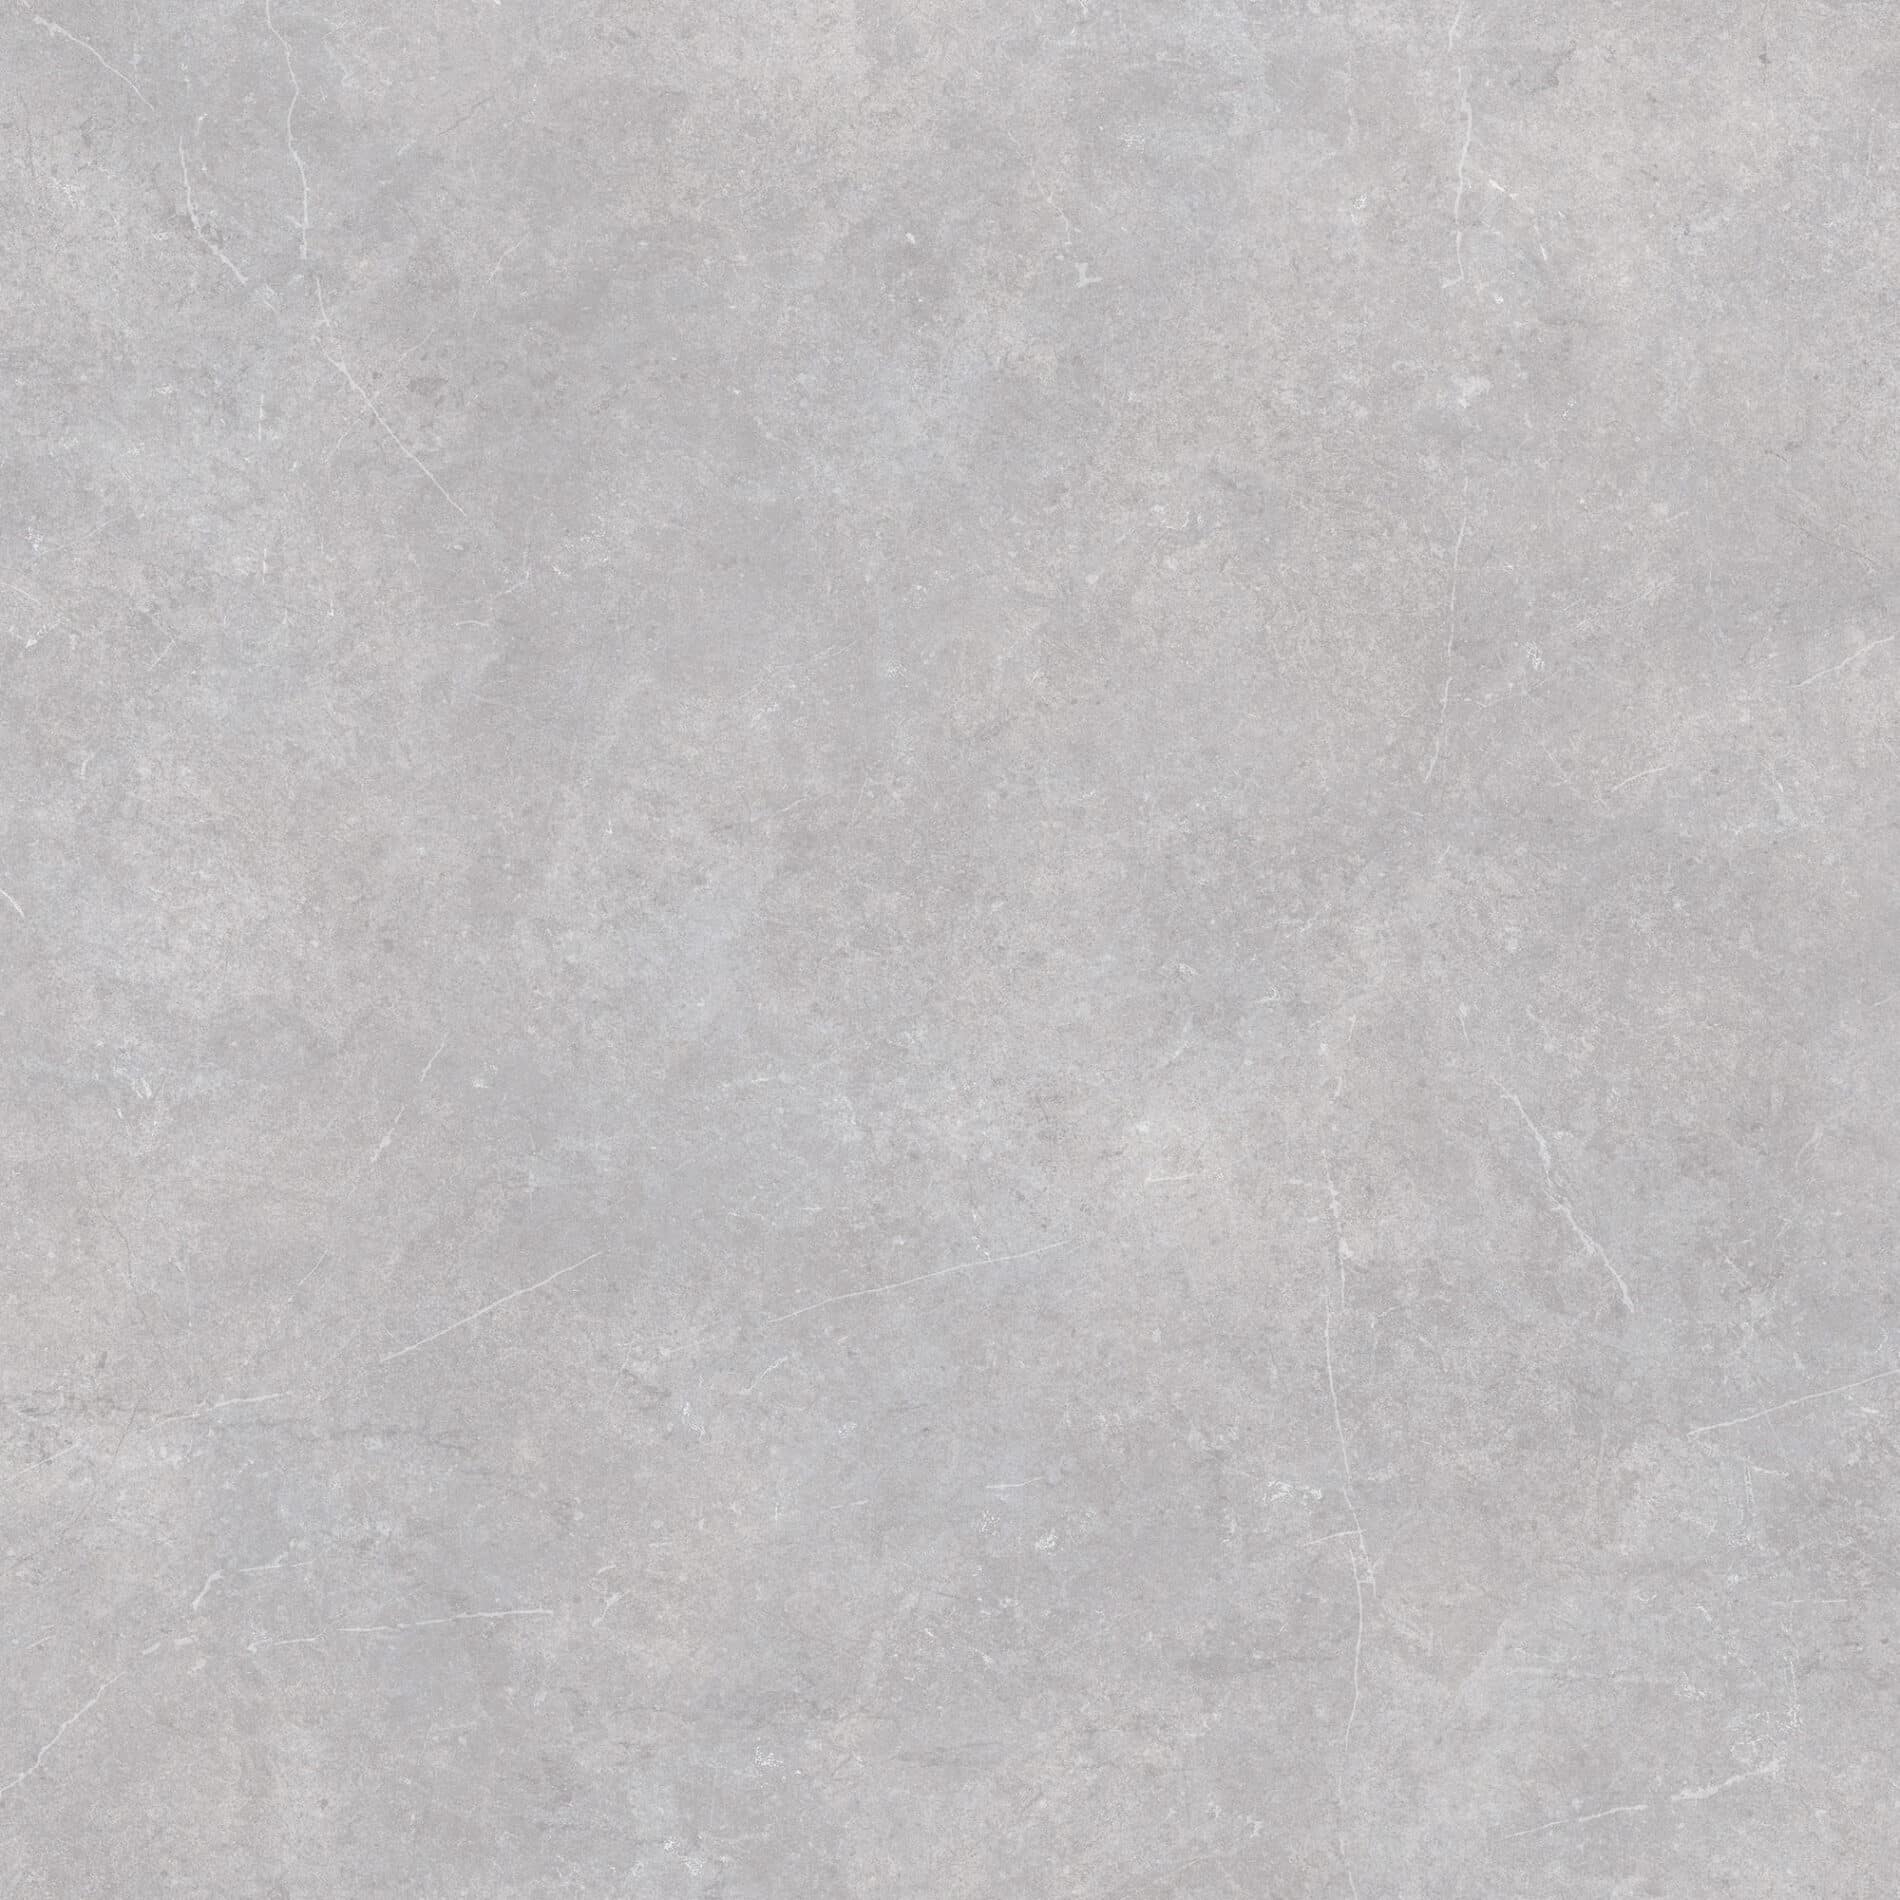
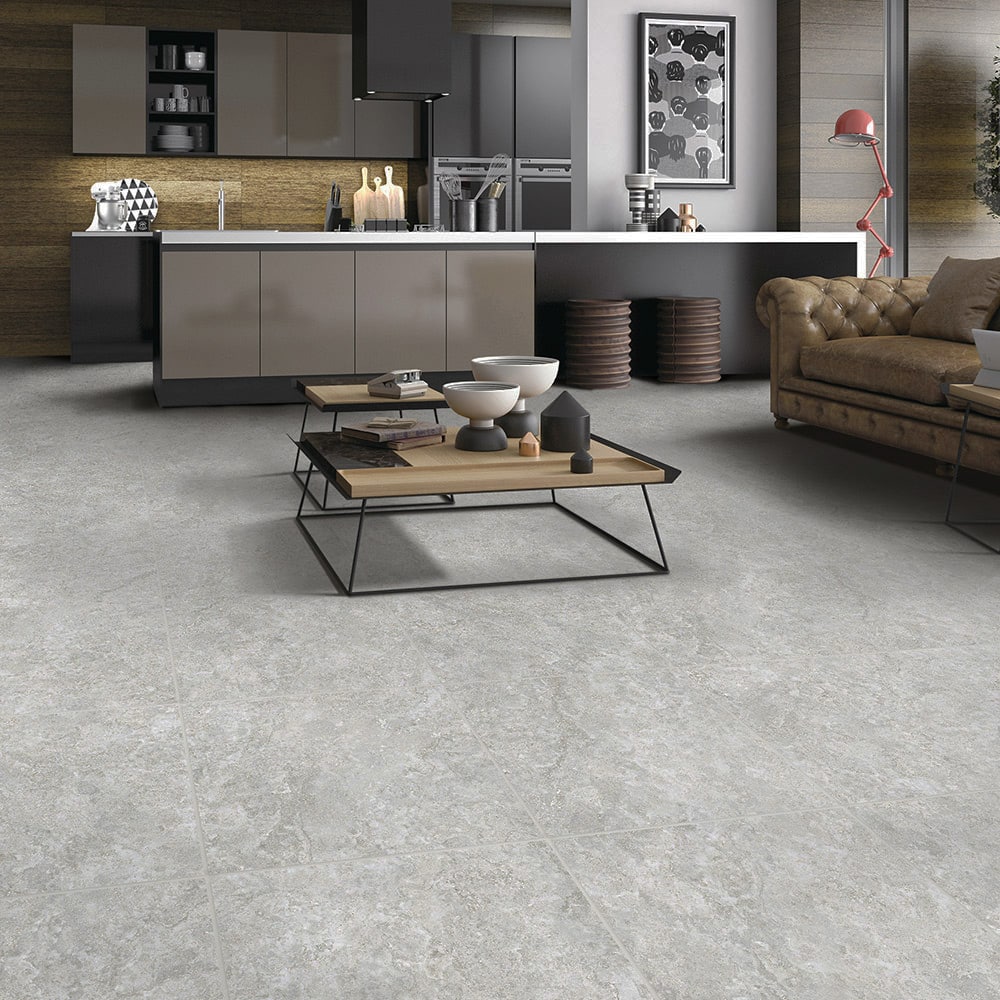
Renegade Grey Economy External tiles 600×600 (1.44m2)
$12.00 / square metre
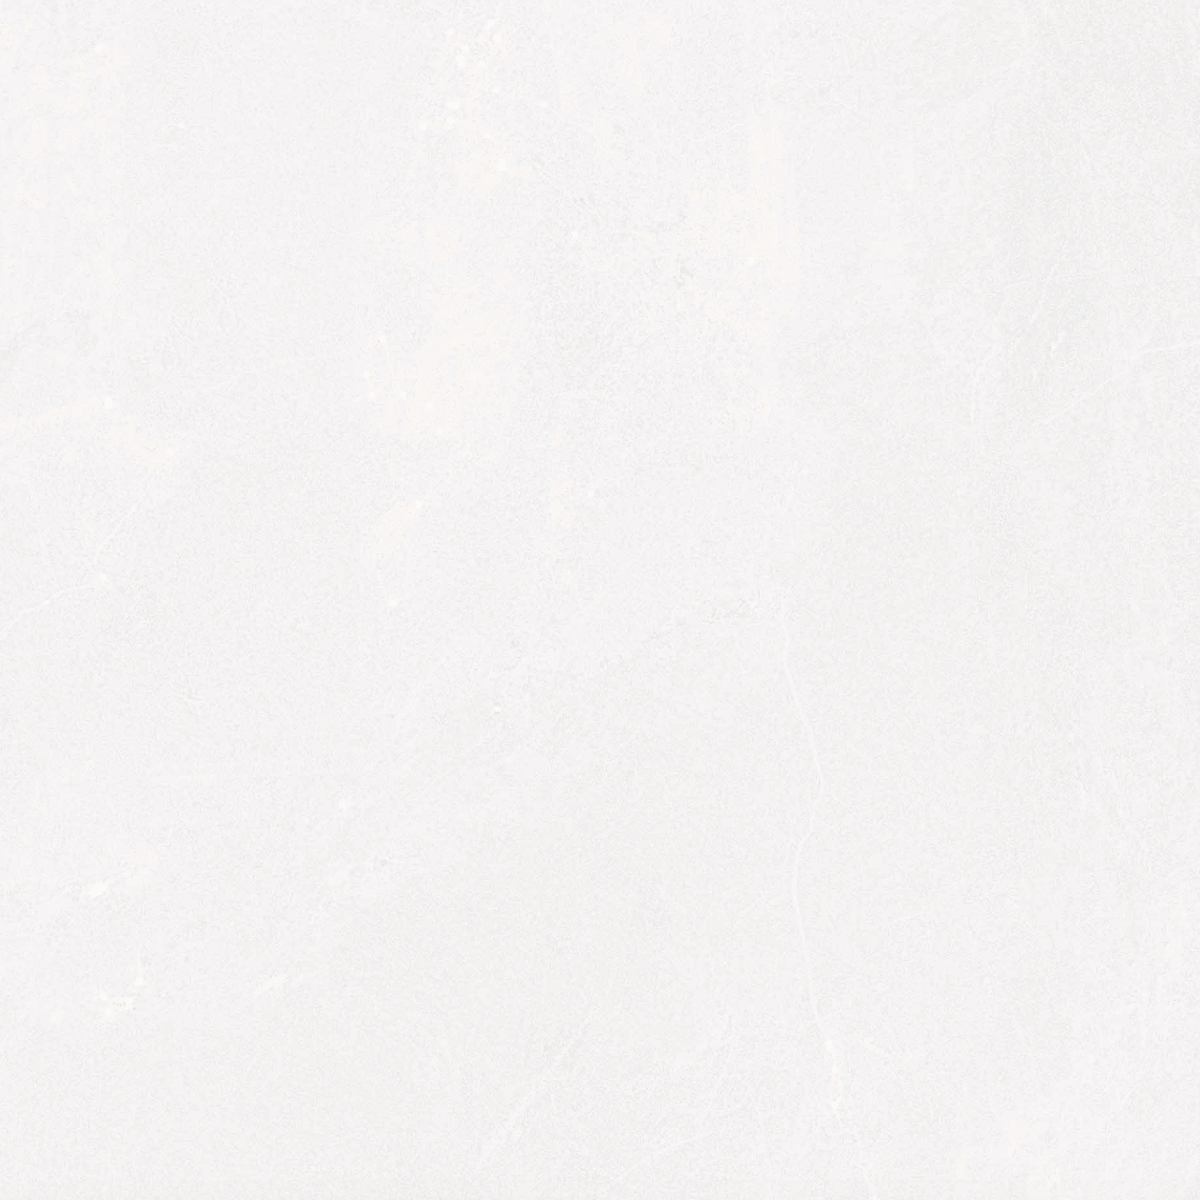
Lucas White Internal Matte tiles 600×600
$24.95 $19.95 / square metre
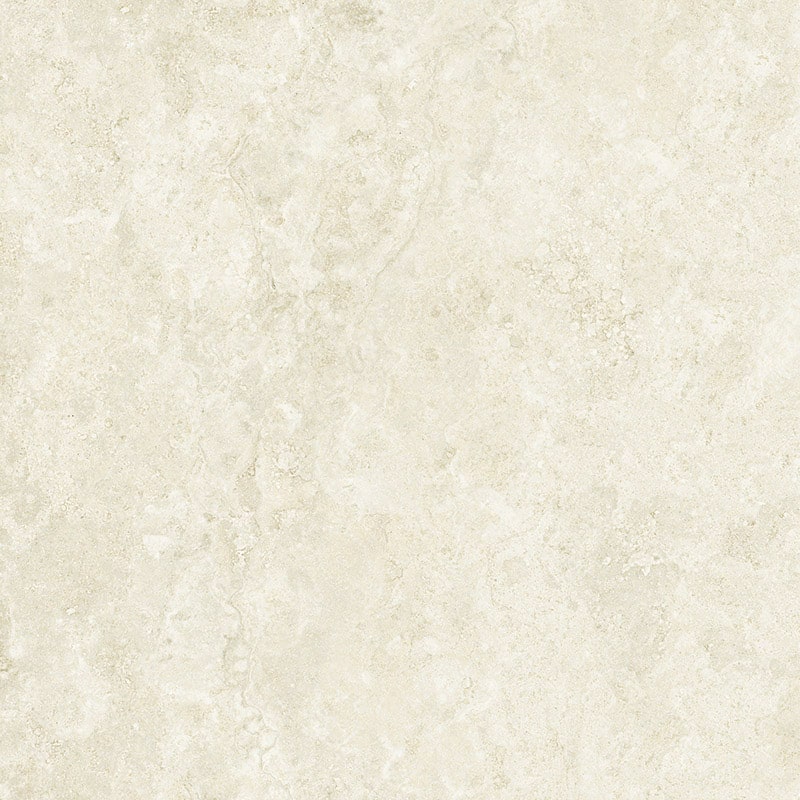
Travertine Stone Ivory Internal Lappato tiles 600×600
$38.95 $23.95 / square metre

Lucas Charcoal Internal Matte tiles 600×600
$24.95 $19.95 / square metre
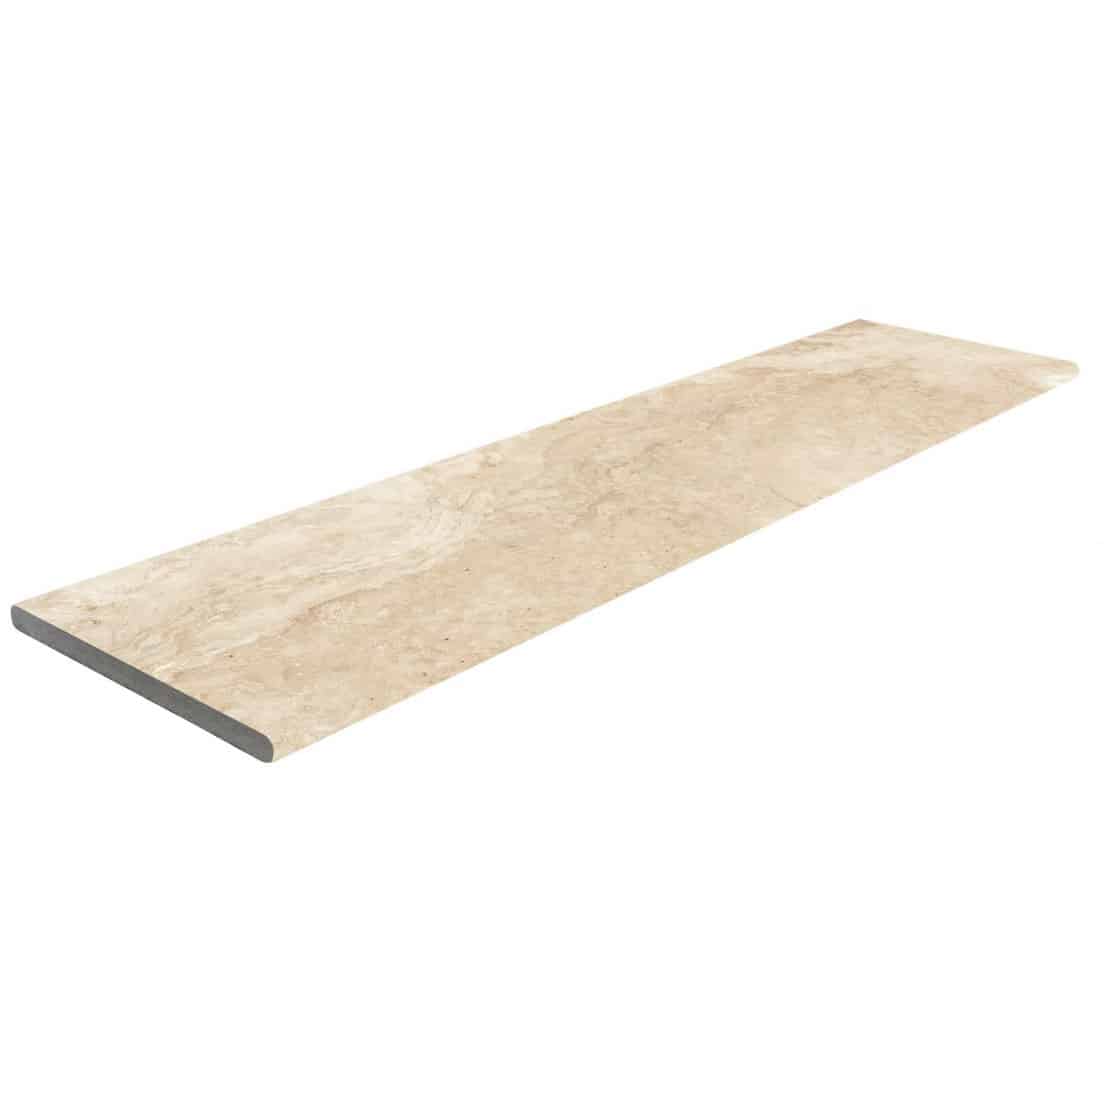
Travertine Beige Bullnose pavers 300x1200x20mm
$81.00 / piece

Maximo Black Matte Economy 300X300 (1.98M2)
$12.00 / square metre
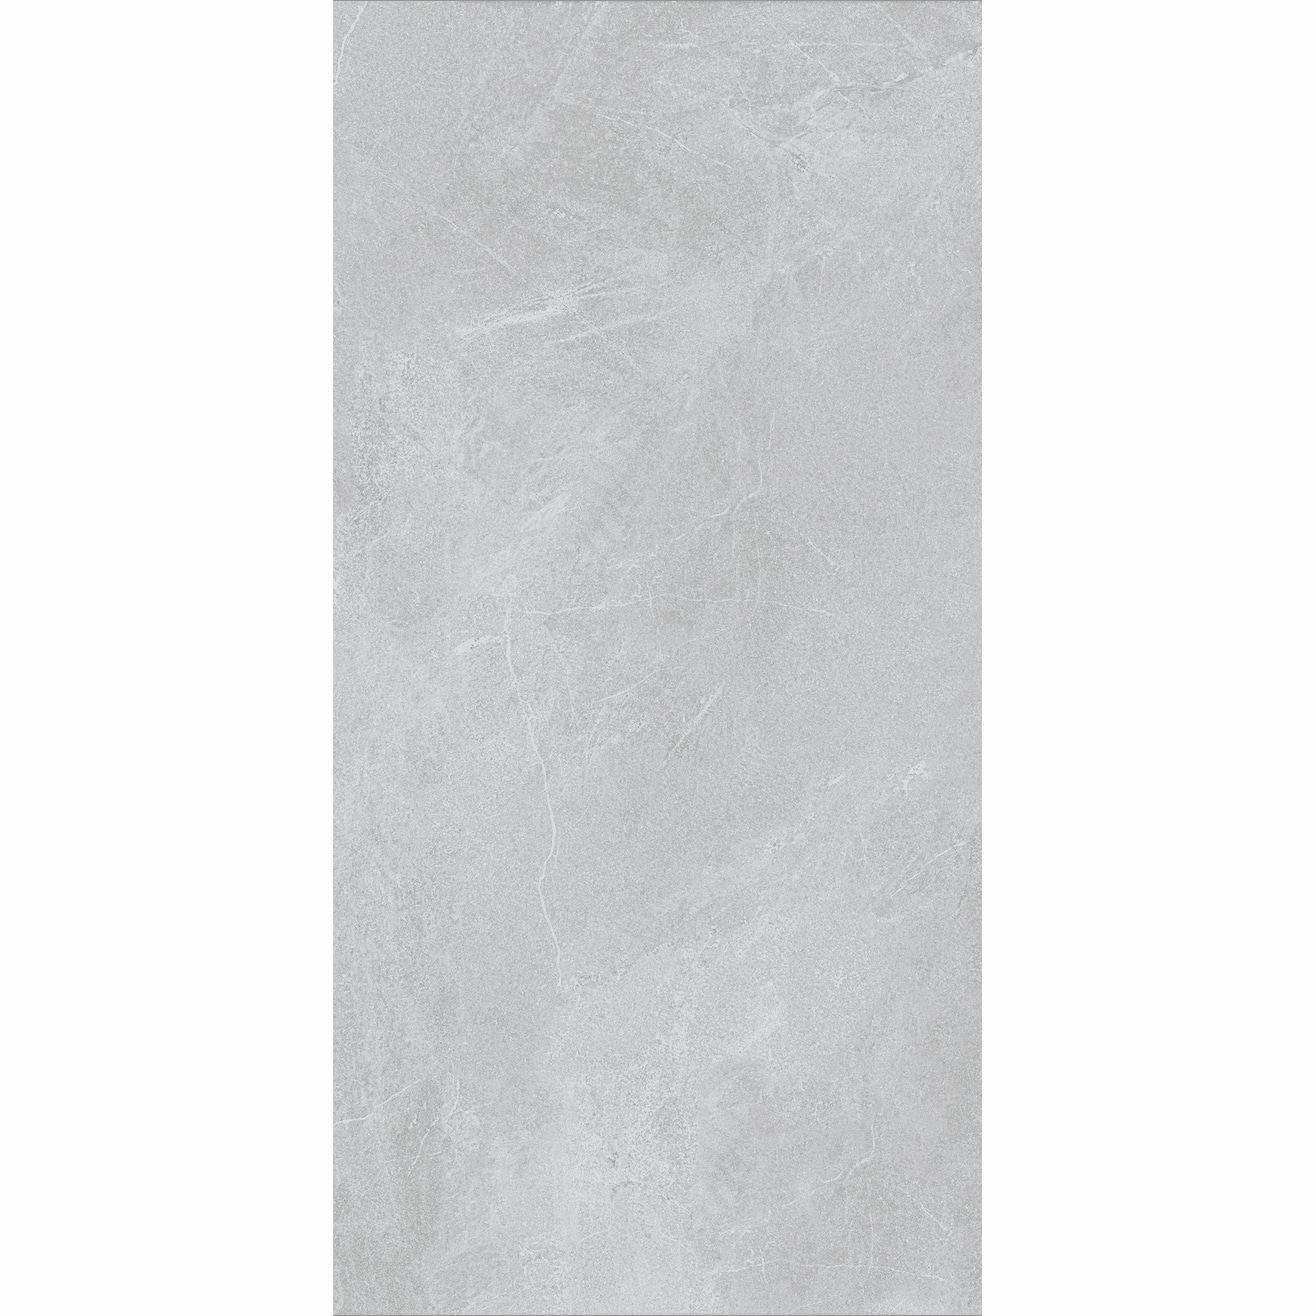
Travertine Stone Grey Internal Matte tiles 600×600
$34.95 $19.95 / square metre
Lucas Grey Internal Matte tiles 600×1200
$39.95 $24.95 / square metre
FAQs
What is the best adhesive for travertine tiles?
Travertine tiles require a strong, reliable adhesive to ensure a long-lasting installation. Our top recommendation would be the Davco SMP Evo. It’s specially formulated to deliver superior bonding for all types of tiles, including travertine. It’s also easy to mix and apply, making your DIY tiling project a breeze.
What kind of grout do you use for travertine tiles?
For travertine tiles, we recommend using a sanded grout. This type of grout is stronger and less prone to cracking than unsanded grout, making it ideal for the relatively large joints between travertine tiles. You can also choose coloured grout to complement or contrast with your travertine tiles for added visual interest.
Does the travertine tile need to be sealed?
Definitely! Sealing your travertine tiles is crucial to protect them from moisture, stains and scratches. Travertine is a porous natural stone that can easily absorb liquids and be damaged by acidic substances. By sealing your tiles, you create a barrier that prevents these potential issues and keeps your travertine looking its best for years to come.