Step 1: Let’s Get Measuring
First things first, let’s figure out how many tiles you’ll need. Take measurements of the area where you’re planning, for example, to install subway tile backsplash. This will be your guide in determining the number of tiles to buy. Don’t forget to factor in grout, thin-set mortar, and those handy tile spacers.
If you’re a newbie to this, it might be wise to get a few extra tiles – just in case. Now, whether you’re thinking of horizontal tiles, vertical tiles (vertical straight stack), or exploring other creative ways to lay subway tiles, this first step will set you to kickstart your project.
Step 2: Prepping Your Wall
Now, let’s get your wall ready for those individual tiles. If you have an old kitchen backsplash or wallpaper, it’s time to say goodbye to it. For bare walls, a clean sweep is all you need before moving on.
Depending on what type of wall you’re working with, a little sanding or vacuuming might be in order. If you’re lucky enough to have a backsplash that’s still in good shape, you could consider just tiling over it – a real time-saver! But if it’s showing its age or has damage, it’s best to remove it and start with a fresh canvas.
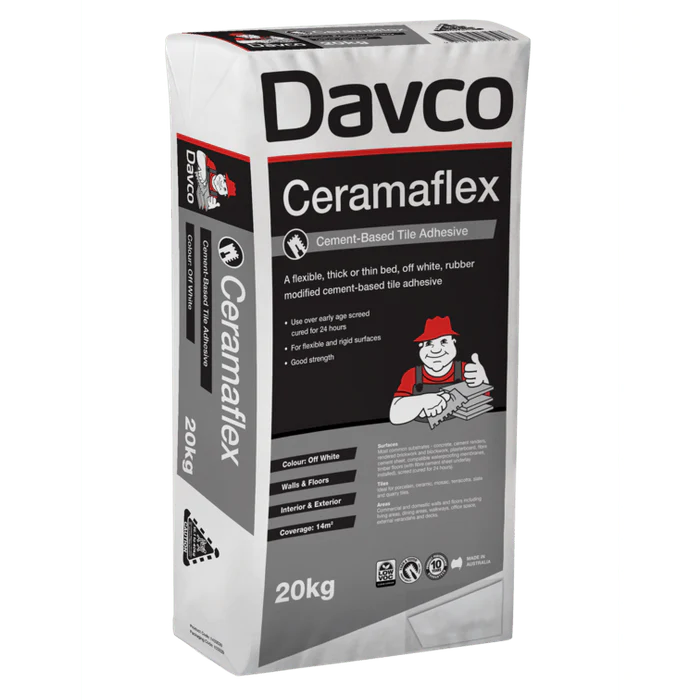
Step 3: Put on the Adhesive
Once your area is all prepped up, let’s get that tile adhesive on. Start from one corner – you might need a step ladder for those hard-to-reach spots – and gradually work your way across.
If you’re using thin-set mortar, grab a notched trowel and apply it to the wall. Comb some grooves into the adhesive, going in the direction of the short side of the tile. This little trick helps air escape from under the tile, which makes the adhesion even stronger. With your layout planned and the number of tiles needed figured out, you’re all set for the next step!
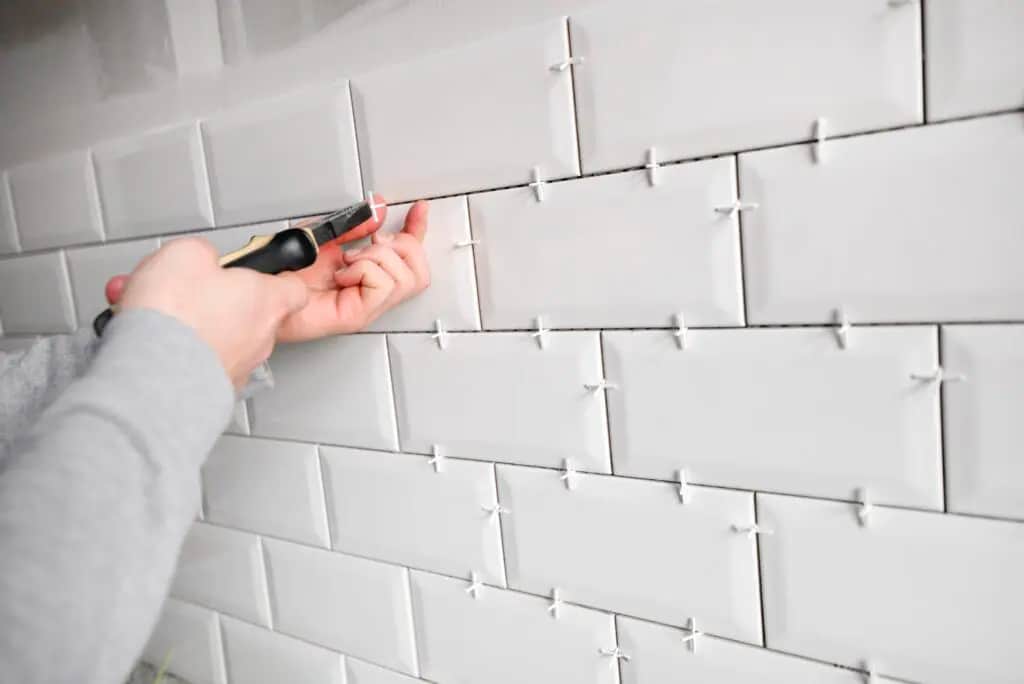
Step 4: Time to Tile
Here’s the most exciting part – setting those white subway tile pieces or another colour you chose, if not white, in place! Start from one corner, just like when you applied the adhesive, and press each tile firmly on the wall.
Keep in mind, some of your white tiles will need a trim to fit snugly in corners or to maintain a stylish brick bond pattern or herringbone pattern. A handy manual cutter will be your best friend for this job. Once all tiles are beautifully lined up, give the adhesive a good 24 hours to dry.
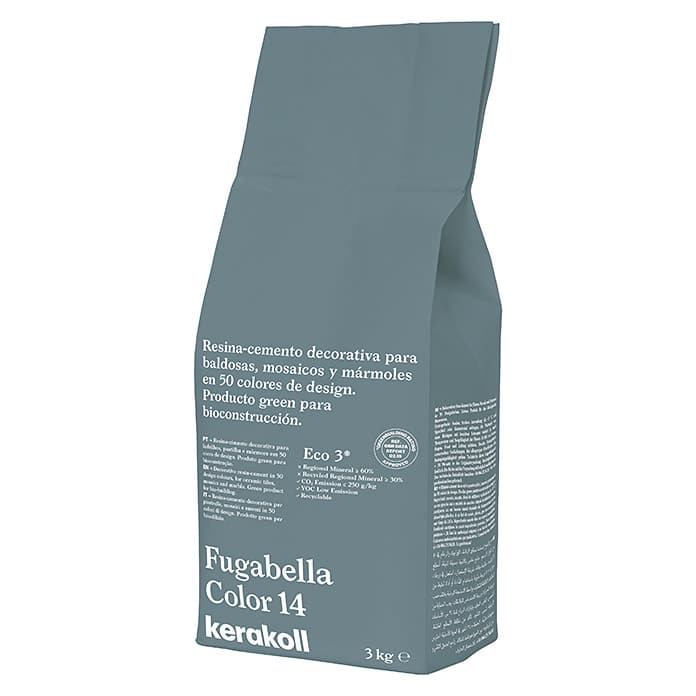
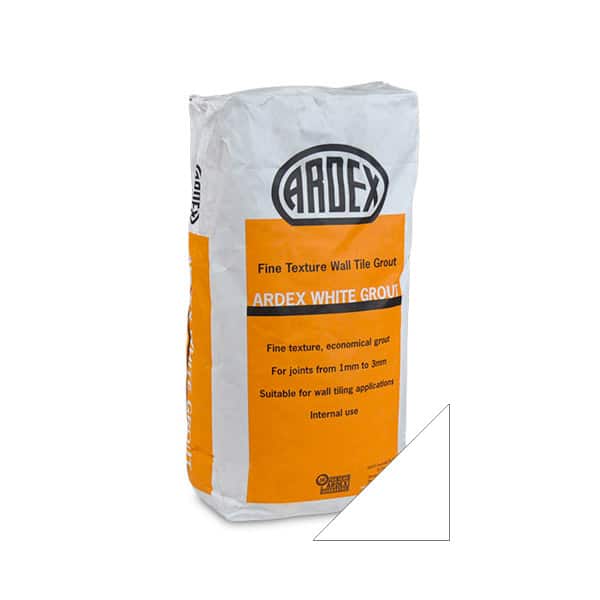
Step 5: Grouting Time
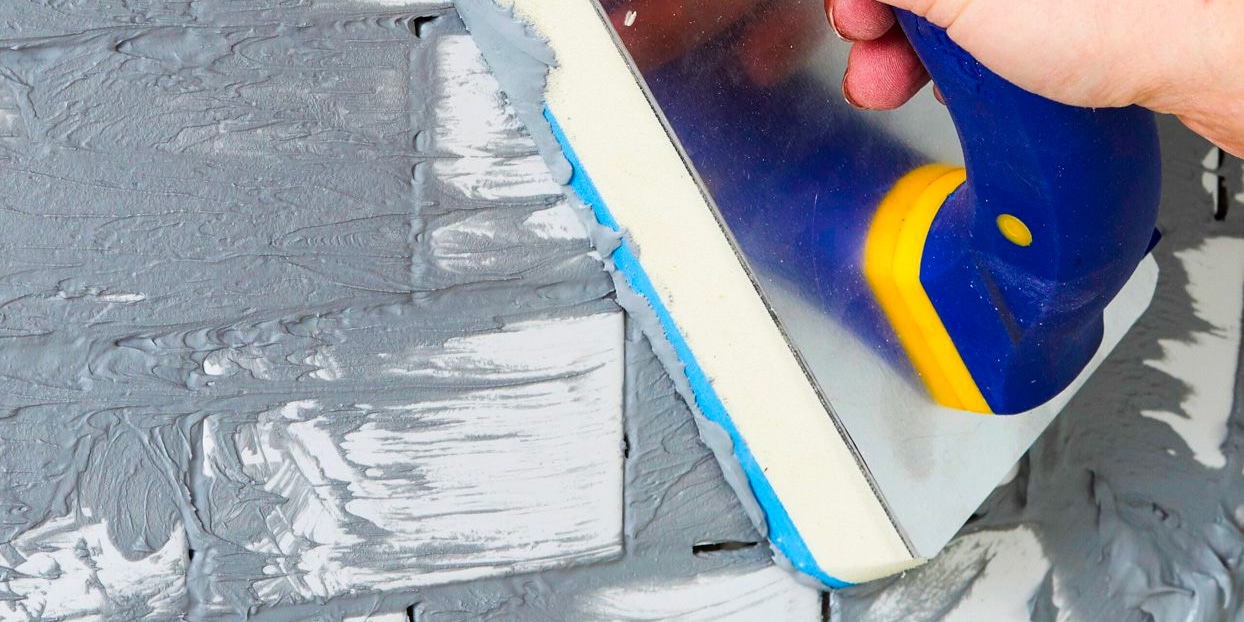 After the adhesive has set, we’re onto the next step – grouting. If you’re using premixed grout, you’re good to go. Otherwise, mix your grout with a bit of warm water, following the manufacturer’s guidelines. Get your rubber spatula or grout float, and apply the grout between the tiles using the notched side.
Make sure to tackle small sections at a time, and have a soft, damp cloth on hand to quickly wipe off any excess grout before it dries. Trust us, dried-on grout can be a real pain to remove later.
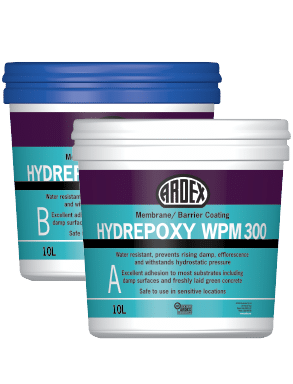
Step 6: Seal the Deal with Tile Sealer
After giving the grout a good 24 hours to dry, it’s time to think about sealing the deal with a tile sealer. This step might be optional, but it’s a life-saver and cost-effective long-term.
A top-notch tile sealer not only makes your backsplash a breeze to clean but also shields it from pesky stains. It’s the final touch to create that modern look for bathrooms or kitchens. But remember, patience is key! Give it another 24 hours post-sealing before you start using your beautiful new backsplash.