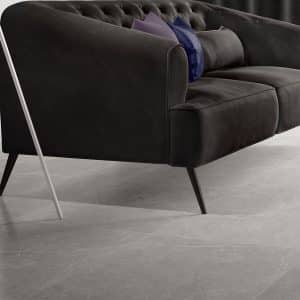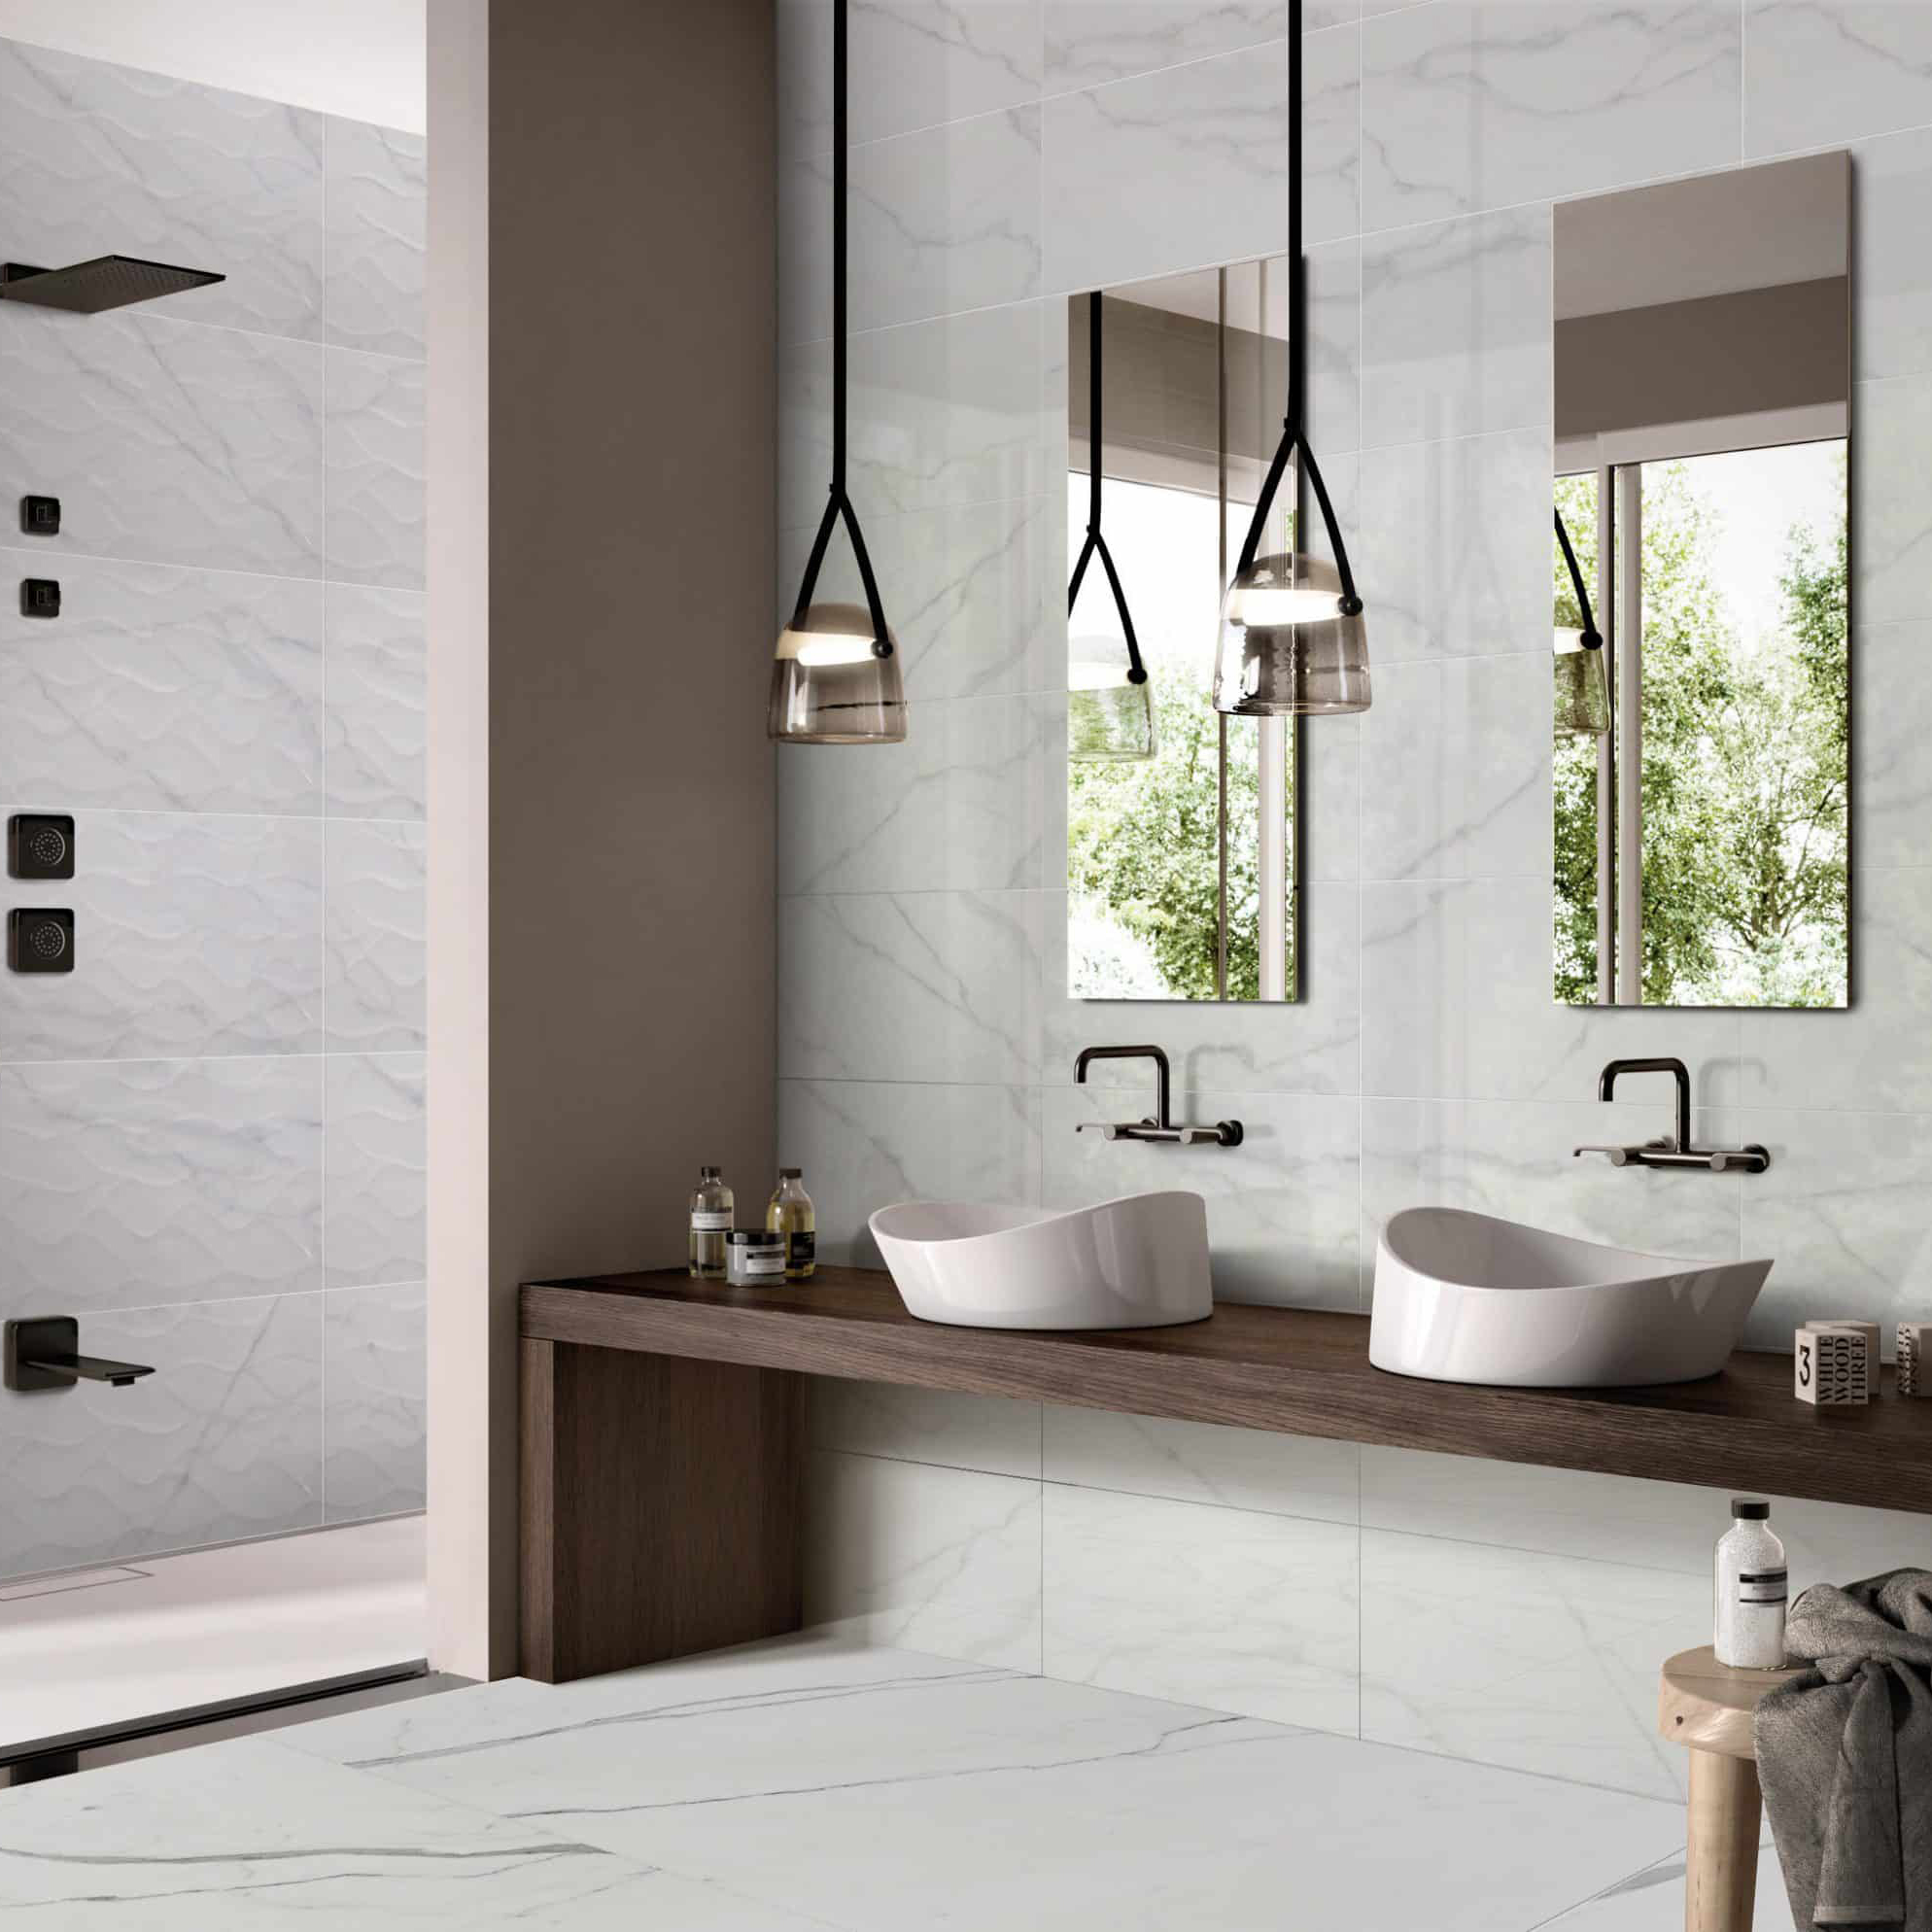
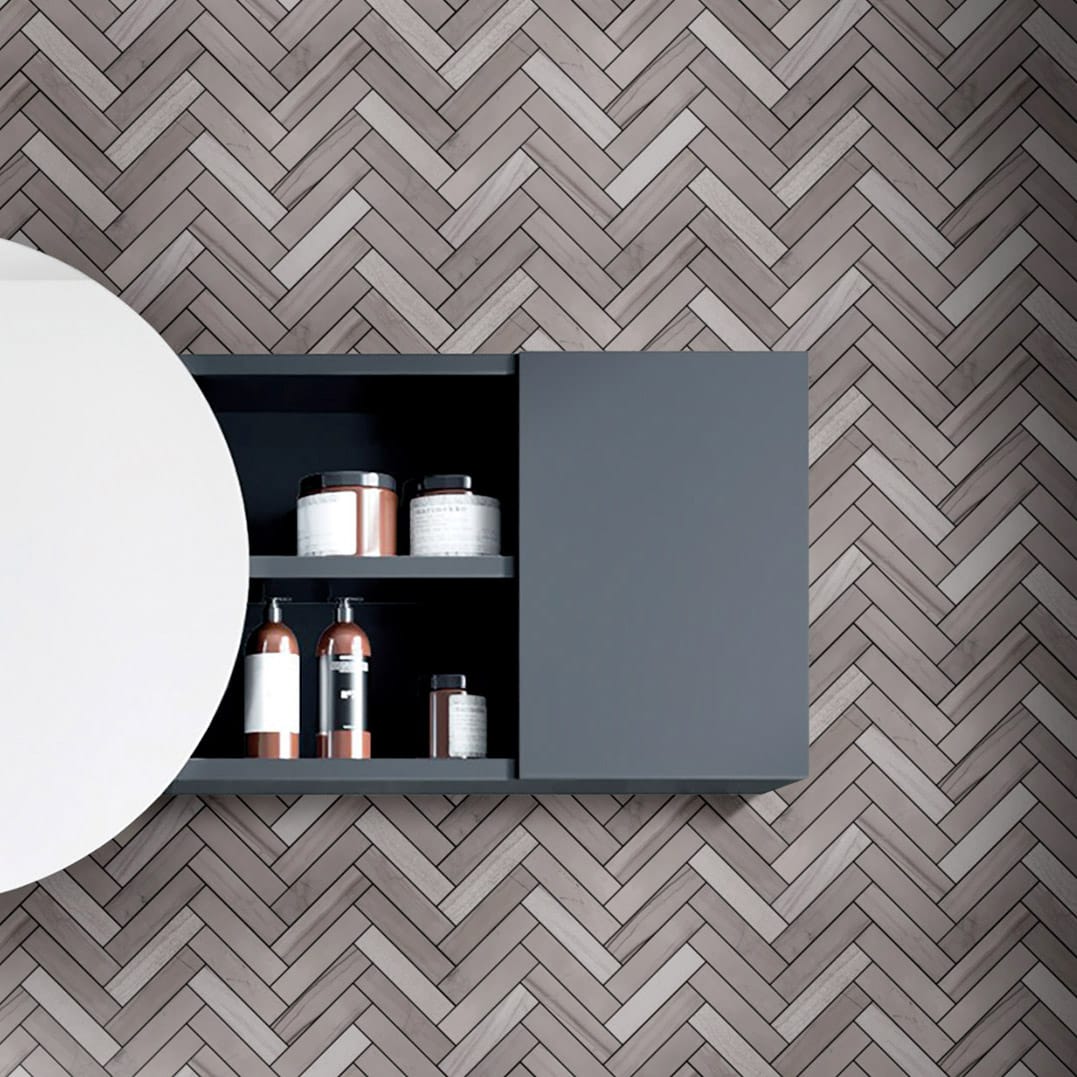
How to Lay Herringbone Tiles?
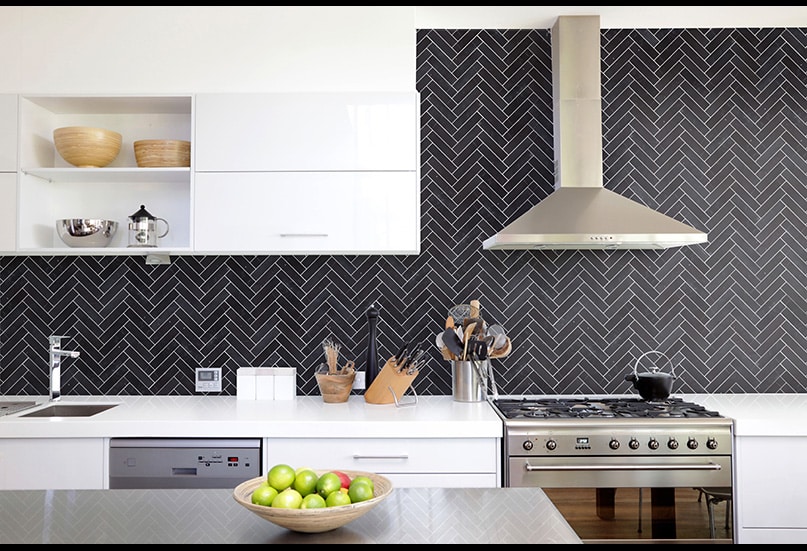
Looking to bring a dash of timeless elegance and sophistication to your space with herringbone tiles? You’ve come to the right place!
At Cheap Tiles Online, we believe that every homeowner can master the art of tile installation with the right guidance. So, we’re here to take you on a step-by-step journey on how to lay herringbone tiles. Let’s get started on this exciting DIY project together!
What Tools and Materials Do I Need to Lay Herringbone Tiles?
So what exactly do you need to start laying herringbone tiles? Here is a comprehensive list of the tools and materials you’ll require:
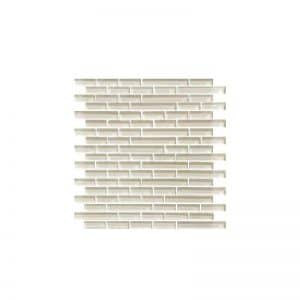
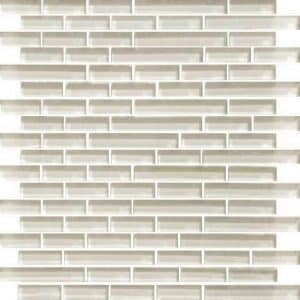
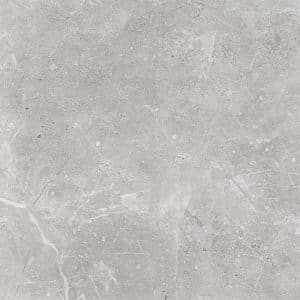
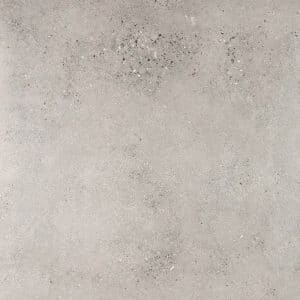
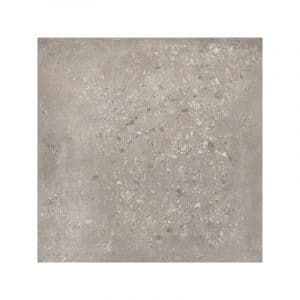
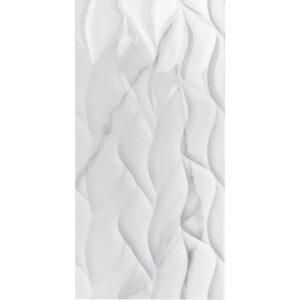
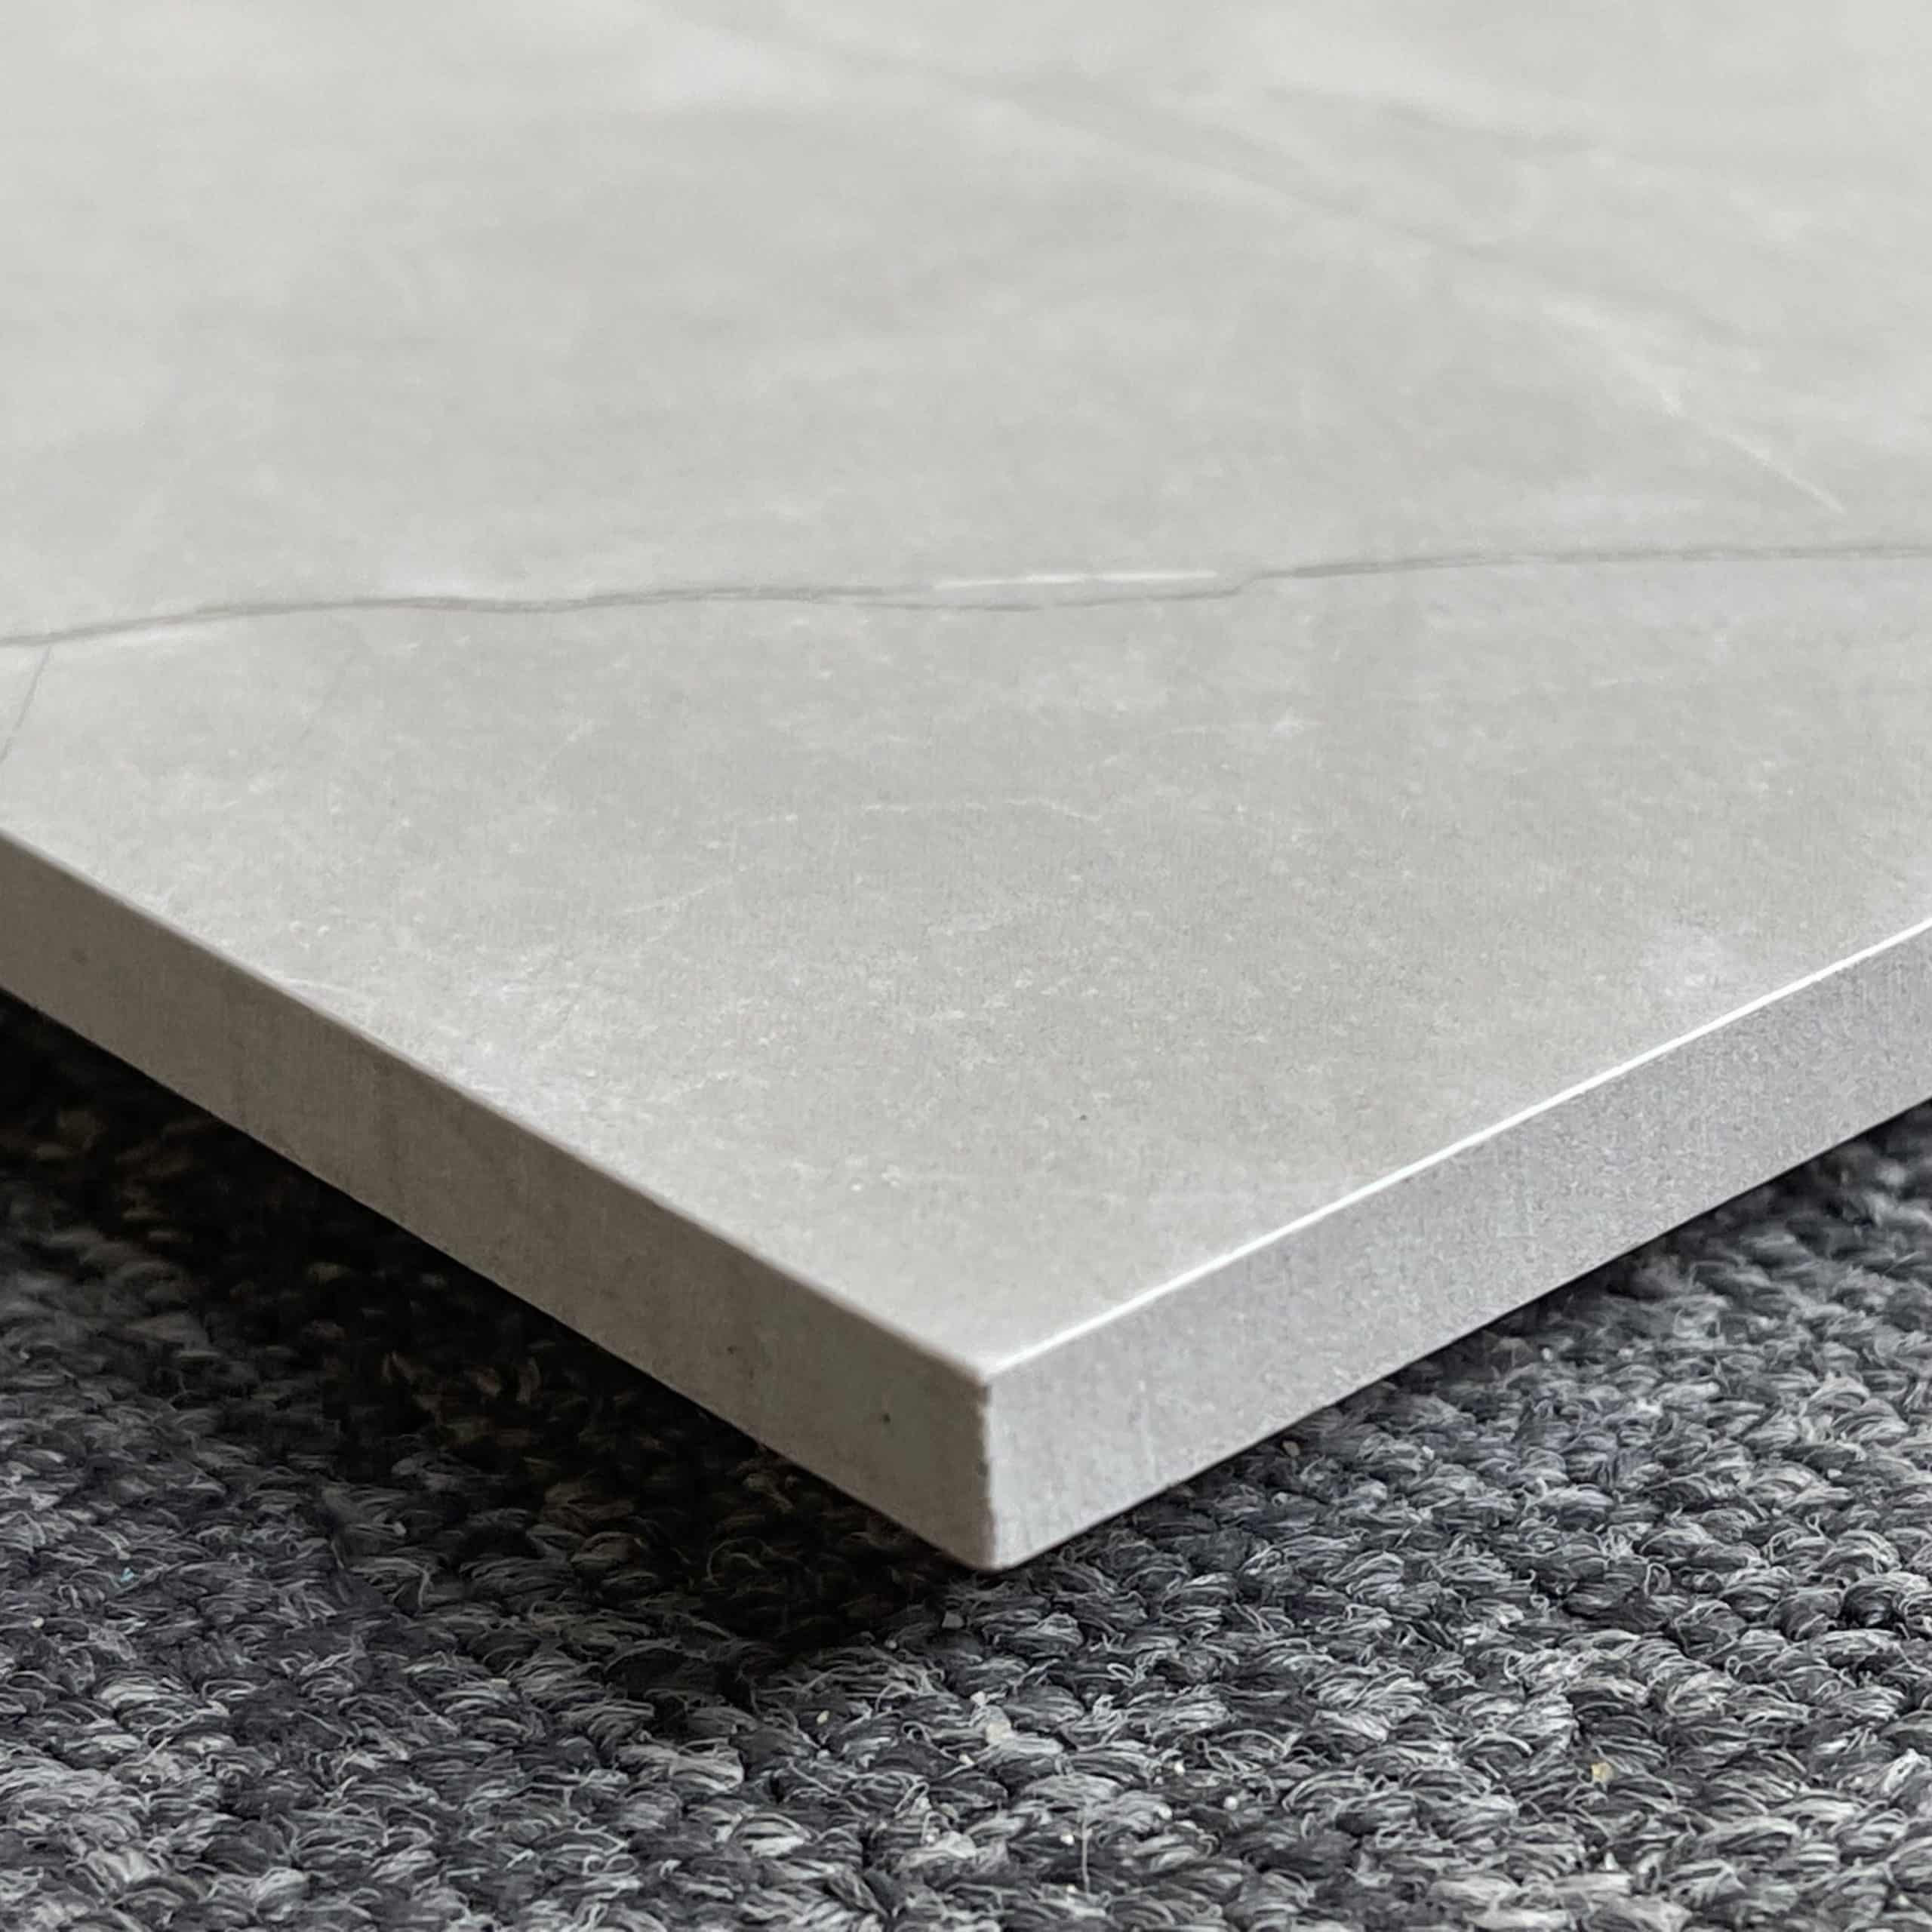
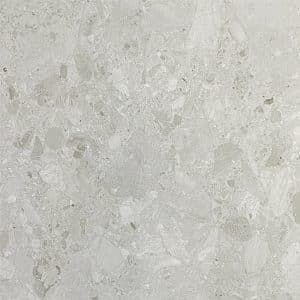
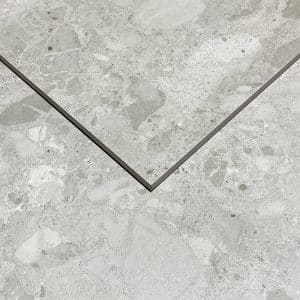
- Herringbone Tiles
- Adhesive
- Grout
- Tile Spacers
- Trowel
- Tile Cutter
- Trim
- Wet saw
- Grout Float
- Sponge
- Protective Gear
- Silicone Sealant
Step By Step Guide On How To Lay Herringbone Tiles
Step 1: Getting Organised
Start your herringbone tile pattern project by assembling everything you need. This includes your stunning herringbone tiles, adhesive, grout, a trusty trowel, tile spacers, trim, a handy wet saw, grout float, sponge, and, of course, your safety gear.
Next, measure your soon-to-be-tiled area and roughly sketch the room’s layout. For a seamless planning experience, try using graph paper to draw your design. It’s a great way to bring your template herringbone tile installation to life, ensuring the perfect alignment of each rectangular tile. Once you do this, you’re now all set to continue.
Step 2: Careful Cutting
When it comes to setting up your herringbone wall tiles, remember the golden rule ot tiling – measure twice, cut once. With a manual tile cutter in hand, delicately trim your rectangular tiles to match the dimensions of your space. This step is crucial as meticulous cutting ensures your wall tile project achieves that sought-after professional look.
Step 3: Spreading the Adhesive
Now, it’s time to mix up your adhesive. Whip up a batch and start applying it to a small section of your space using your trowel. Remember, the secret is in the angle – a 45-degree tilt ensures an even spread, perfect for your herringbone tiling endeavour.
Be careful not to overdo it though; covering too large an area might cause the adhesive to dry before you can lay your cut tiles. This specific tile pattern deserves your patience. After all, we’re on a mission to lay herringbone tile flawlessly.
Step 4: Setting the Tiles
With the adhesive in place, it’s time to start placing your tiles. Begin with the centre triangle and gradually spread out width-wise. This is where tile spacers become your best friends – they ensure uniform gaps between the tiles and accommodate natural surface shifts.
Remember, this tile job isn’t a race. Take a moment to make sure each tile sits perfectly in its place. With patience and precision, you’ll create a herringbone pattern that’s not just another tile design but a symmetrical pattern masterpiece.
Step 5: Trimming the Edges
Once you’ve successfully placed all your tiles, it’s time to give them a polished finish with some tidy tile trims. Grab your wet saw and trim them down to the perfect size. But remember, while we’re all for DIY, safety should always be your top priority. So, pop on those eye goggles and dust masks before you start cutting. This step ensures not only a professional look but also a safe tiling experience.
Step 6: Filling with Grout
After your adhesive has fully dried and you’ve removed the tile spacers, it’s grout time! Grab your grout float and start filling in all those gaps between your tiles with the grout of your choice.
And remember – a little mess is okay. Just make sure to wipe away any excess grout diagonally across the tiles and give them a good clean with a sponge and warm water. This step brings out the real beauty of your handiwork, making each tile pop.
Step 7: Sealing for Longevity
The final touch to your masterpiece is ensuring its lasting beauty. How, you ask? Simple – seal the edges of your project with a top-notch silicone sealant and the grout with a grout sealer. It’s like the cherry on top that not only amps up the look but also guarantees your tiles stay fabulous for years to come.
Step 8: The Final Cleanup
Allow your tiles to set for the necessary amount of time, then it’s cleaning time. Gently wash off any leftover grout smudges or adhesive bits with some warm water. And don’t overlook your tools. A quick clean now will save you from the headache of scrubbing off hardened grout and adhesive later. Now, stand back and enjoy your sparkling new tiles.
Are there any safety considerations I need to be aware of before laying herringbone tiles?
Before you begin your tile installation journey, it’s crucial to prioritise safety. Here are three essential safety considerations to keep in mind:
- Proper Protective Gear: Always wear suitable protective equipment, including safety glasses, a dust mask, and gloves. These will shield you from dust, sharp tile corners, and the not-so-friendly chemicals in adhesives and grout.
- Safe Tool Handling: Tools like tile cutters, wet saws, and trowels aren’t toys. Make sure you know how to use them safely. Remember, always cut away from yourself and take good care of your tools to avoid any mishaps.
- Mind Your Posture: Tiling can be physically demanding. So, it’s important to mind your posture when lifting heavy tiles or working on your knees for long periods. Don’t forget to take breaks and consider knee pads to prevent any aches and pains.
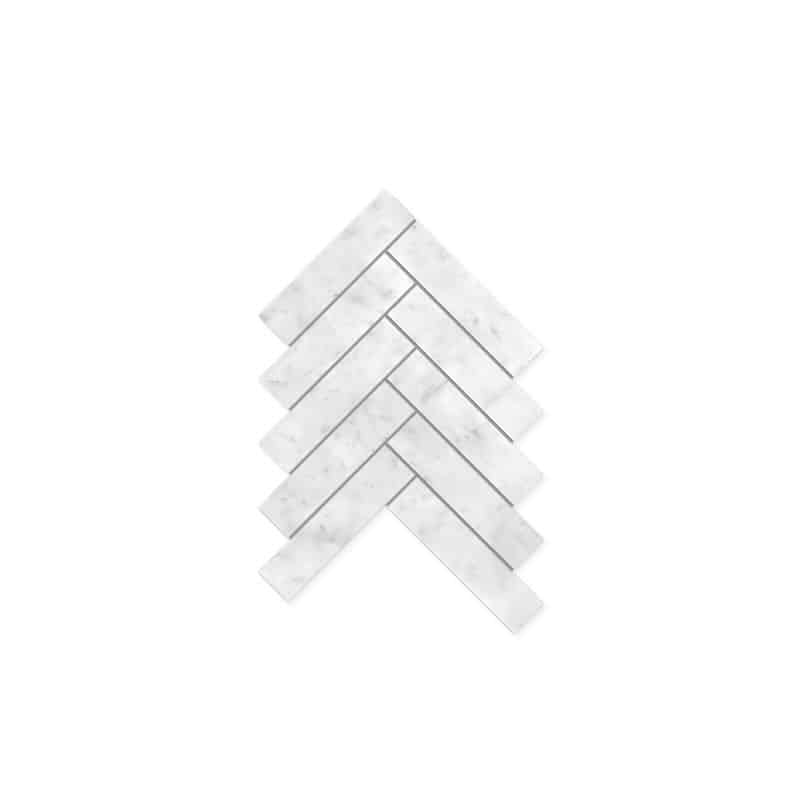
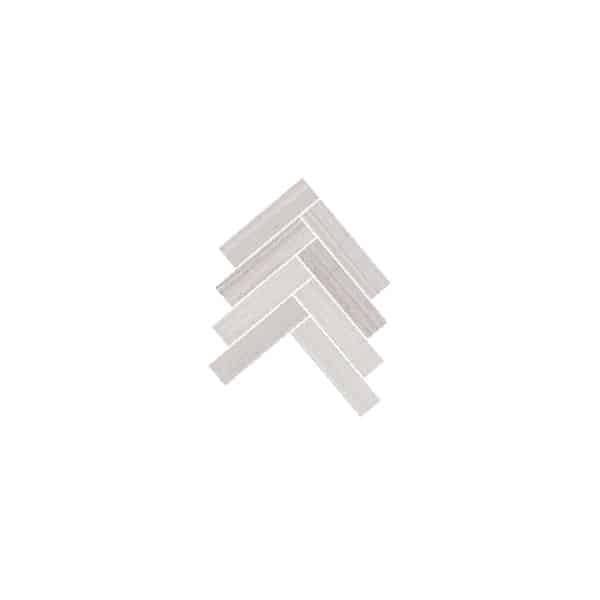
Carrara White Herringbone Honed Mosaic tiles sheet
$13.95 / sheet
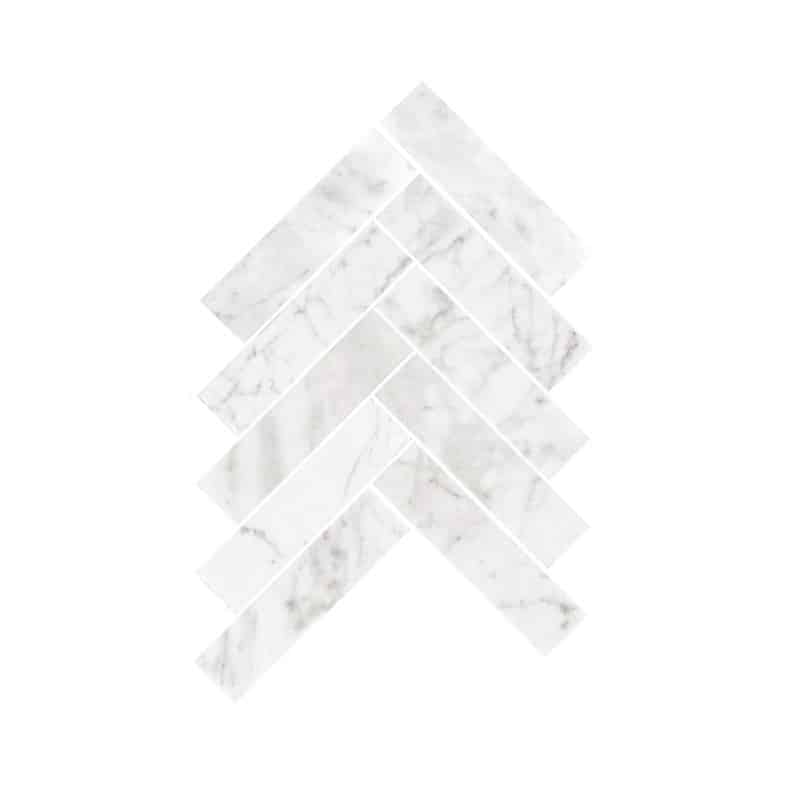
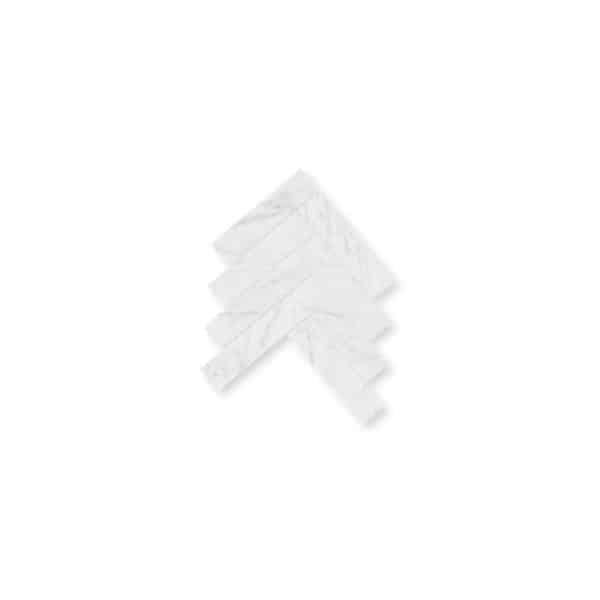
Artemis Carrara Marble Herringbone Mosaic Natural Stone Tile 214x263mm
$154.95 $139.95 / square metre
Ming Green Herringbone Honed Mosaic tiles sheet
$14.95 / sheet

Norwegian Pink Herringbone Honed Mosaic tiles 220X220MM
$194.95 $179.95 / square metre
Artemis Carrara Marble Herringbone Mosaic Natural Stone Tile 220x220mm
$154.95 $139.95 / square metre
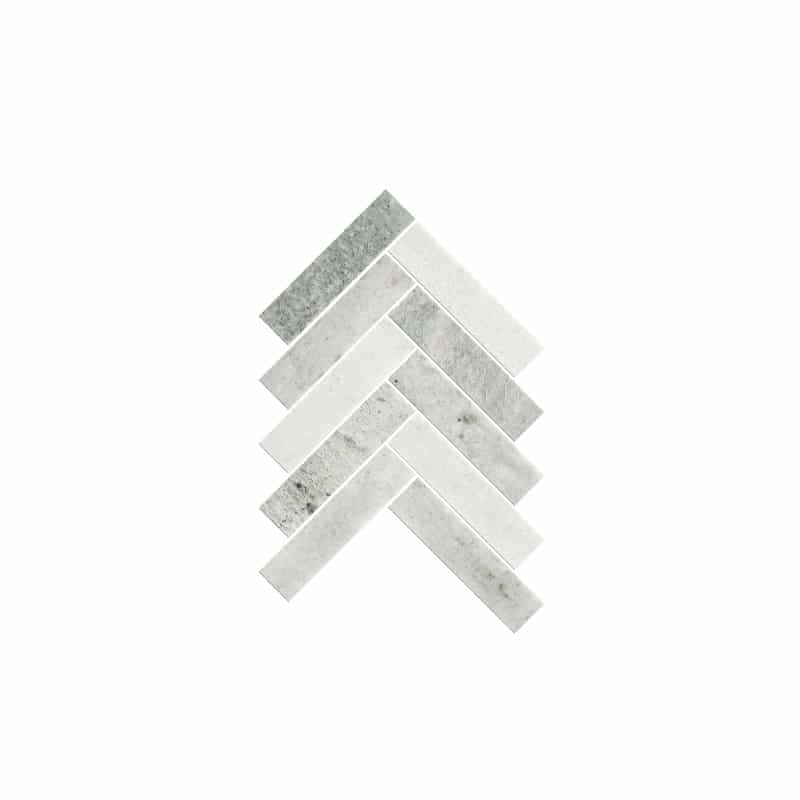
Ming Green Herringbone Honed Mosaic tiles 220X220MM
$194.95 $179.95 / square metre
Montage Soho Concrete Herringbone Internal Low Sheen tile 205×205 sheet
$15.95 / sheet
Montage Soho Ice Herringbone Internal Low Sheen tile 205×205 sheet
$15.95 / sheet
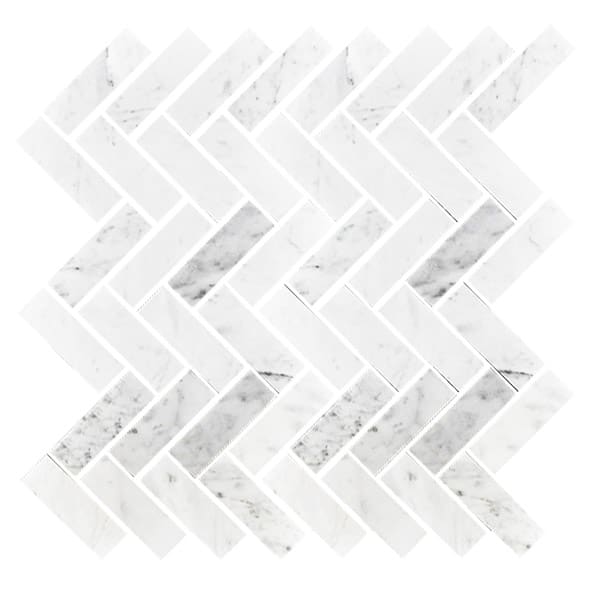
Carrara Herringbone Polished Mosaic Internal tile 305×325 sheet
$24.95 $23.95 / sheet
FAQs
What is the best adhesive for herringbone tiles?
The best adhesive for herringbone tiles largely depends on the surface you’re applying them to. For most interior wall and floor applications, we recommend a flexible cement-based adhesive like the Promaxset Prohesive Adhesive.
A more specialised adhesive, such as Davco Supamastic, is ideal if you’re tiling on wooden floors or plasterboards. Always remember that the right adhesive contributes significantly to the longevity of your tiling job.
What kind of grout do you use for herringbone tiles?
The type of grout you choose for your herringbone tiles will depend on the look you’re going for. A matching grout colour can create a seamless, monochromatic look, while a contrasting grout colour can make the herringbone pattern stand out more dramatically.
Generally, for herringbone tiles, we suggest using sanded grout for wider grout lines (3mm and above) and non-sanded grout for narrower lines (below 3mm).
Does the herringbone tile need to be sealed?
Yes, sealing herringbone tiles is an important step that often goes overlooked, especially for wet-prone areas like bathroom floors and kitchen. Sealing protects your tiles from stains, dirt, and moisture, especially in high-traffic or wet areas like the kitchen or bathroom. Even if your tiles are glazed, it’s still essential to seal the grout lines. However, always ensure you’re using a sealant appropriate for your tile material for the best results.