Want a fresh look for your home without the stress of a full-blown renovation? At Cheap Tiles Online, we have a solution for you – tiling over existing floor tiles!
This tile installation method is by far the quickest way to revamp your floors without the fuss or expense of removing the old ones. However, it requires careful planning and execution. Let’s guide you through this process with a simple step-by-step tutorial on how to install tile over your old tile, the right way.
What do you need to tile over tile?
To successfully tile over tile, you’ll need the following:
Once you have all the tiles and materials gathered, you’re ready to get started. Follow this step-by-step guide for installing tile over existing tile:
Step 1: Get Your Area Ready
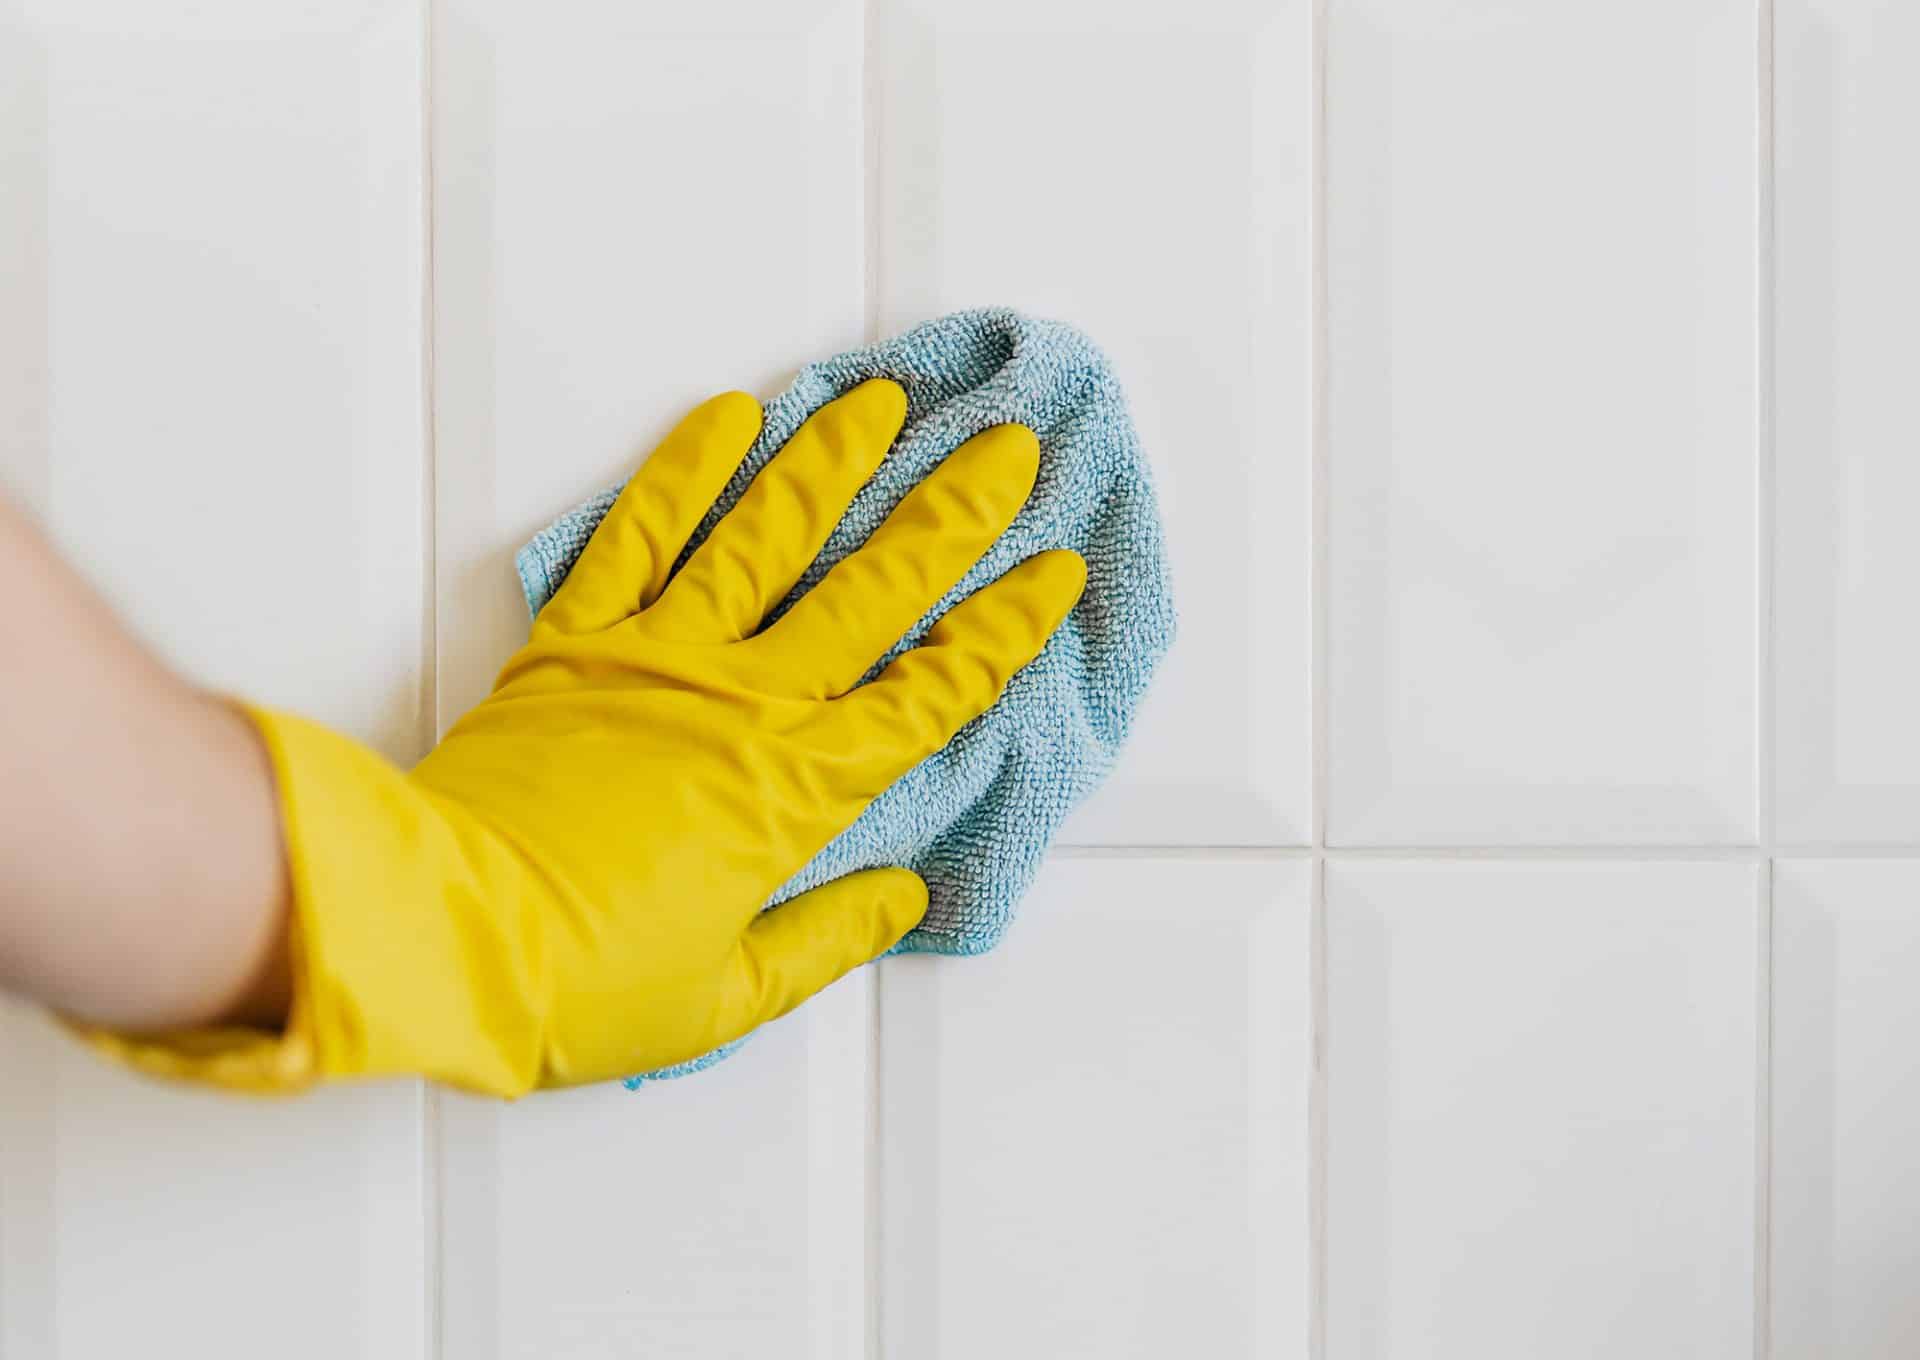
The first step in any successful tiling job is preparation. Start by thoroughly cleaning the existing tiles. Use a vacuum cleaner to pick up any sand or debris, then wash the area with water and detergent. Rinse and dry well. This step ensures a clean existing surface for better adhesion and reduces the risk of mildew or bacteria build-up.
Clear the area of any furniture and check for uneven spots. If you find any, apply a levelling compound to create a smooth surface. It’s essential to start with a level and flat surface to avoid loose tiles or any hollow sound later on.
For an even stronger bond, consider applying a primer to the old tiles and letting them dry before proceeding.
Step 2: Install Tiles Gradually
Patience is key when laying tiles. Apply adhesive to one floor tile at a time to prevent it from drying before you’re ready to lay the tile. Use the edge of your trowel to “draw” straight lines in the adhesive. These grooves will aid in the drying process and promote better adhesion.
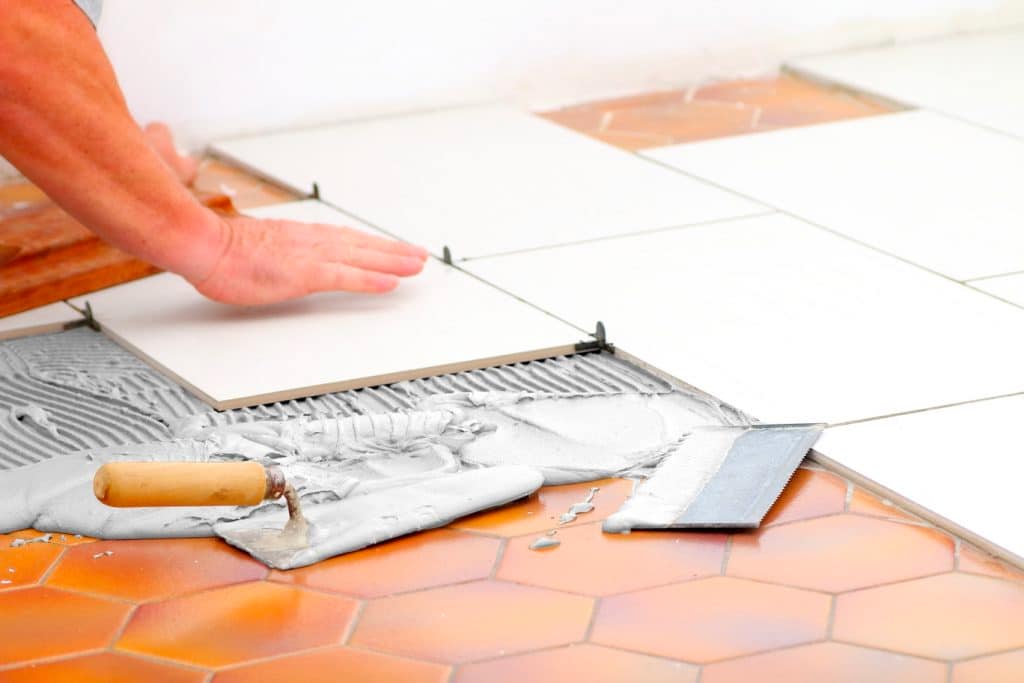
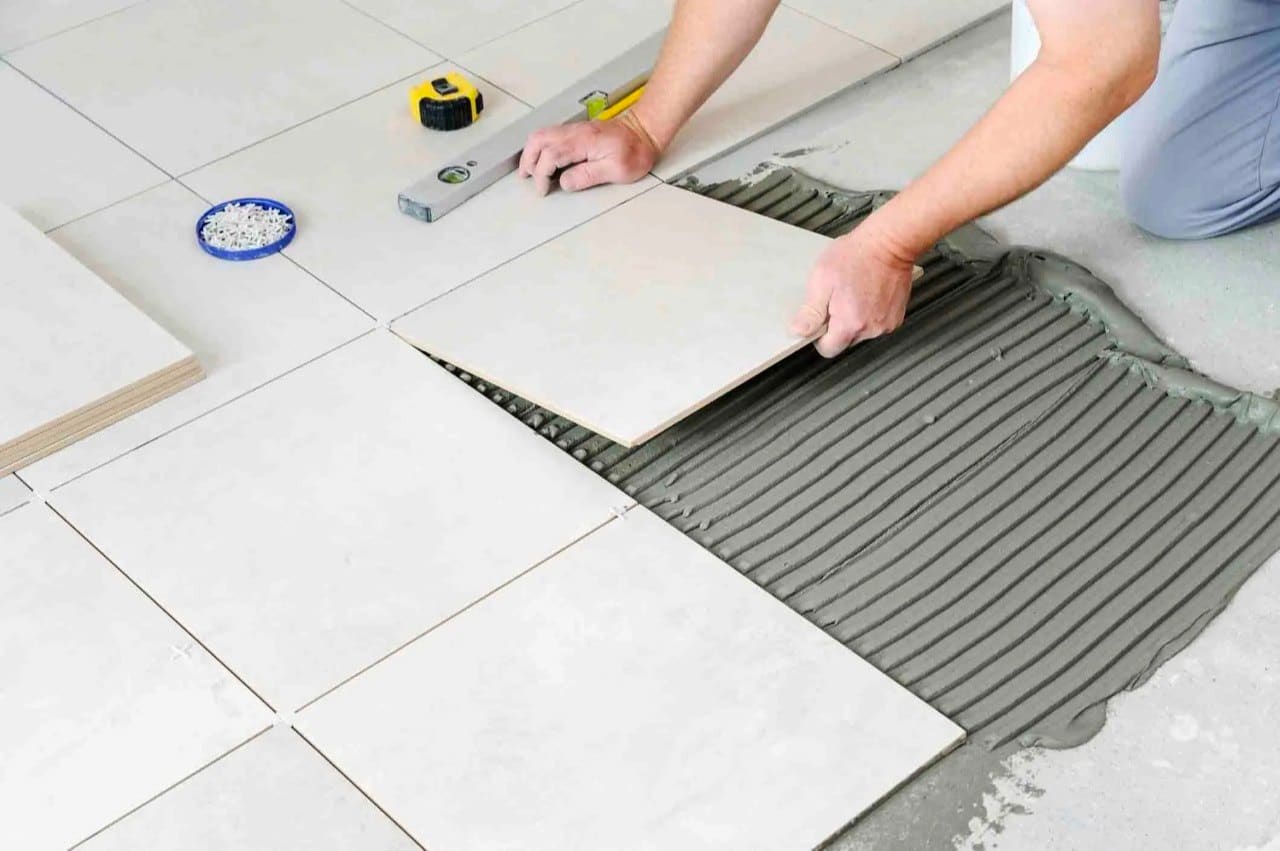
Step 3: Positioning Your New Tiles
Now, it’s time to lay the tiles. Press each tile firmly onto the freshly scored adhesive. If your original tiles are in good condition, you can apply the adhesive directly to the back of your new tile. Repeat this process until all your new tiles are in place.
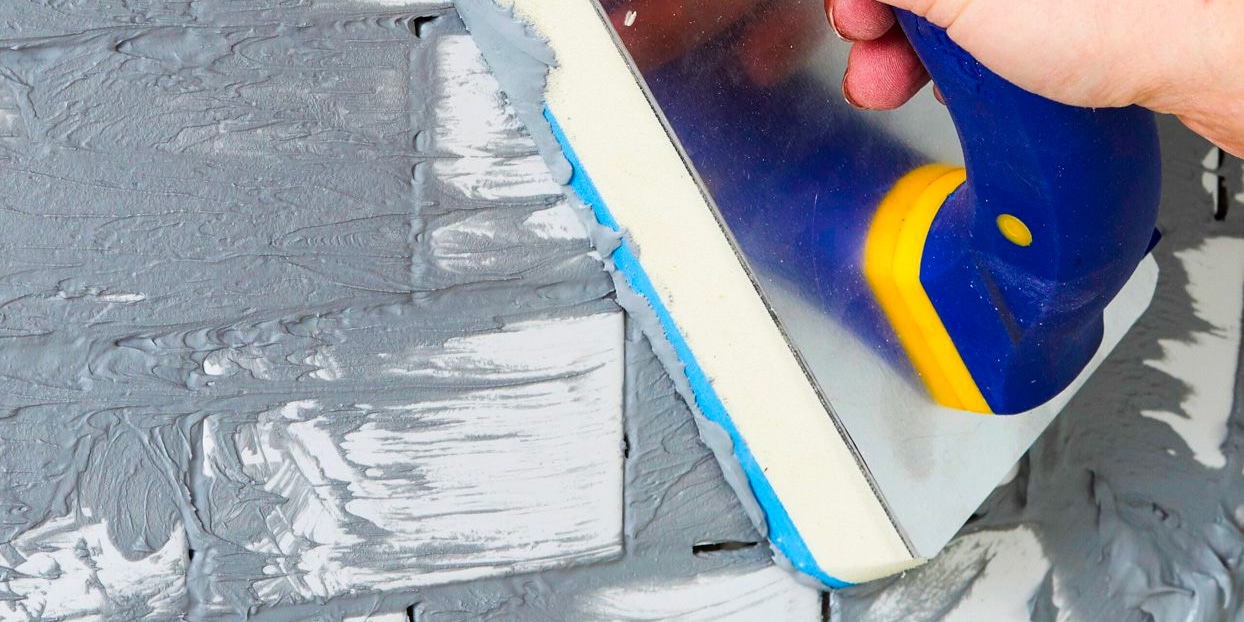
Step 4: Finalise Your Work with Grout
The final step is sealing your work with grout. Grout not only enhances the look of your tiles but also protects them from moisture and prevents mildew growth. Opt for pre-mixed grout from your local hardware store for convenience. Apply the grout quickly and efficiently to all the grooves between your tiles.
Step 5: Seal Your Tiles
Although this one is optional, we highly recommend putting the sealer on your grout lines, especially on wet areas like the bathroom and kitchen. This extra step will not only ensure your tiles are water-resistant but also lengthen their lifespan.
After your grout has had a chance to dry, sealing prevents moisture from seeping through the grout and into the adhesive or even the subfloor. It also protects against dirt and stains, making maintenance easier in the long run.
Apply a sealant recommended for your specific tile type and follow the manufacturer’s instructions carefully.
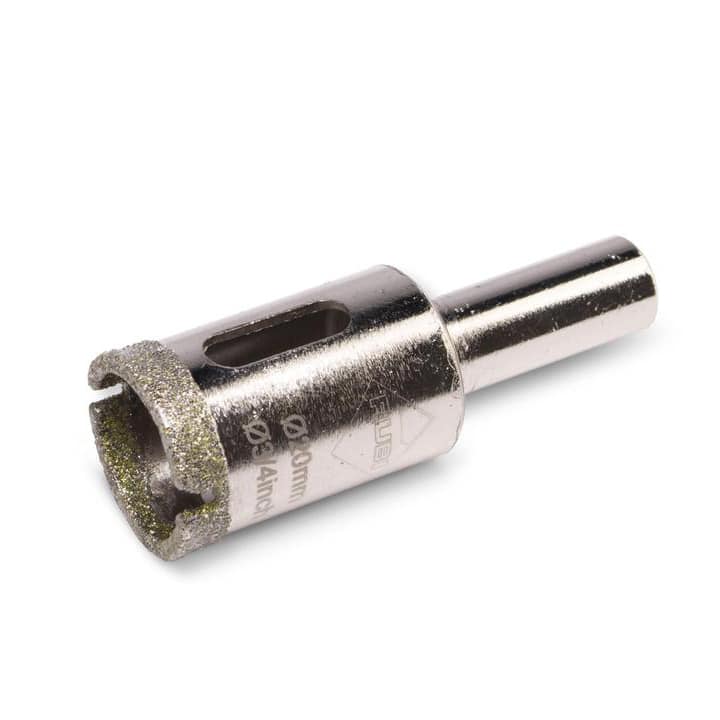
Rubi Easy-Gres (SRT) 20mm Wet Drill Bit
$24.95ea
iQ Power Tools Dry Diamond 250mm Soft Material Blade
$296.95ea
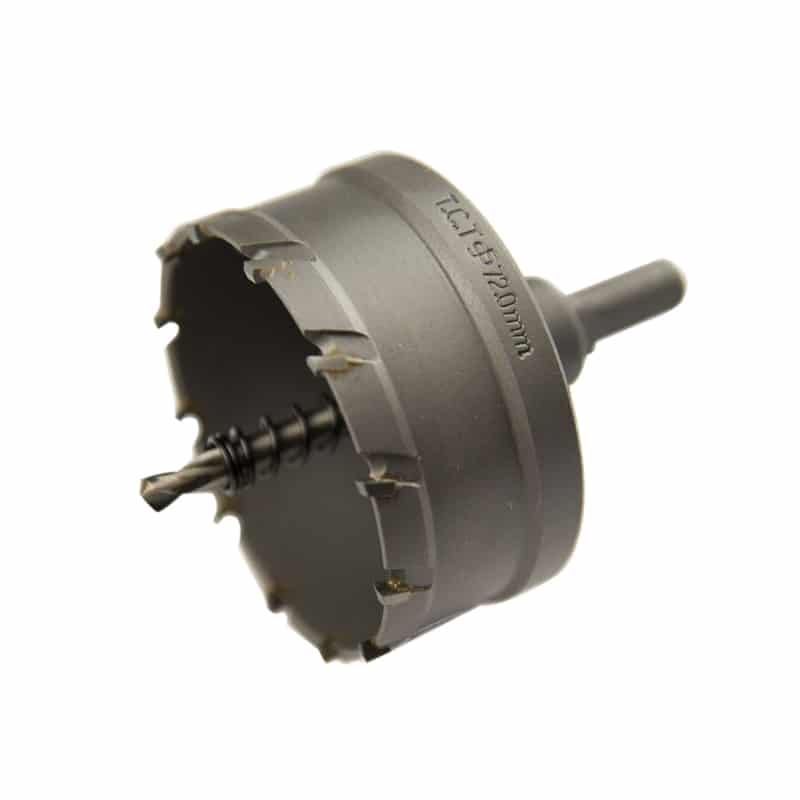
Lauxes Hole Saw 72mm
$50.00ea
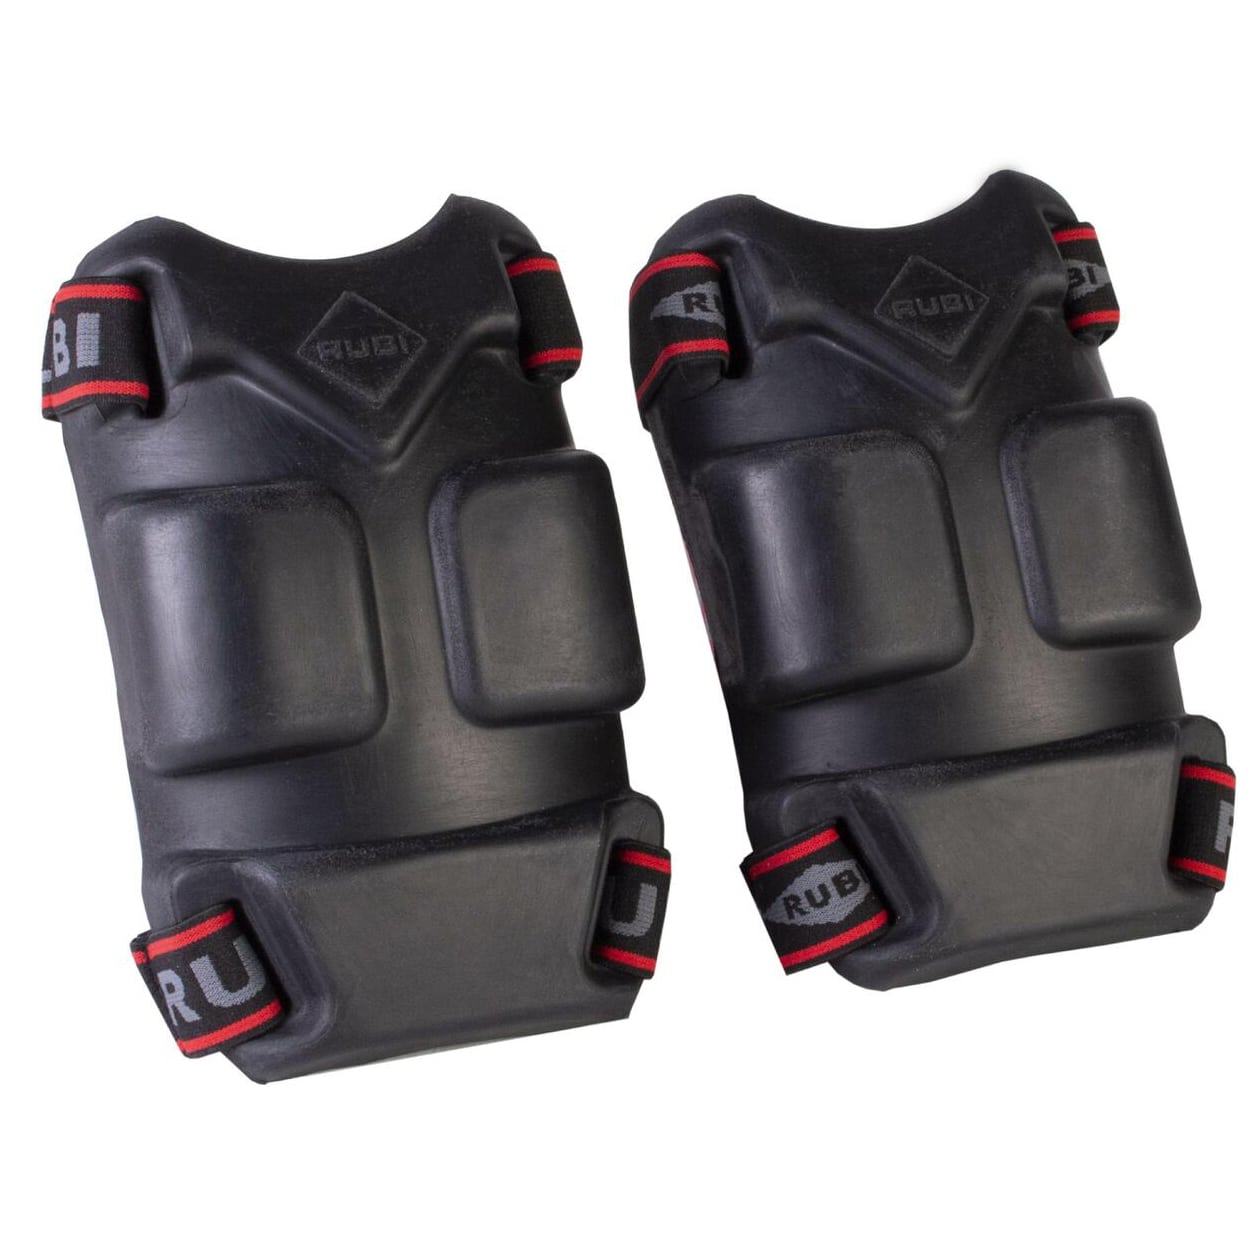
Rubi Knee Pads Professional Air (N) Plus
$62.95ea
Plastic Rubber Point Grout Trowel
$15.00$12.50
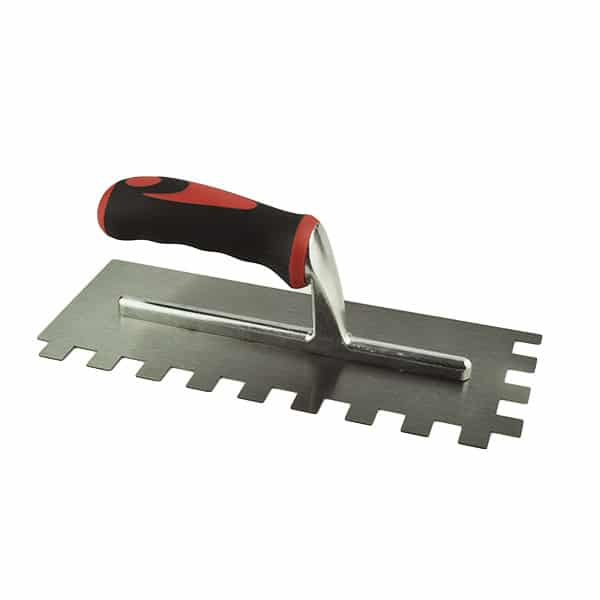
Bright Steel Adhesive Trowel with rubber handle – 15mm
$20.00$15.00
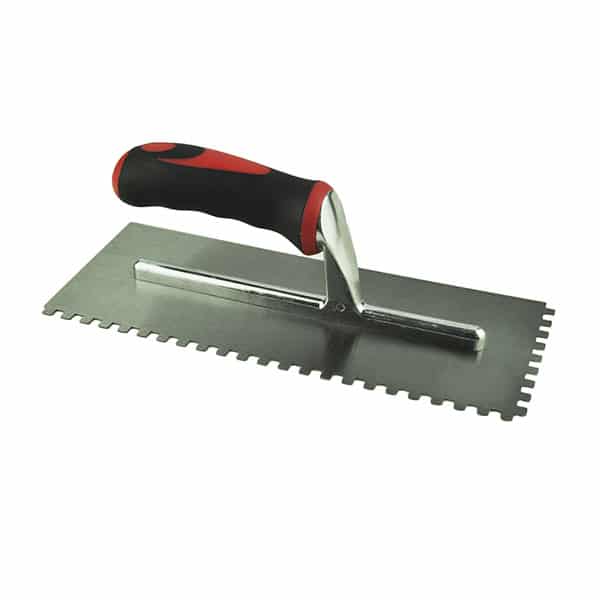
Bright Steel Adhesive Trowel with rubber handle – 6mm
$20.00$15.00
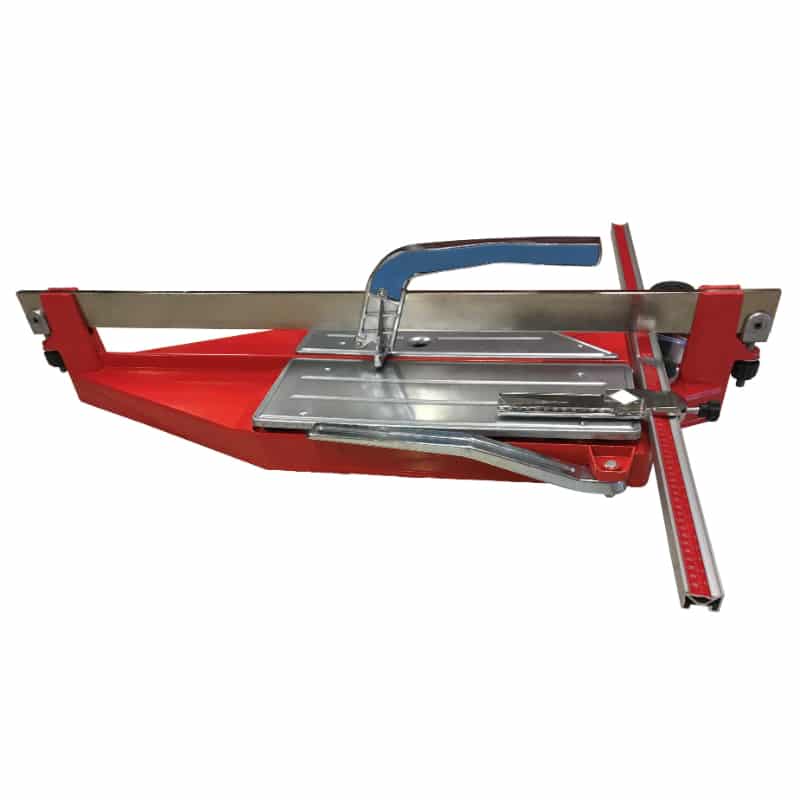
750mm Boss Manual Tile Cutter
$265.00ea
Lauxes Hole Saw 80mm
$55.00ea
What safety steps should I take when tiling over the tile?
Here are three key safety considerations to keep in mind when tiling over existing tiles:
Protective Gear is Essential: Always remember to wear appropriate safety gear. This includes gloves to protect your hands from sharp edges and chemicals, safety glasses to shield your eyes from dust and debris, and knee pads for comfort during extended periods of kneeling.
Keep Your Workspace Clear: A cluttered workspace can lead to accidents. Make sure all tools and materials are organised and out of the way when not in use to prevent trips and falls. Also, clean up any spills immediately to avoid slips.
Handle Tools with Care: Tiling tools can be sharp and potentially dangerous if not handled properly. Always use tools for their intended purpose and store them safely when not in use. If you’re using power tools, make sure you’re familiar with how to operate them safely.
When is it time to call in the professionals for help?
If you encounter significant levelling issues, cracked tiles, or mould and mildew beneath the existing tiles, it may be time to consult a professional. Additionally, if you’re not comfortable with any part of the tiling process, don’t hesitate to hire a professional.
FAQs
Can I tile over any type of existing tile?
Yes, you can generally tile over any type of existing tile, provided it’s in good condition and properly prepared. However, smooth and glossy tiles may need to be scuffed up to ensure proper adhesion.
How do I prepare the existing tile surface for the new tiles?
Start by cleaning the existing tiles thoroughly. Then, check for any high spots or dips and correct these with a levelling compound if necessary.
What type of adhesive or mortar should I use for tiling over the tile?
A high-quality thin-set mortar or flexible tile adhesive is typically recommended for tiling over existing tiles. The choice between the two often depends on the type of tiles you’re using and personal preference.