How to Cut Tiles
Did you know that even the simplest tiling job involves some cutting? Whether you’re a DIY enthusiast or a first-time tiler, understanding the right cutting technique for different materials and cuts is key.
That’s why our team at Cheap Tiles Online crafted this simple guide, helping you plan in advance because, remember, an already cut tile can’t be restored.
What Tools Will I Need to Cut Tiles?
Cutting tiles is a task that requires precision, and the right tools can make all the difference. The tool you choose will depend on three key factors: the tile type you’re working with, the kind of cut needed, and the number of tiles you’re planning to cut. Let’s delve into the details.
1. Understanding Your Tile Type
Different types of tiles require different tile-cutting tools. Here’s a quick rundown of the most common tools for each tile type:
Ceramic Tiles
- Angled Grinder
- Glass Cutter
- Snap Cutter
- Wet Saw
- Tile Nipper
Glass Tiles
- Angled Grinder
- Glass Cutter
- Wet Saw
- Porcelain Tiles
- Angled Grinder
- Snap Cutter
- Wet Saw
- Tile Nipper
Marble Tiles
- Angled Grinder
- Snap Cutter
- Wet Saw
- Tile Nipper
2. Determining the Type of Cut
Once you’ve identified your tile type, the next step is to figure out the kind of cut you need. This could be a straight cut, an angled cut, or a curved cut. The complexity of your cut will further narrow down your tool options.
3. Assessing the Scope of the Project
How many tiles you’re planning to cut will also influence your choice of tool. For a small project, a simple snap cutter may suffice. On the other hand, for larger projects involving numerous tiles, a wet saw might be more efficient.
Step-by-Step Guide on Cutting Tiles
1. How to Cut Tile with an Angled Grinder

An angled grinder is like your trusty Swiss army knife when it comes to tile cutting. It’s perfect for creating a variety of shapes and sizes, including straight, square, L-shaped, and circular cuts. While it may not give you the cleanest cut like a wet saw, its user-friendly design makes it a practical choice.
Step 1: Draw a Line Based on Measurement
Start by sketching the shape you want to cut (could be circular, square, semi-circular, etc.) on both sides of your tile.
Step 2: Get your Tile Ready
Place your tile on an even surface. To keep the glaze intact, use masking tape or painter’s tape around the edge. Make sure you have the right blade type for your tile (as mentioned above), and secure your tile using a clamp.
Step 3: Cut and Shape
Gently trace the marked shape with the edge of your angled grinder, making several passes to deepen the cut gradually. Keep the blade upright for straight cuts, or tilt it sideways for rounded cuts and circles.
Step 4: Finishing Touches – Polish the Edges
Finally, give your tile a smooth finish by polishing the edges. You can use the flat side of the blade, a rubbing stone, or sandpaper for this.
Additional information
- Angled grinders are handy when cutting tiles around toilets for piping, heater vents, or doorways.
- Ideal for cutting porcelain, ceramic, glass, marble, and stone tiles.
- Remember, the blade is important – a smooth-edge, diamond-tipped blade is great for ceramic tiles, serrated blades are best for natural stone tiles, and notched blades work well with porcelain tiles.
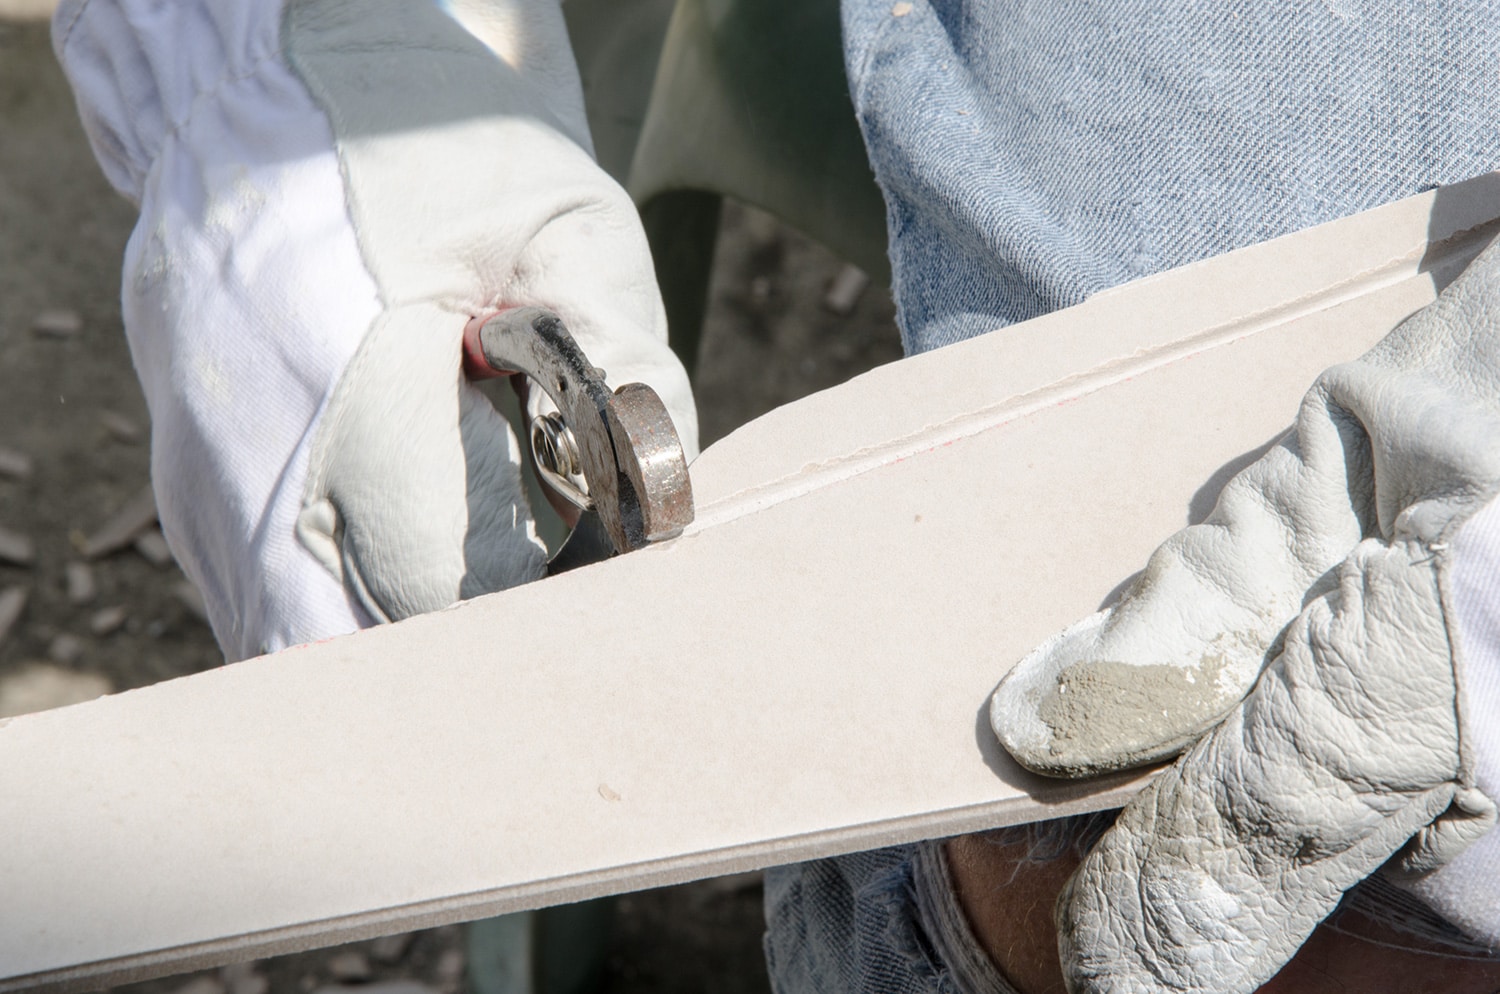
2. How to Cut Tile with a Glass Cutter

Got a small tiling task at hand and don’t need to make fancy cuts? A glass cutter might just be your new best friend. This nifty tool uses a rotating wheel to smoothly cut ceramic tile or glass tile without any crushing or chipping. Here’s a quick guide to get you started.
Step 1: Mark Your Cut
Firstly, identify the area on your tile that you wish to cut. Ensure that this line is drawn on the glazed side of your tile – the side that will be on display.
Step 2: Preparation
Next, place the tile on an even surface. Using a square ruler for your glass cutter will ensure precision. Remember to position your square ruler a little bit away from your marked line (less than 6mm) to ensure your cutter hits the right spot.
Step 3: Scoring the Tile
Begin at the edge of the tile and align your scoring tool on the line. As you direct the cutter over the tile, apply consistent pressure. You’re aiming to create a line, not cut all the way through. If you hear a scratching sound, you know you’re doing it right!
Step 4: Splitting the Tile
Next, position a wire hanger on a flat surface and line up your scored mark over it. By gently applying pressure to the tile’s sides, it should snap cleanly along your scored line. Alternatively, tile nippers can also be used for this step.
Step 5: Finishing Touches
Lastly, it’s important to smooth any sharp or rough edges left by the cut. Use a rubbing stone (preferably aluminium oxide) to polish the edges of the glass tile and high-fired porcelain, ensuring a safe and clean finish.
Additional information
- This tool is perfect for small tasks that only require a few straight cuts. It’s not the best choice for cutting corners or curves.
- Glass and ceramic tiles are best suited for this method.
- Be sure to have a chalk, square ruler, or pencil for marking lines, a rubbing stone and a wire hanger handy.
3. How to Cut Tile with a Snap Cutter
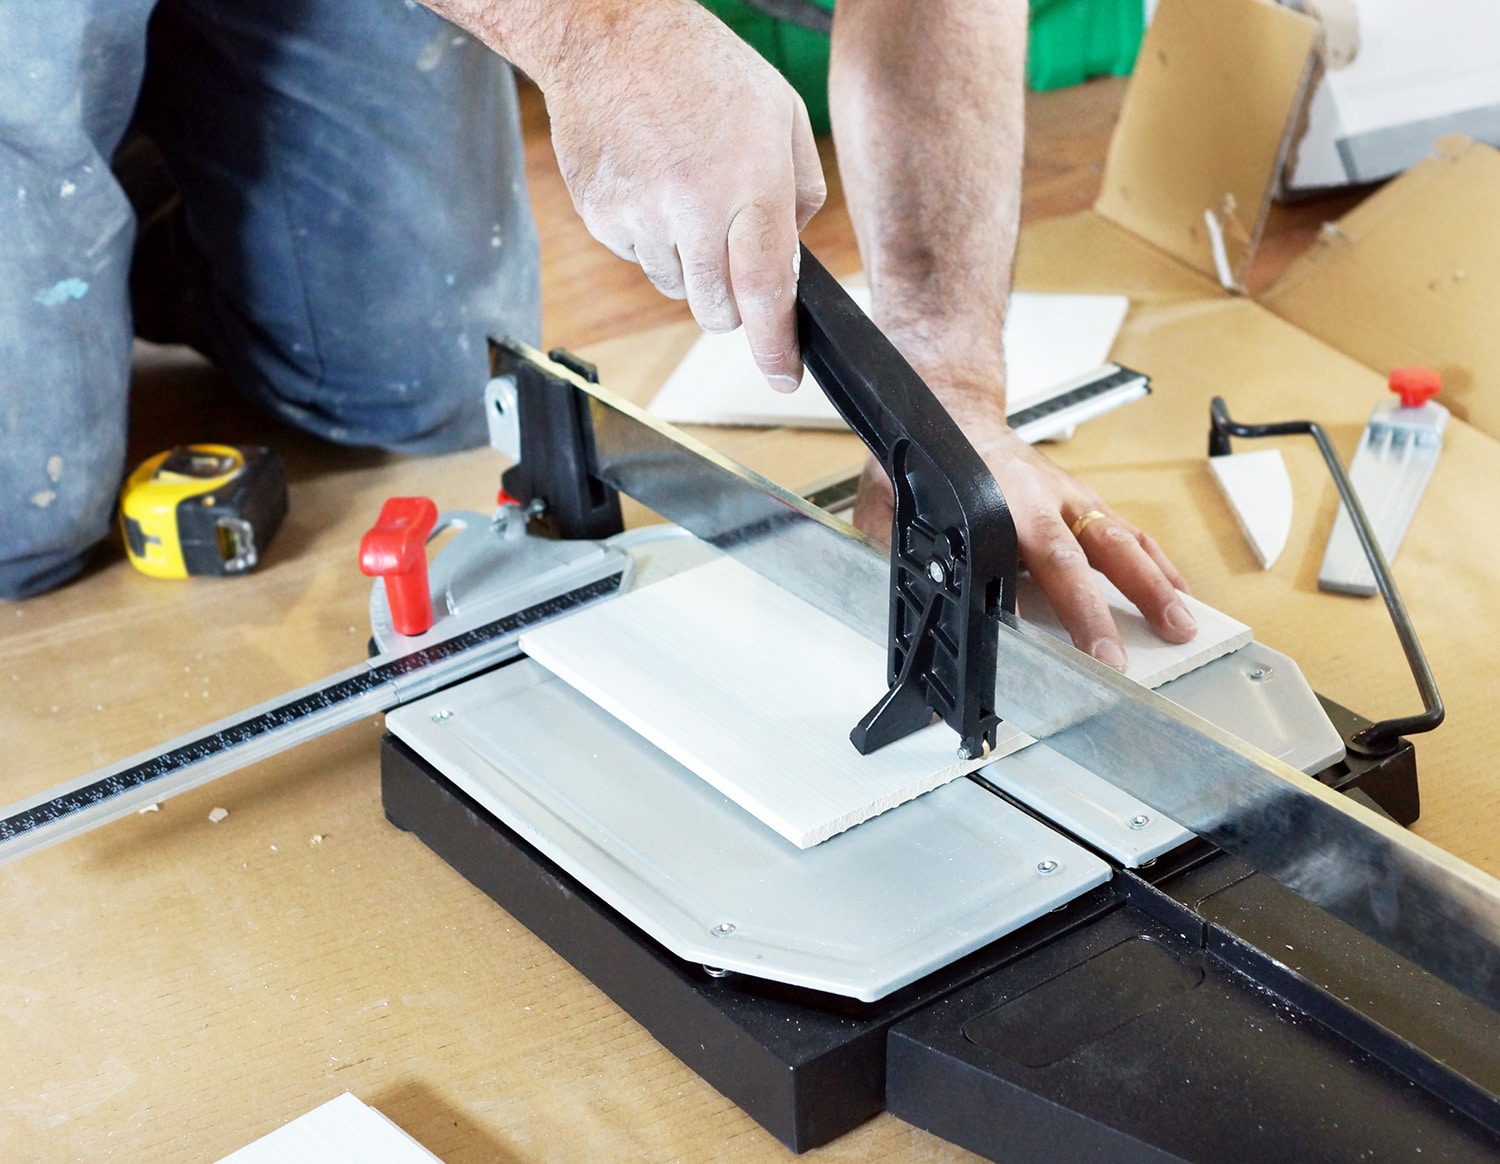
The Snap Cutter, also known as a rail tile cutter, is a wallet-friendly and safe option for cutting tiles without the need for electricity or water – talk about convenience!
Step 1: Planning Your Cut
Initiate the process by marking the line on your tile where you intend to make the cut.
Step 2: Positioning and Scoring
Next, position your tile on a level surface, ensuring the glazed side is facing upward and directly under the cutting wheel. Start from the edge and put steady pressure on the carbide scoring wheel as you pull it across the tile’s face to carve a straight line.
Occasionally, you might need to go over the line a second time to make sure it’s clearly scored, but try to avoid too many passes, as they could cause the tile to chip.
Step 3: Applying Pressure and Snapping
After you’ve etched the line, raise the handle and put pressure right in the middle of the tile. Add a steady but gentle push to the handle. If your tile has been properly scored, it should break easily and cleanly along the line.
Step 4: Refining the Edges
Lastly, examine the tile edges. If they feel rough or sharp, use a rubbing brick or stone to smooth them down, ensuring a clean and safe finish.
Additional information
- This tool is ideal for small projects that don’t involve cutting a ton of tiles.
- Great for making diagonal cuts and cuts at various angles. However, avoid using a snap cutter for cutting curves or bevels or for large-scale projects.
- Not the best match for ceramic or porcelain tiles thicker than 9.5mm, natural stone and marble tiles, and large format tiles – these are better suited to a wet tile saw.
- Primarily, the snap cutter is used for cutting ceramic tiles up to 9.5mm thick.
4. How to Cut Tile with a Tile Nipper
Also known as a nibbling tool, a tile nipper is an essential tool in your tiling arsenal. It’s perfect for making those small, delicate cuts that larger tools can’t manage.
Just remember, precision over speed – this tool requires patience as it chips away at the tile bit by bit.
Step 1: Draw the Line
Start your project by sketching the line on your tile that you intend to cut. For intricate shapes like curves or semi-circles, don’t shy away from using a compass or household items like cans or lids as a guide.
Step 2: Trim and Etch
If your desired cut is quite a distance from the edge of the tile, it’s wise to trim the tile first. Leverage tools like a wet tile saw or a snap cutter to score and neatly cut straight pieces. Once you’ve managed to bring down the size of the tile, you can begin moulding the smaller area.
Step 3: Gradually Chip Off
Apply a sturdy grip on your nipper’s handles to gradually chip off tiny pieces. Patience is key here – proceed with caution to prevent breaking the tile beyond your marked line.
Step 4: Polish the Edges
Keep in mind, the edges of your tile can be quite sharp after cutting, so it’s important to smooth them down. This step is especially key for cuts that need to fit around objects like shower drains. Be careful and make sure those edges are nice and smooth.
Additional information
- The tile nipper is a star when it comes to making irregular or curved cuts – think arcs, circles, tiny cutouts, or notches. It’s also great for trimming small sections off a tile, such as around faucet valves, toilet flanges, and door casings.
- If you need to cut large, straight sections off a tile, the tile nipper isn’t your best choice. Go for a tile cutter or a wet tile saw instead.
- While a tile nipper is most commonly used with ceramic tiles, it can also tackle thinner porcelain, concrete, and some natural stone tiles – just brace yourself for a bit of a workout, as these materials require a strong grip and squeeze.
5. How to Cut Tile with a Wet Saw
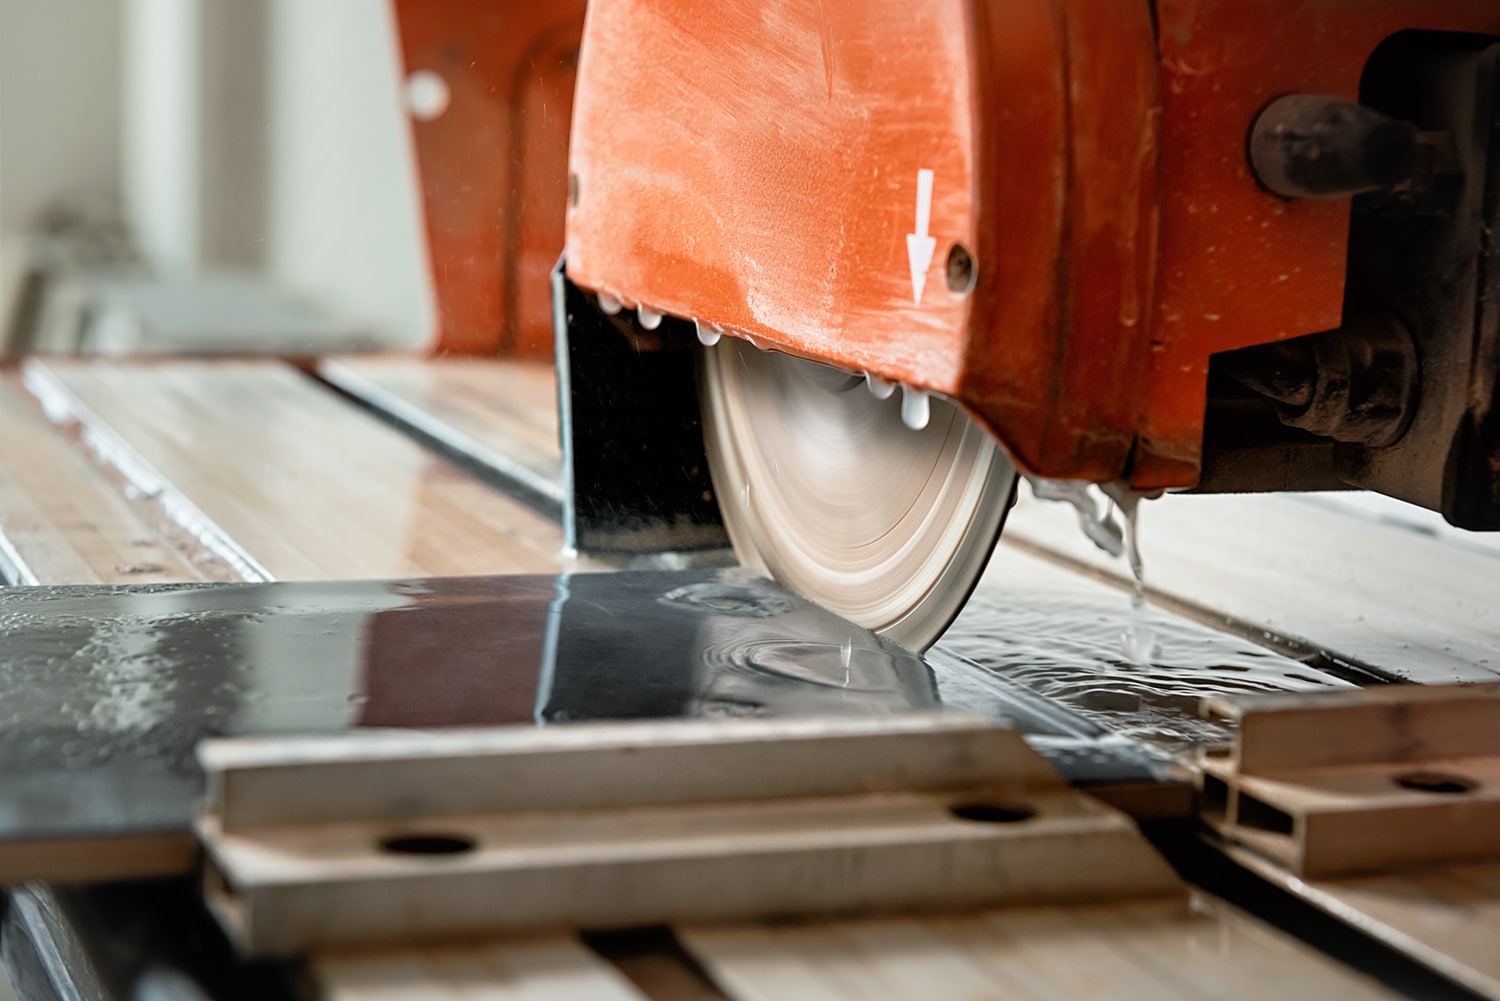
A wet saw is your go-to tool for larger projects that involve a substantial amount of tiles. While it does require some practice, the precision and smooth cuts it delivers are unbeatable. Plus, wet saws can also shape tile trimmings into quarter-round or bullnose shapes.
Step 1: Measure and Mark
Kick things off by marking the shape you want to cut on the tile.
Step 2: Set-up and Ready
Place the tile on an even surface. Use a level tool to make sure your tile and cutting marks are perfectly aligned with the blade. Don’t forget to read your tool’s guidelines before you begin, and double-check that your blade is sharp.
To avoid any chipping, mask the outer edges of the tile with tape. Also, make sure you have plenty of water in the reservoir and that water is flowing over the blade when you position the tile into it.
Step 3: Set Up and Prep
Place the tile on a flat surface. Use a level to ensure your tile and cut marks perfectly align with the blade. Always give your tool’s instructions a read before getting started, and make sure your blade is sharp.
To avoid chipping, use tape to mask the outer edges of the tile. Also, double-check that you have a full reservoir of water and that water is flowing over the blade when the tile is placed into it.
Step 4: Smoothen the Edges
If necessary, use a rubbing brick or stone to smooth out the tile edges.
Additional information
- Wet saws are a fantastic tool for larger projects. If you’re tasked with cutting a substantial number of tiles or need to make precise corner cuts around wall outlets and door jambs, you can’t go wrong with a wet saw.
- Notably, a wet saw isn’t just limited to porcelain tile. It’s also perfectly capable of cutting through ceramic, marble, and glass tiles, making it a versatile addition to your toolkit.

SIGMA TILE CUTTER ART-3D4-950mm
$932.00 ea

Plastic Rubber Point Grout Trowel
$15.00 $12.50

Rubi Knee Pads Professional Air (N) Plus
$62.95 ea
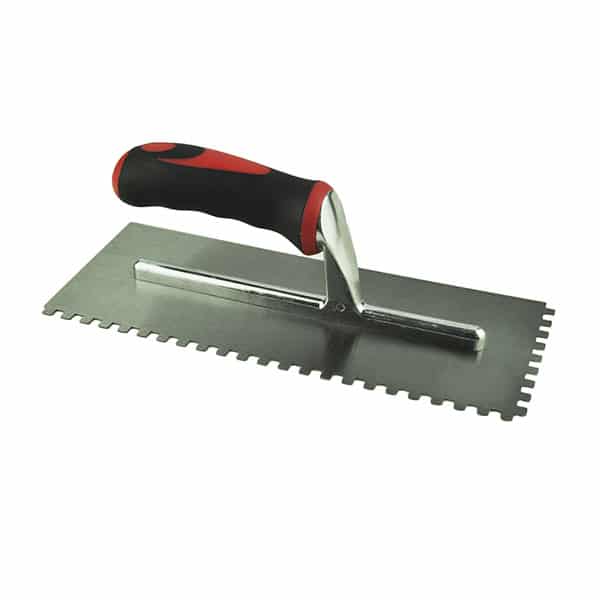
Bright Steel Adhesive Trowel with rubber handle – 6mm
$20.00 $15.00

Grabo Cordless Suction Cup (P183)00X300mm)
$447.95 ea

iQ Power Tools 288 Cylcone 180mm Dry Cutting Table Saw (Includes Blades)
$1,210.95 ea

Grabo Pro-Lifter 20 Cordless Suction Cup
$503.00 ea
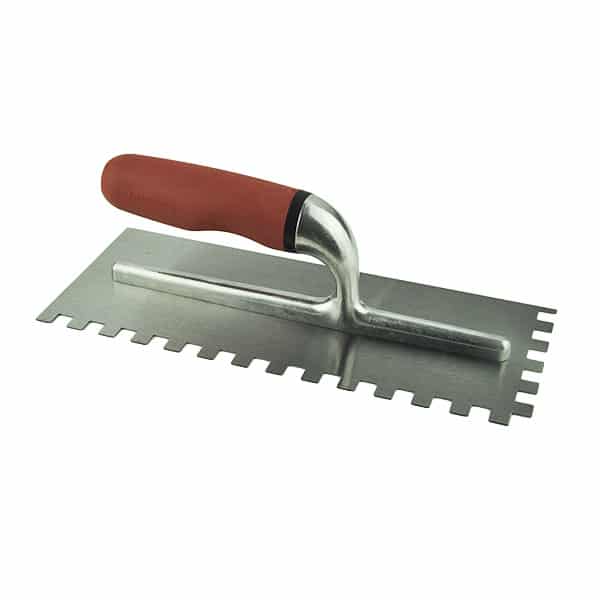
Bright Steel Adhesive Trowel with rubber handle – 10mm
$20.00 $15.00
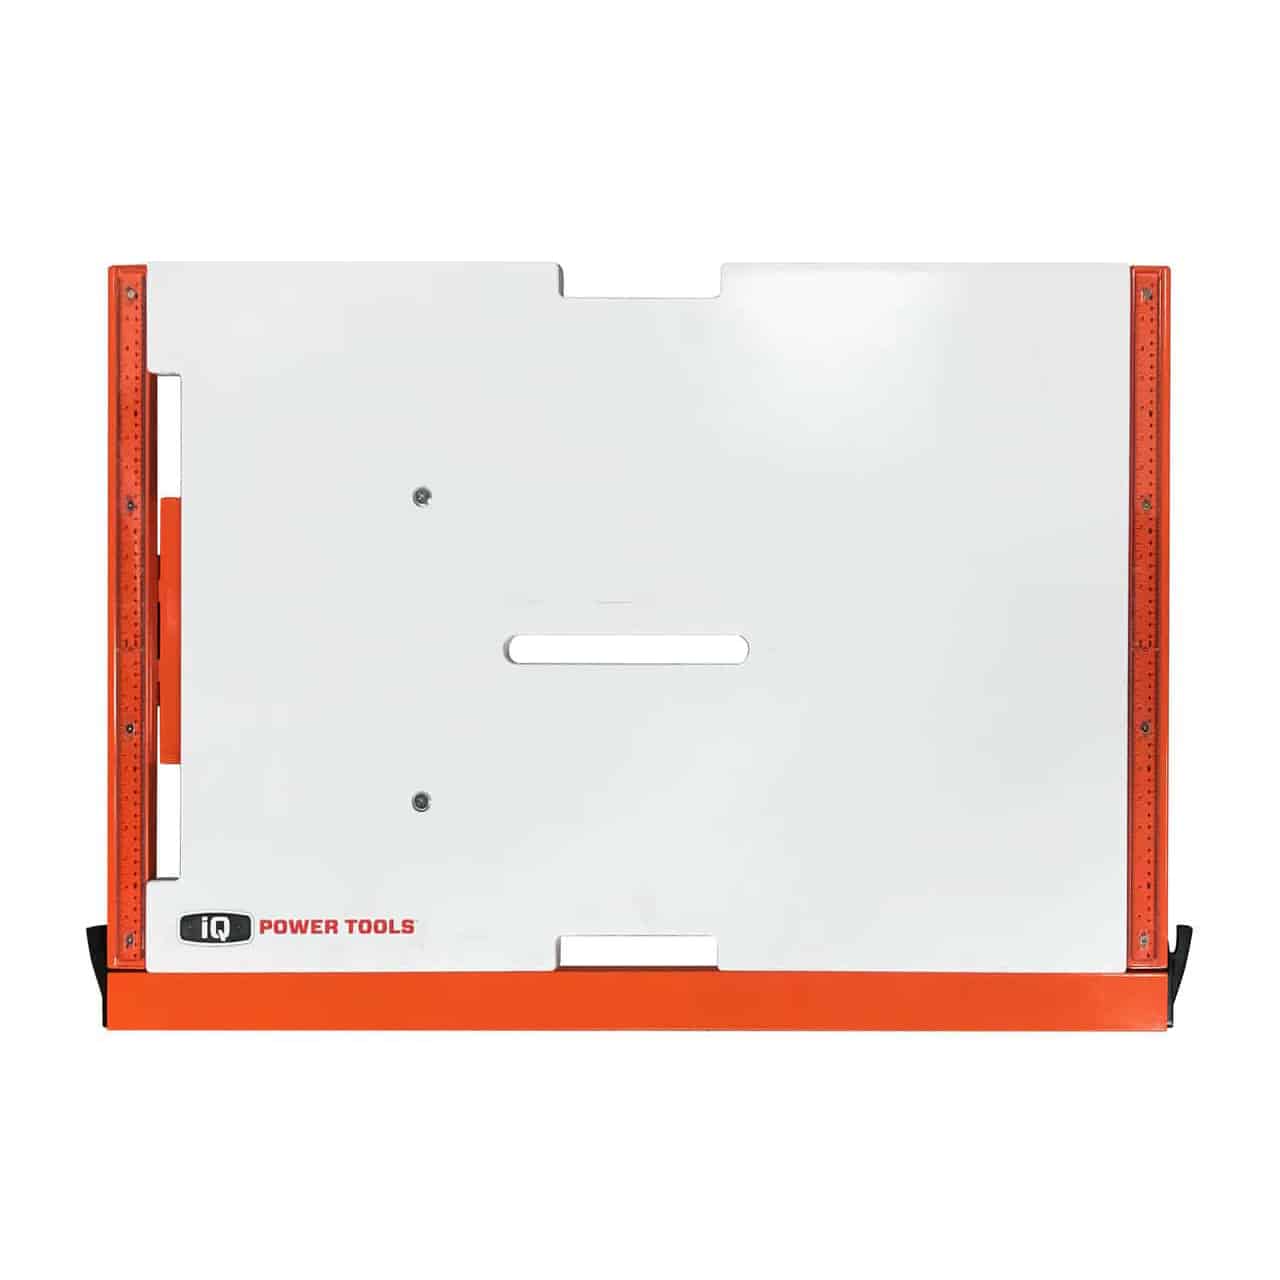
iQ Power Tools Optional Table For TS244
$545.95 ea
What safety considerations do I need to be aware of when cutting tiles?
While cutting tiles can be a satisfying task, it does come with its fair share of hazards. To ensure your workspace is as safe as possible, here are some key safety tips to keep in mind:
- Wear Protective Gear: Tiles can be sharp, and the cutting process can send shards flying. Make sure to protect yourself with safety goggles to shield your eyes, heavy-duty gloves to guard your hands, and a dust mask to prevent inhalation of fine particles.
- Check Your Tools: Before you begin, inspect your cutting tools. Ensure that they are in good working condition and the blades aren’t dull or damaged. This is crucial as faulty tools not only compromise the quality of your work but also pose a serious safety risk.
- Take Breaks: If you’re tackling a big project, don’t try to power through it all at once. Tiredness can lead to clumsiness, which can result in accidents. Always remember to take regular breaks to rest and recharge before getting back to your work.
When is it time to call in the professionals for help?
If you’re dealing with complex cuts, large quantities of tiles, or particularly hard materials like thick porcelain or natural stone, it might be best to hire a professional. They have the experience and tools to handle any situation efficiently and safely.
FAQs
What types of tiles can I cut using a manual tile cutter?
A manual tile cutter is perfect for ceramic and some porcelain tiles. However, for denser materials like stone, you’d need a wet saw.
What should I do if a tile breaks or cracks during the cutting process?
If a tile breaks or cracks, it’s often due to too much pressure applied during cutting. Try to apply steady, even pressure. If the tile is already damaged, it’s best to replace it.
How often should I replace the blade on my tile cutter?
The frequency of blade replacement depends on its usage and the material you’re cutting. Generally, you should replace the blade once it starts delivering rough cuts or if the tile edges are chipping excessively.