How to Remove Silicone From Tiles
Are you finding yourself in a sticky situation with silicone on your beautiful tiles? Fear not, because we at Cheap Tiles Online are here to guide you through the process of removing silicone from tiles. No more worrying about those unsightly smudges or residues ruining your tile’s aesthetic appeal. Let’s dive into this DIY task and give your tiles the care they deserve.
What Tools and Materials Do I Need to Remove Silicone Residue from Tiles?
Before we start, let’s gather all the necessary tools and materials. You’ll need:
- A utility knife or scraper tool
- Rubbing alcohol or a silicone remover solution
- A cloth or sponge
- Protective gloves
These items should be readily available at your local hardware store or perhaps even already in your toolbox.
Step-by-Step Guide on Removing Silicone from Tiles
Step 1: Protect Your Hands
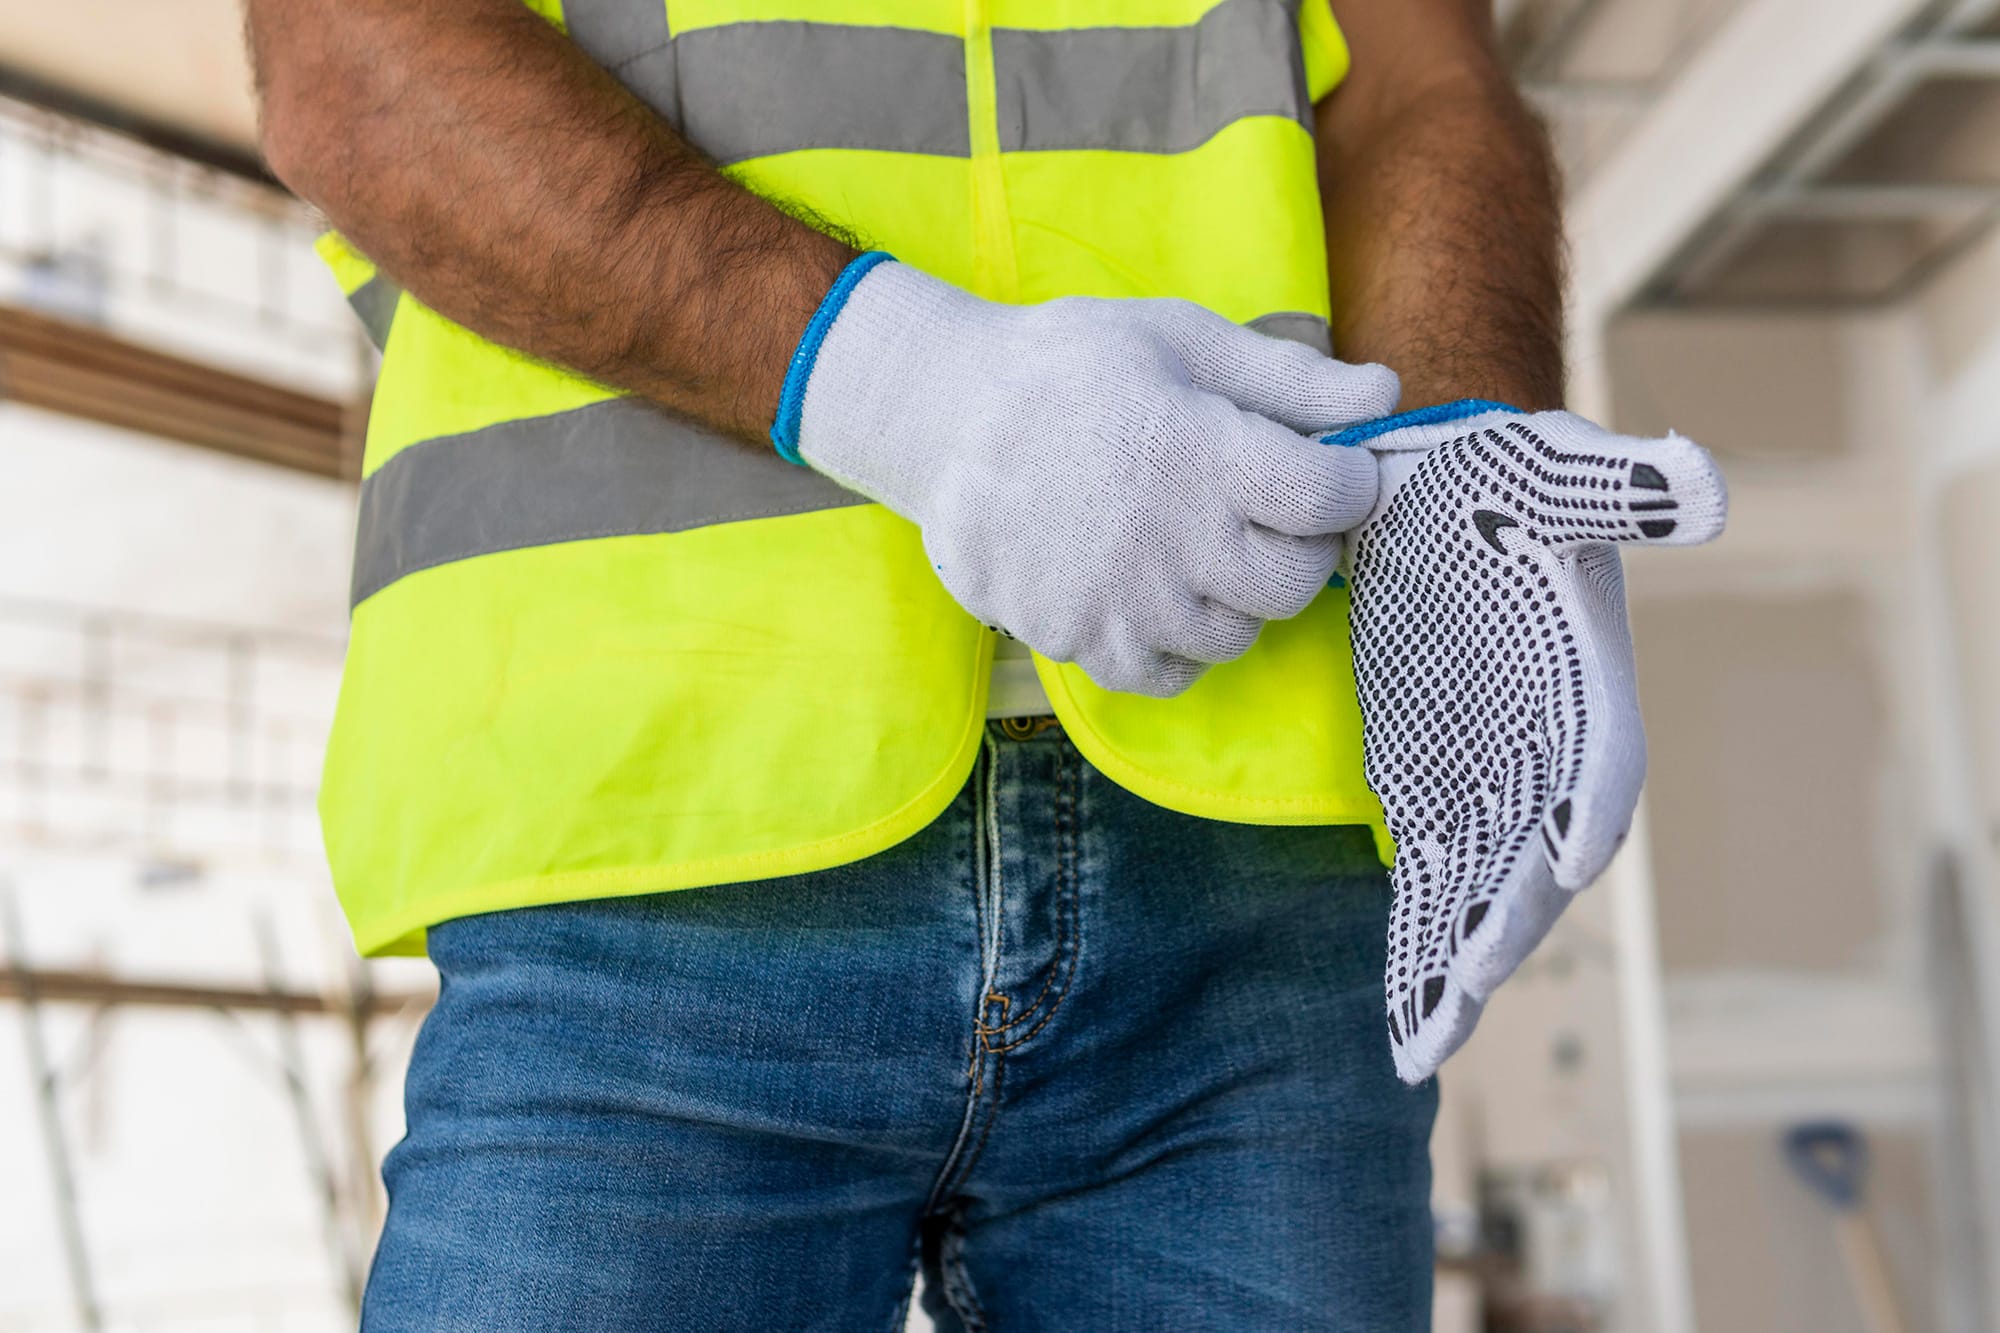
First and foremost, don your protective gloves. Silicone caulk can be a bit of a challenge to remove and you might find yourself really working those arm muscles. Plus, it’s always a good idea to protect your skin.
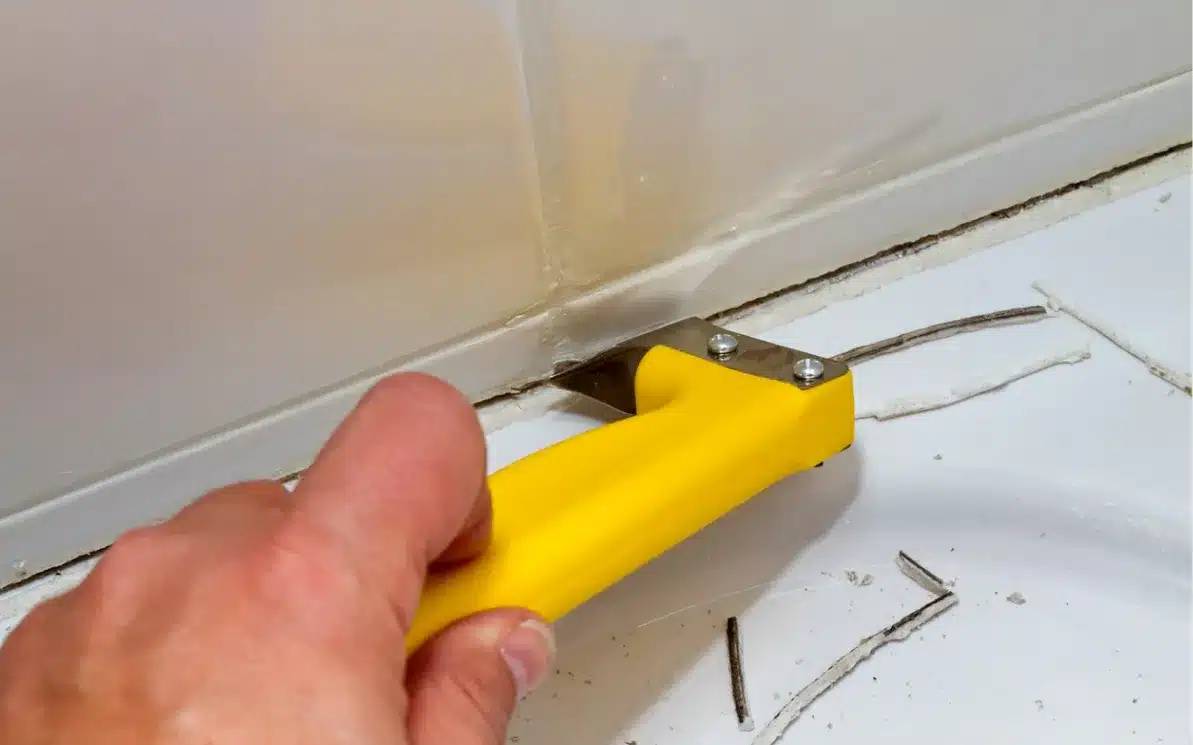
Step 2: Slice the Silicone
Now, take your trusty utility knife or scraper tool and gently slice into the silicone caulking. Be cautious here – we’re after the silicone, not the ceramic tiles. The goal is to get rid of the old silicone sealant without leaving a scratch on your beautiful tiles.
Step 3: Scrape off the Silicone
Once you’ve made the initial incision, it’s time to start scraping off the silicone. Approach this step with care. It’s like a dance with the tiles – you want to be firm, yet gentle. Remember, the aim is to get rid of the silicone, not to harm your tiles.You can use a hair dryer to speed up this process.
Step 4: Apply Silicone Remover or Rubbing Alcohol
If you notice some remaining silicone after your initial efforts, don’t worry. This is where your silicone remover or rubbing alcohol comes into play. Apply it to the stubborn areas and let it sit for a few minutes. These substances work to soften the silicone, making it easier for you to remove.
Step 5: Wipe Away the Residue
After patiently waiting for the solution to do its work, it’s time to wipe away the softened silicone. Using a cloth or sponge, gently scrub the area. You might need to repeat this process a couple of times until the surface is completely clean.
Step 6: Final Clean
You’re almost there! Once you’ve removed all traces of the old silicone sealant and you’re satisfied with your work, it’s time for the final clean. With some warm soapy water, give the area a thorough wash. This will ensure that the surface is perfectly clean and ready for any new silicone sealant you may wish to apply.
Are there any Safety Considerations I Should be Aware of Before I Remove Silicone Sealant from Tiles?
Absolutely! Safety should always come first. Here are three key safety considerations to keep in mind:
1. Protective Gloves
When dealing with silicone and sharp tools, it’s essential to protect your hands. Wearing protective gloves can prevent potential injuries and also shield your skin from direct contact with chemical substances like silicone remover or rubbing alcohol. For the Aussie DIY’er, this is especially important considering our love for getting hands-on in home improvement projects.
2. Proper Ventilation
Australia’s climate can vary greatly, but whether you’re in humid Queensland or cooler Tasmania, ensuring proper ventilation when using a silicone remover solution or rubbing alcohol is crucial. These substances can emit fumes that shouldn’t be inhaled, and good ventilation will help dissipate these fumes quickly, keeping your working environment safe.
3. Eye Protection
Often overlooked, protecting your eyes is just as important as safeguarding your hands. A stray piece of silicone or a splash of removal solution can cause serious harm. Safety goggles are a must-have for every Australian homeowner’s DIY toolkit. They provide a barrier against flying debris and chemical splashes, allowing you to focus on the task at hand without worrying about potential eye injuries.
FAQs
What can I use to remove silicone sealant if I don’t have a silicone remover?
If you don’t have a silicone remover, don’t worry! You can use items commonly found around the house, like rubbing alcohol or white vinegar. These substances can help soften silicone, making it easier to scrape off. However, remember to test a small amount on an inconspicuous area first to ensure it doesn’t damage your tiles.
How long should I leave the silicone remover or rubbing alcohol on the silicone before scraping it off?
Generally, it’s recommended to leave the silicone remover or rubbing alcohol on the silicone for about several hours. This allows enough time for the substance to penetrate and soften the silicone, making it easier to remove. However, always refer to the instructions on your specific product as times can vary.
Can I reapply new silicone sealant immediately after removing the old one?
While you might be eager to finish your project, it’s best to wait until the surface is completely clean and dry before applying new silicone sealant. Any remaining old silicone or moisture can prevent the new sealant from adhering properly. So, take your time, ensure the surface is spotless and dry, and then proceed with applying the new sealant. Your patience will pay off with a neat and durable finish!