How to Lay Terrazzo Tiles

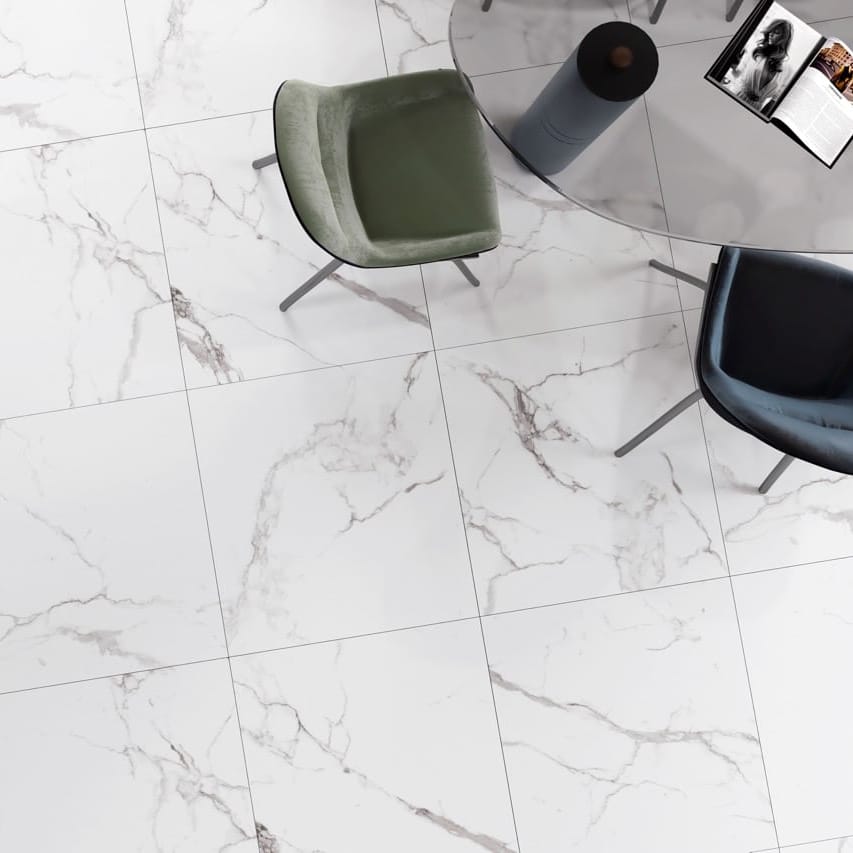
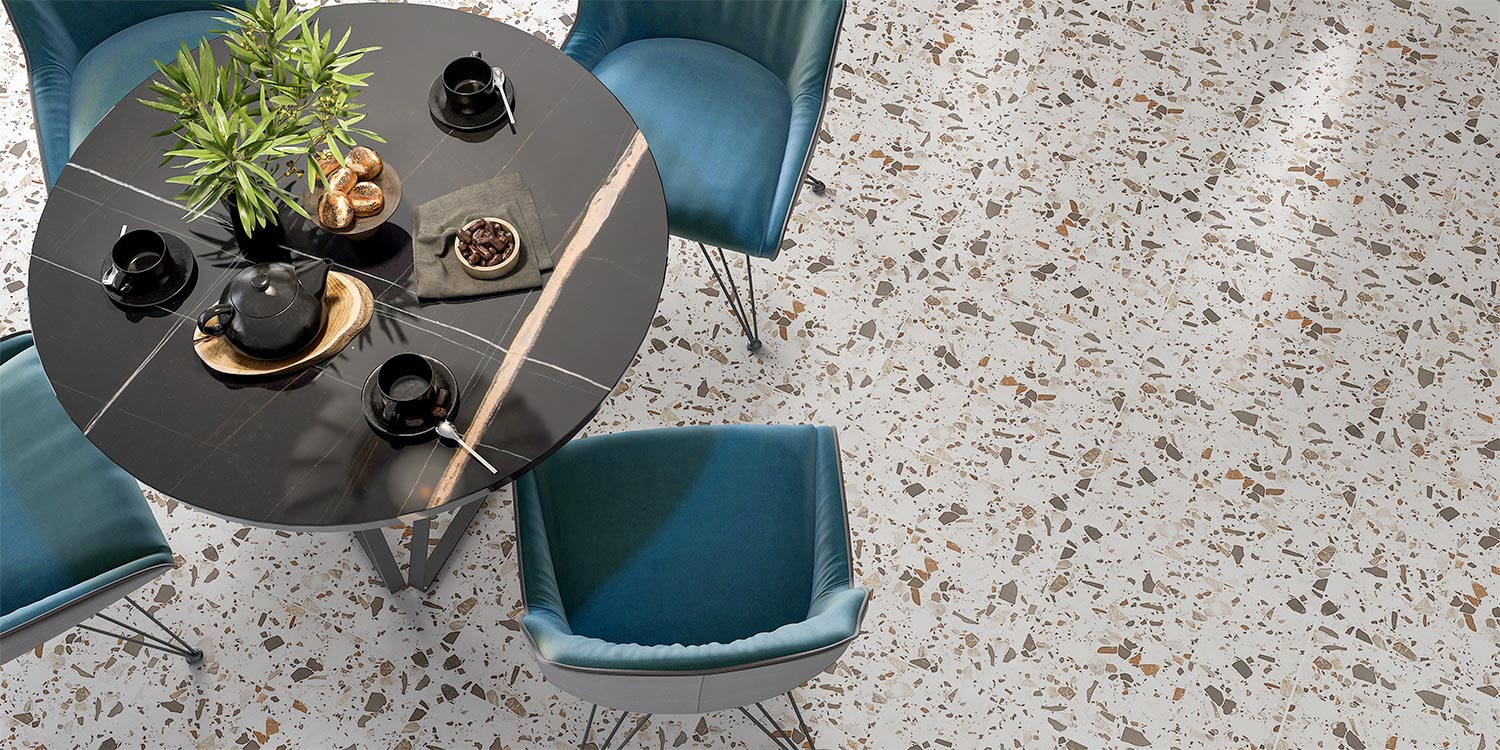
If you want to add a touch of elegance and style to your space, terrazzo tiles from Cheap Tiles Online are the perfect choice. These vibrant, patterned tiles can transform any room into a bright, stylish haven. But before you dive into a terrazzo tiling project, it’s essential to know how to lay them correctly. Don’t worry, we’ve got all the tips and tricks you need to get it right the first time.
What Tools and Materials Do I Need to Lay Terrazzo Tiles?
Before we get started, let’s ensure we have all the necessary tools and materials. You will need:
- Terrazzo tiles
- Tile adhesive
- Tile cutter
- Grout
- Trowel
- Rubber mallet
- Level
- Tile spacers
- Grout float
- Sponge and clean water
- Safety gear (gloves, safety glasses)
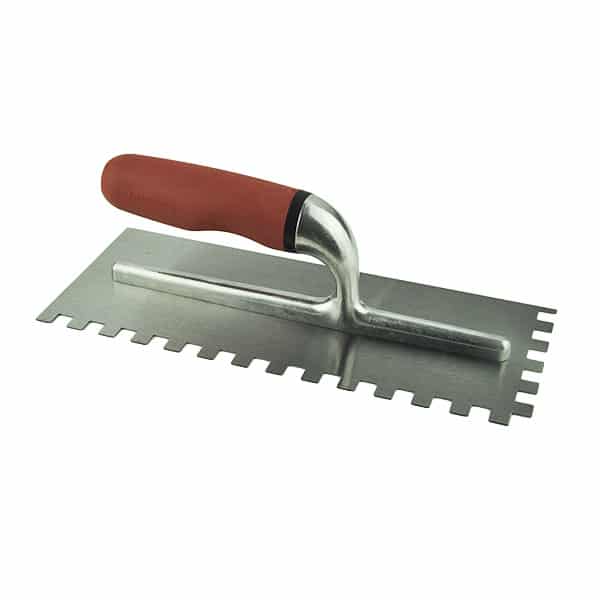
Bright Steel Adhesive Trowel with rubber handle – 10mm
$20.00 $15.00

Promaxset Prohesive Adhesive White 20kg
$28.95 $24.95 ea
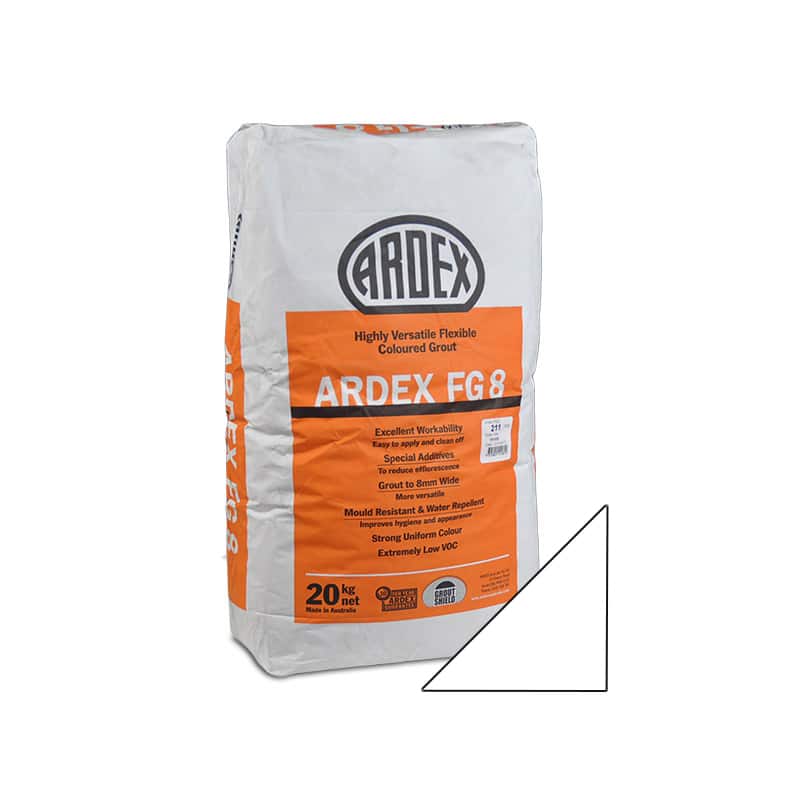
Ardex FG 8 Flexible Grout – White
from $9.00
Step-by-Step Guide on How to Lay Terrazzo Tiles
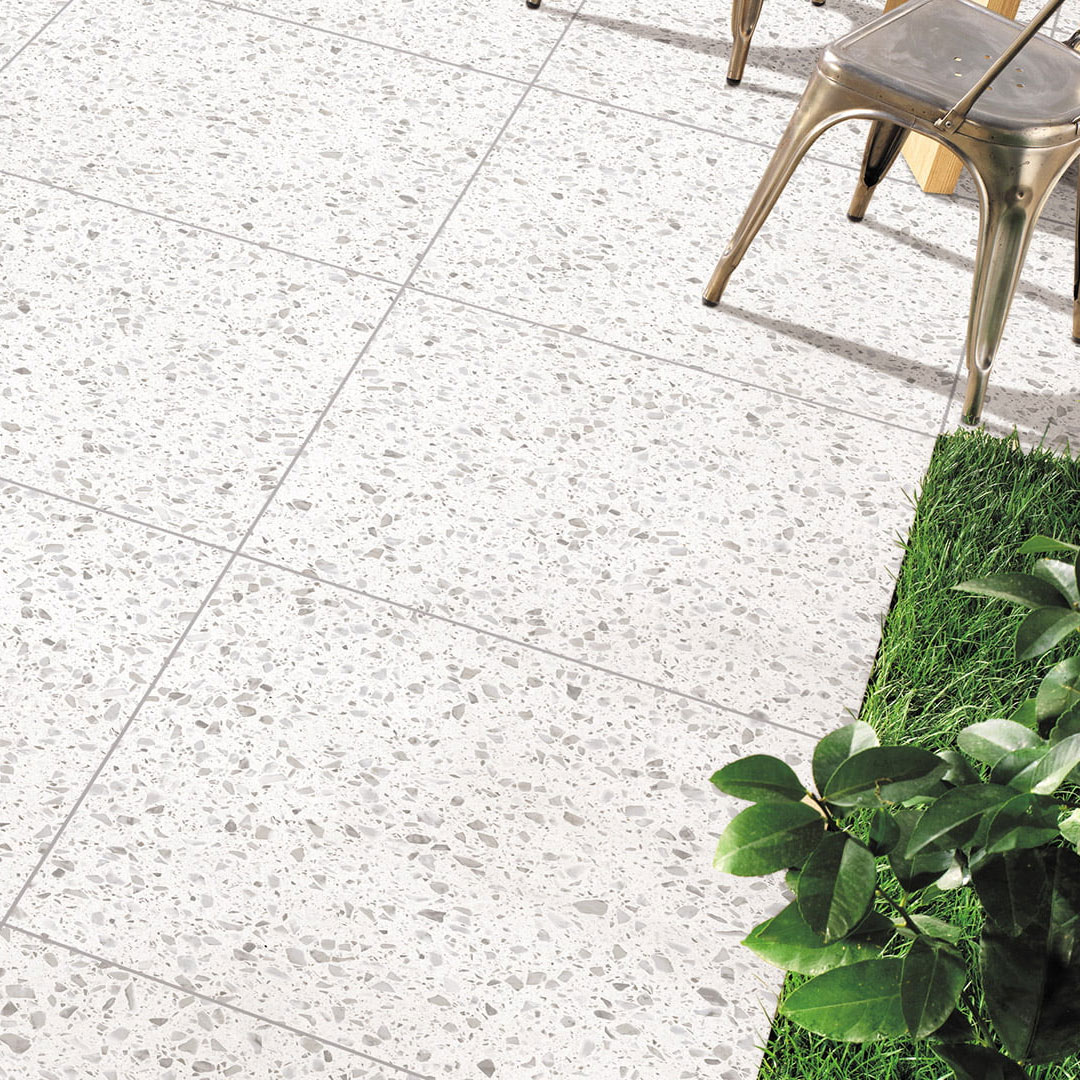
Terrazzo floors add a touch of elegance and uniqueness to any space. They are made from marble chips embedded in cement, creating a beautiful and durable surface. Here’s your step-by-step guide to installing terrazzo flooring.
Step 1: Preparing the Ground for Installation
Your first step in the installation process is to prepare the ground. You need a flat surface for your terrazzo tiles.
- Concrete Slab: If you’re installing directly on concrete, use a laser or water scale to check the ground. If it’s not flat, chisel and patch it until you have a smooth surface.
- Sandy Ground: If you’re paving on sandy ground, flatten it first. Pour a layer of concrete to create a flat base. Create a 5-7cm thick layer of cement mortar as a foundation. Wait 24 hours before proceeding with the installation.
Remember, the surface must be clean and dry before installation.
Step 2: Arranging and Positioning the Tiles
Mark the area where you want to lay the terrazzo tiles. Use a wire to ensure you’re installing the tiles correctly according to your layout.
Step 3: Preparing the Adhesive
A fast setting and hydrated tile adhesive are suitable for terrazzo tiles.
Follow the manufacturer’s instructions to prepare the adhesive.
Spread a 0.5-1cm thick layer of adhesive directly on the substrate. Use a serrated trowel to flatten the adhesive.
Spread adhesive on the back of each tile before placing it in the prepared area.
Step 4: Laying the Tiles
Place the tile in the adhesive-coated area. Use a rubber hammer to set it at the desired height. Maintain a minimum 2mm gap between the tiles.
Step 5: Pre-Grouting Preparation
Ensure the tile surface remains clean throughout the installation process. Once the tiles and adhesive have dried, clean the surface with a damp towel or wet sponge. Rinse with a neutral detergent diluted with water, rinse again with clean water, and dry the surface.
Step 6: Grouting
Use a flexible cementitious scrubber mixture suitable for terrazzo tiles. Prior to grouting, use a vacuum cleaner to remove any dirt from the tile slots and clean the tile surface.
- Ensure the tile surface is clean and dry before grouting.
- Fill the gaps between tiles with grout, ensuring seamless and full joints.
- Remove excess grout immediately with a cloth. Avoid using chemical cleaners.
- Clean the tile surface with a neutral detergent after grouting. Don’t use harsh detergents or bleach, as these can damage the tiles.
Step 7: Applying Sealer
After tiling and grouting, clean the entire floor again using a vacuum cleaner. Wipe the entire surface with clean water or a neutral detergent diluted with water and let it dry. Apply a protective sealer on the tile to safeguard your beautiful new terrazzo floor from damage.
Are There Any Safety Considerations I Need to Be Aware of Before Laying Terrazzo Tiles?
Absolutely, safety is paramount when undertaking any DIY project. Here are a few safety considerations Australian homeowners should bear in mind before laying terrazzo tiles:
- Personal Protective Equipment (PPE): Always wear PPE, such as gloves and safety glasses, when handling tiles and adhesives. This will protect your hands from rough tile edges and prevent harmful dust or debris from getting into your eyes.
- Proper Tool Use: Be cautious when using tools like trowels and mallets. Incorrect use can lead to injury. For instance, always hold the trowel by the handle, not the blade. When using a mallet, ensure your hands are well away from the area of impact.
- Safe Material Handling: Tiles can be heavy, and improper lifting can strain your back. Always bend from your knees, not your waist, when lifting heavy tiles. If a tile is too heavy, ask for help or use a dolly.
- Good Ventilation: Some adhesives and sealers can release fumes that are harmful if inhaled in a confined space. Ensure you’re working in a well-ventilated area or wear a suitable mask.
- First Aid Kit: Keep a first aid kit nearby in case of accidental cuts or scrapes. It’s better to be safe than sorry!
FAQs
What is the best adhesive for terrazzo tiles?
The best adhesive for terrazzo tiles varies based on your specific needs. For general use, a rapid-setting flexible white adhesive is often recommended. If you’re dealing with heavy terrazzo tiles, products like Pro Maxset Prohesive Adhesive and Davco SMP Adhesive are excellent choices.
What kind of grout do you use for terrazzo tiles?
When it comes to grouting terrazzo tiles, the type of grout used is crucial. For grout joints 1/8″ or smaller, non-sanded cement grouts are your best bet. However, if you’re dealing with grout joints from 1/8″ to 1/2″, a high-performance standard-grade cement grout will give you the best results.
Does terrazzo tile need to be sealed?
Yes, it is recommended to seal the finished surface of terrazzo tiles after installation. This will help protect them from stains, damage, and wear over time on top of proper maintenance.