How to Paint Bathroom Tiles in 9 steps
Introduction
Transforming your bathroom doesn’t always require a complete renovation. Sometimes, a simple paint job can breathe new life into your space. One cost-effective way to update your bathroom is by painting the tiles.
In this blog post, we will discuss how to paint bathroom tiles, the necessary preparation, and the equipment you’ll need. Let’s dive in!
Can you paint over tiles in a bathroom?
Yes! You can definitely paint bathroom tile, whether it’s a ceramic tile or patterned tile. It’s an excellent option for those looking to refresh their shower surfaces without spending a fortune on new tiles or a complete renovation. Just remember, the secret to a lasting and polished outcome lies in meticulous tile preparation and selecting the perfect paint type.
Do you need to sand the tiles before painting?
Sanding before painting tiles is a crucial step in the process. By lightly sanding the surface, you create a rough texture that allows the primer and paint to adhere better. This step helps ensure a durable and even paint job.
What equipment will I need to paint bathroom tiles?
Before you begin, gather the following equipment:
- Sandpaper (180 grit): A medium-fine sandpaper that gently roughens the bathroom tile surface, ensuring optimal paint adhesion while minimising the risk of damaging the tiles.
- Tile cleaner: A high-quality tile cleaner effectively removes dirt, grease, and soap scum on existing tiles, providing a clean and contaminant-free surface for painting bathroom tile.
- Microfiber cloth: This soft, lint-free cloth is perfect for wiping down tiles after cleaning to ensure they’re completely dry and free of debris.
- Painter’s tape: Essential for protecting adjacent surfaces and grout lines from accidental paint contact, painter’s tape ensures a clean and professional finish.
- Primer (specifically designed for tiles): A tile-specific primer provides a strong bond between the tile surface and paint, enhancing durability and preventing peeling or chipping.
- Paintbrush and/or paint roller: Choose a high-quality brush or roller to apply primer and paint evenly, reducing visible brush strokes and roller marks for a smooth, polished appearance.
- Epoxy or acrylic tile paint: Specially formulated for use on tiles, epoxy or acrylic paint offers excellent adhesion, durability, and moisture resistance for a long-lasting finish in your bathroom.
- Clear topcoat (optional): An optional clear topcoat adds an extra layer of protection to your painted tiles, safeguarding them against wear and tear while maintaining their vibrant appearance.
Our step-by-step guide on painting your bathroom tiles
Follow these steps to paint tile successfully:
Step 1: Clean the tiles
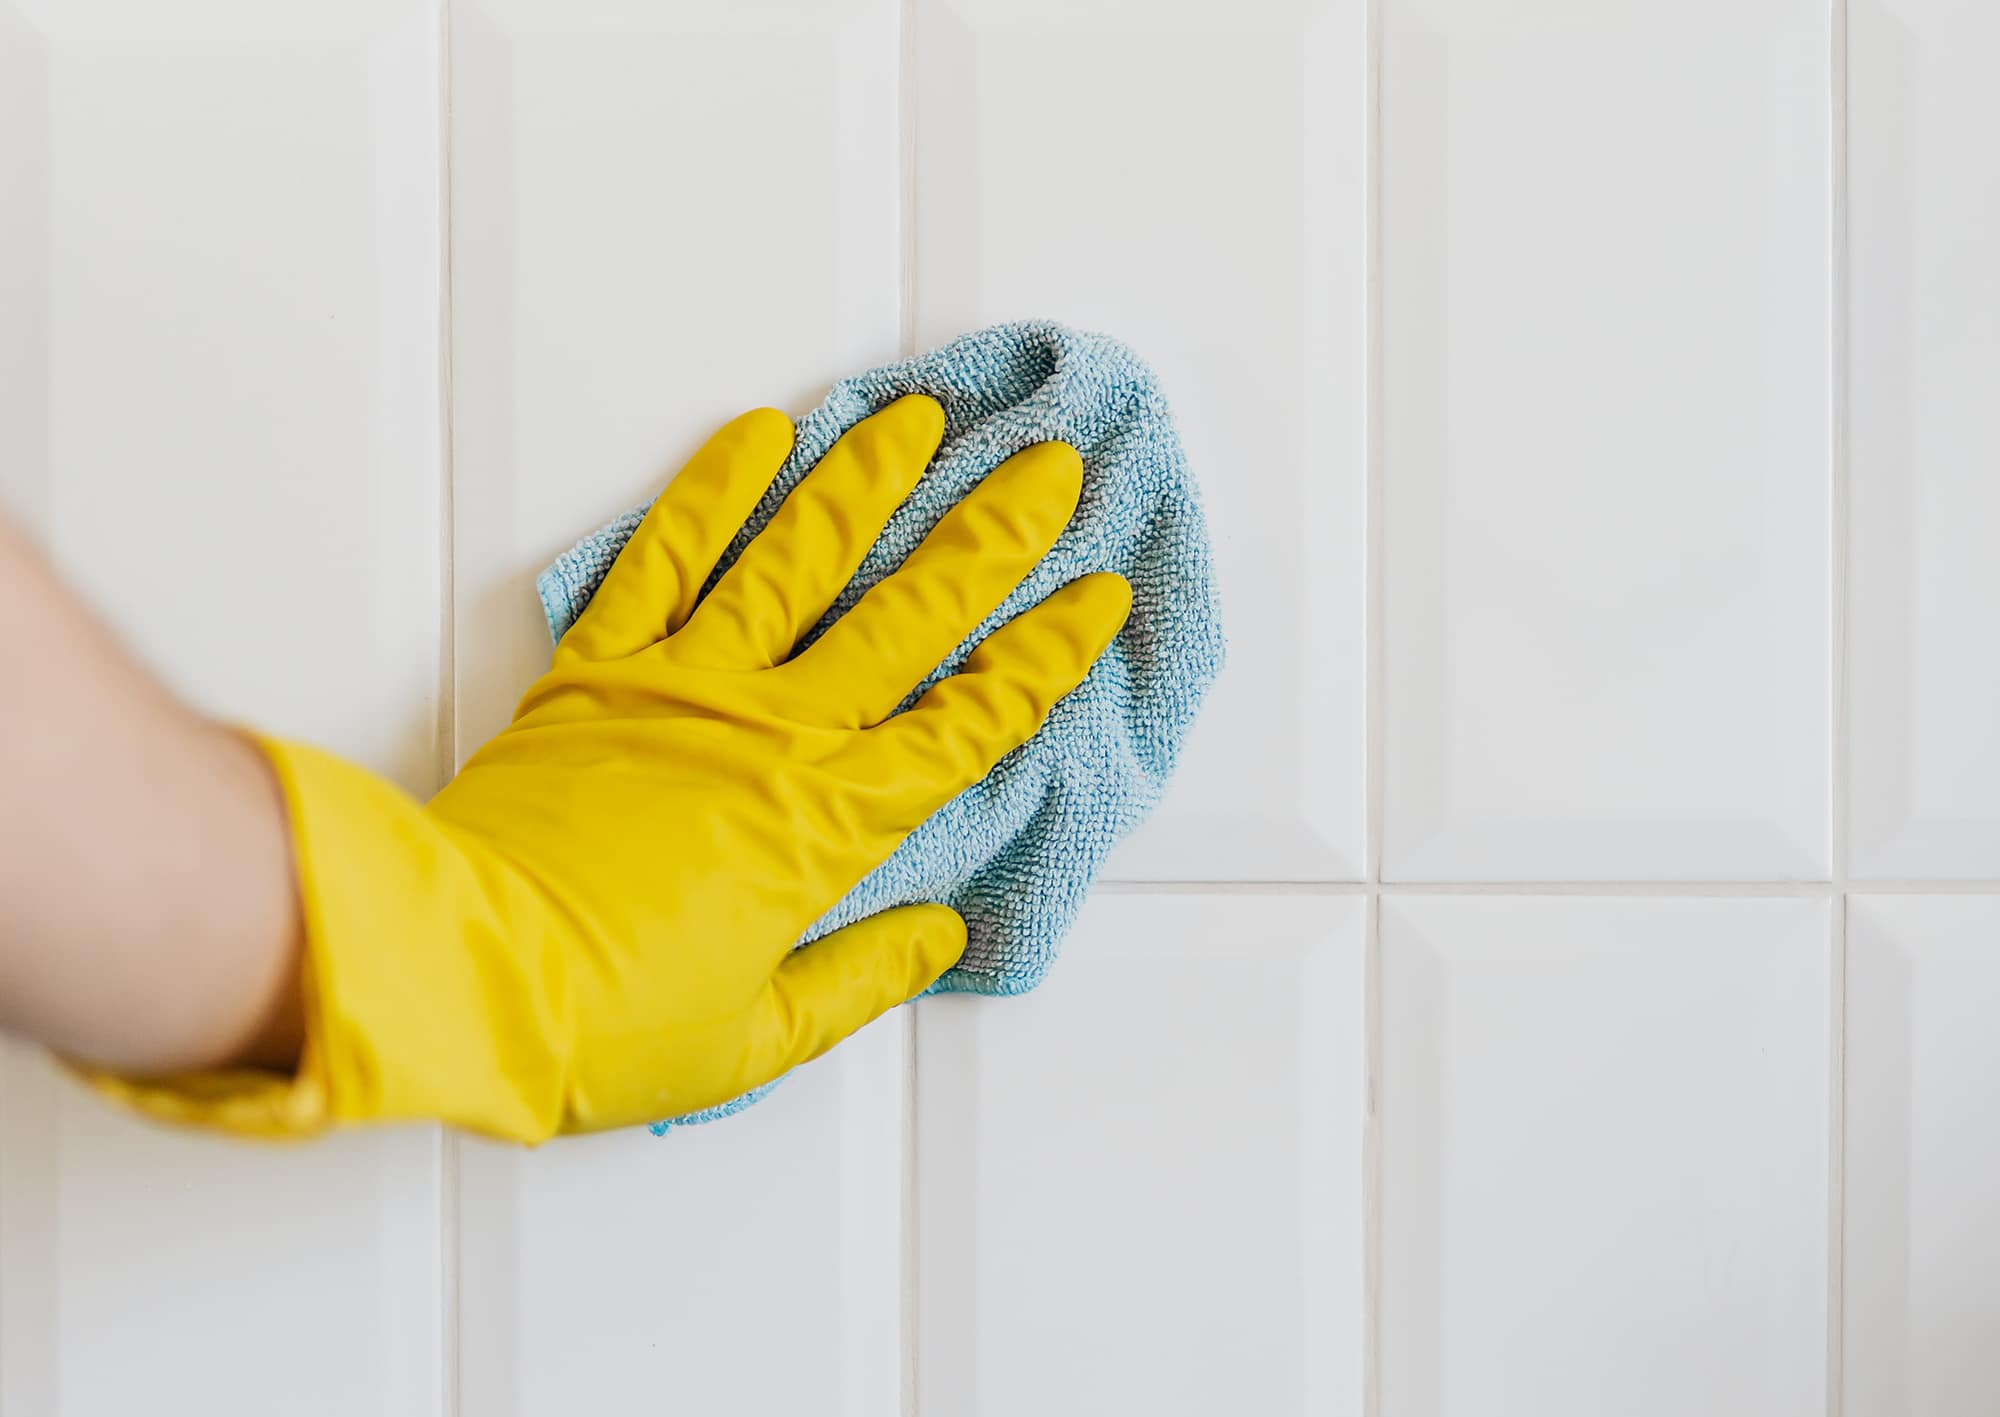
Thoroughly clean the tiles with a tile cleaner to remove any dirt, grease, or soap scum. Once sparkling clean, pamper them further with a microfiber cloth to guarantee they’re utterly dry and ready for their makeover.
Step 2: Repair broken tiles
If there are any broken tiles, repair them before moving on to the sanding step. This will help ensure an even and smooth surface.
Step 3: Sand the tiles
Using 180-grit sandpaper, lightly sand the tile surface to create a rough texture, especially for glass tiles and glazed tiles. This will help the primer and paint adhere better.
Step 4: Tape off the area
Use painter’s tape to safeguard surfaces you wish to keep paint-free while painting tile, including fixtures, grout lines (if preferred), and edges.
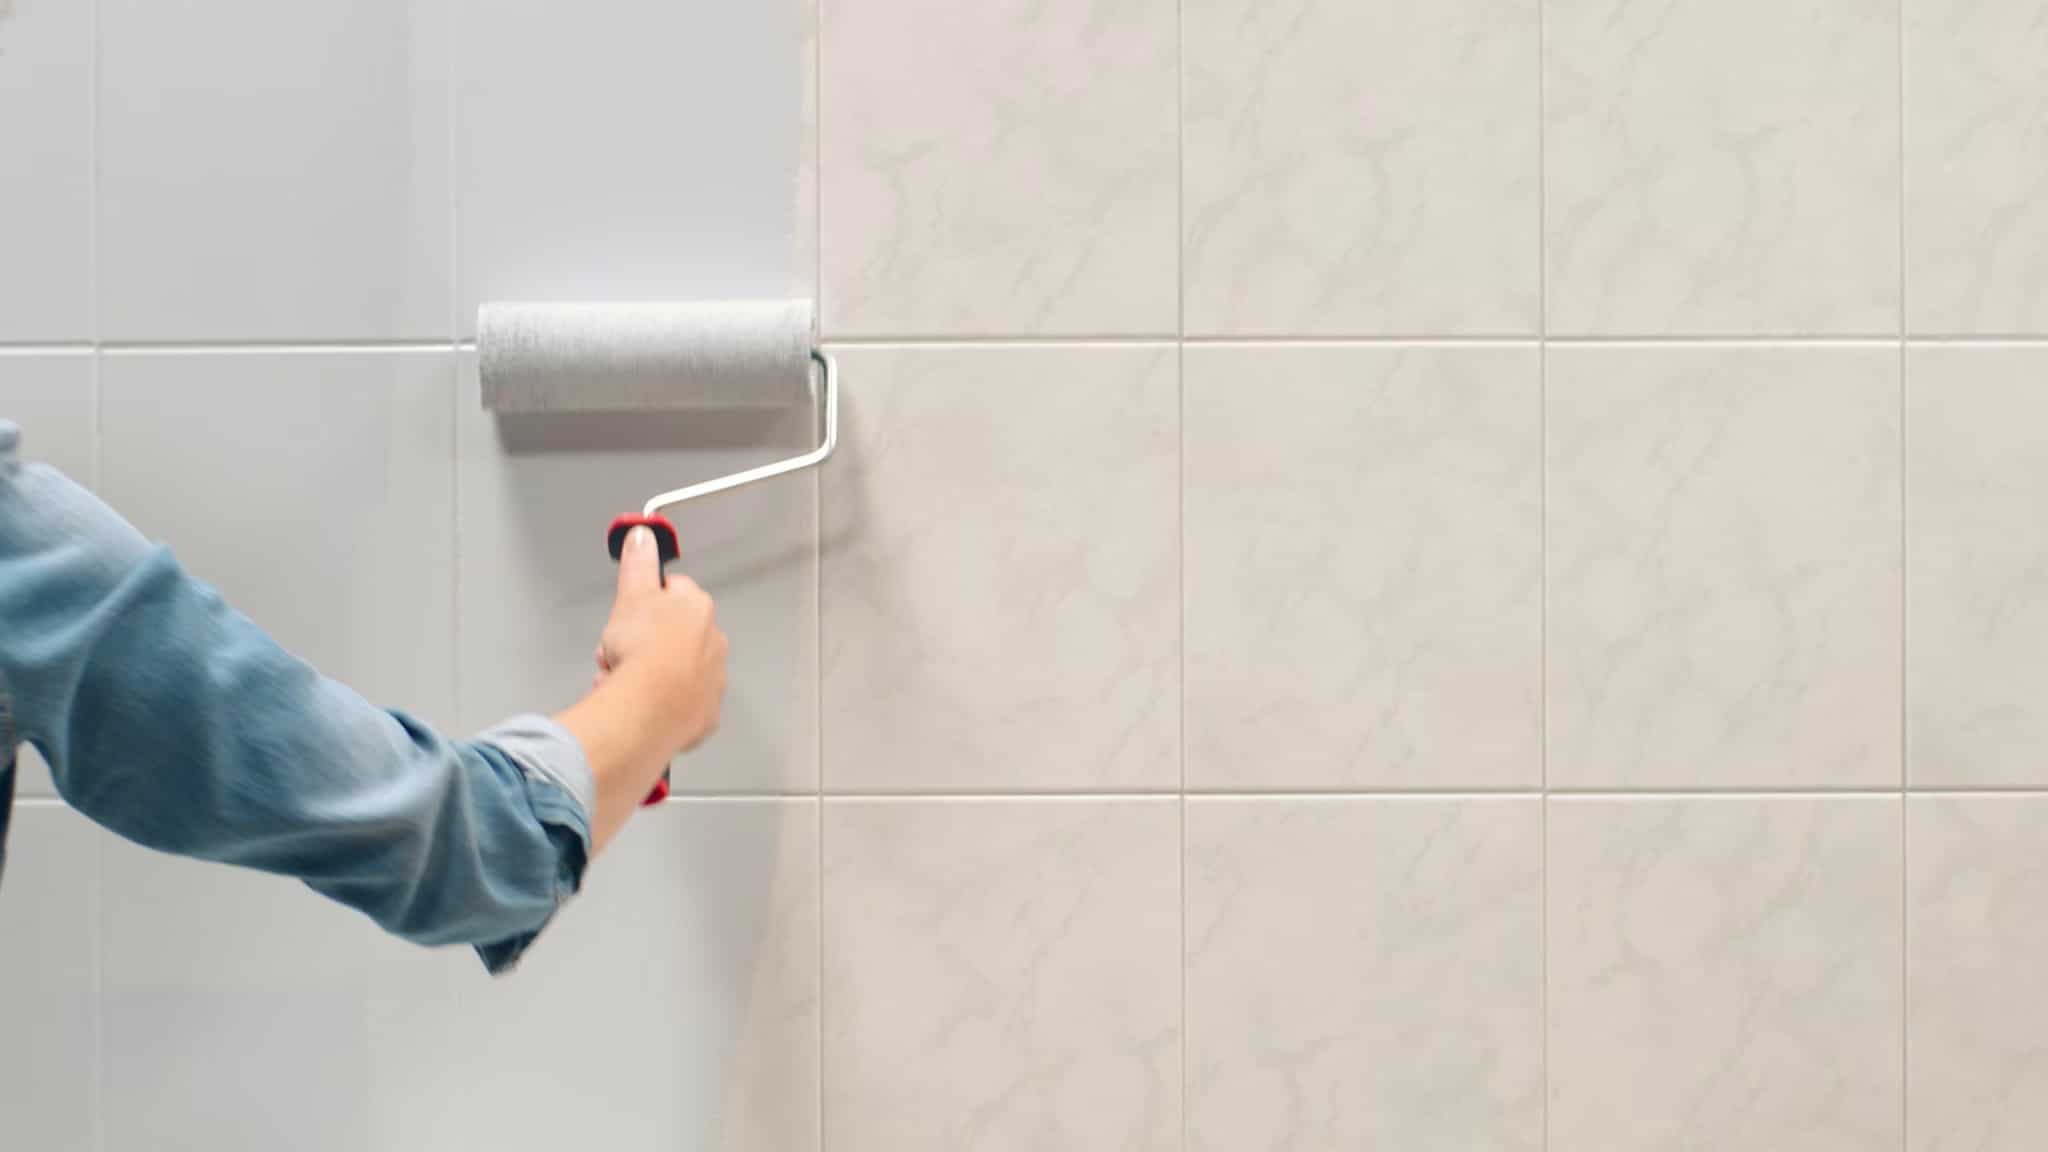
Step 5: Apply primer
Using a paintbrush or roller to paint tiles, apply a thin, even coat of tile-specific primer to the tiles. Patience is key—let the primer dry as per the manufacturer’s guidelines, preparing the stage for a stunning transformation.
Step 6: Paint the tiles
Once the primer is dry, apply the epoxy paint or acrylic tile paint using a brush or roller. Apply several thin coats and allow each coat to dry before applying another. Generally, two to three coats should be sufficient for full coverage.
Step 7: Apply a topcoat (optional)
For added durability, you can apply a clear topcoat after the paint has dried completely. This step will help protect your paint job from wear and tear.
Step 8: Remove the painter’s tape
Carefully remove the painter’s tape once the paint and topcoat are fully dry.
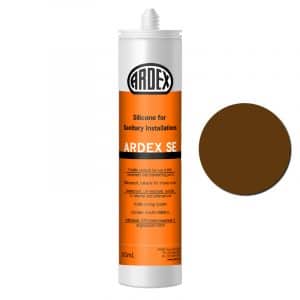
Step 9: Reapply silicone sealant
To finish the job, you may want to re-apply silicone sealant around fixtures and edges.
Final Thoughts
Painting bathroom tiles is an affordable and effective way to update your space without breaking the bank. Adhere to these steps, arm yourself with the proper tools, and you’ll be rewarded with a sophisticated finish that endures the test of time. So, roll up your sleeves and give your bathroom a fresh new look with painted tiles!