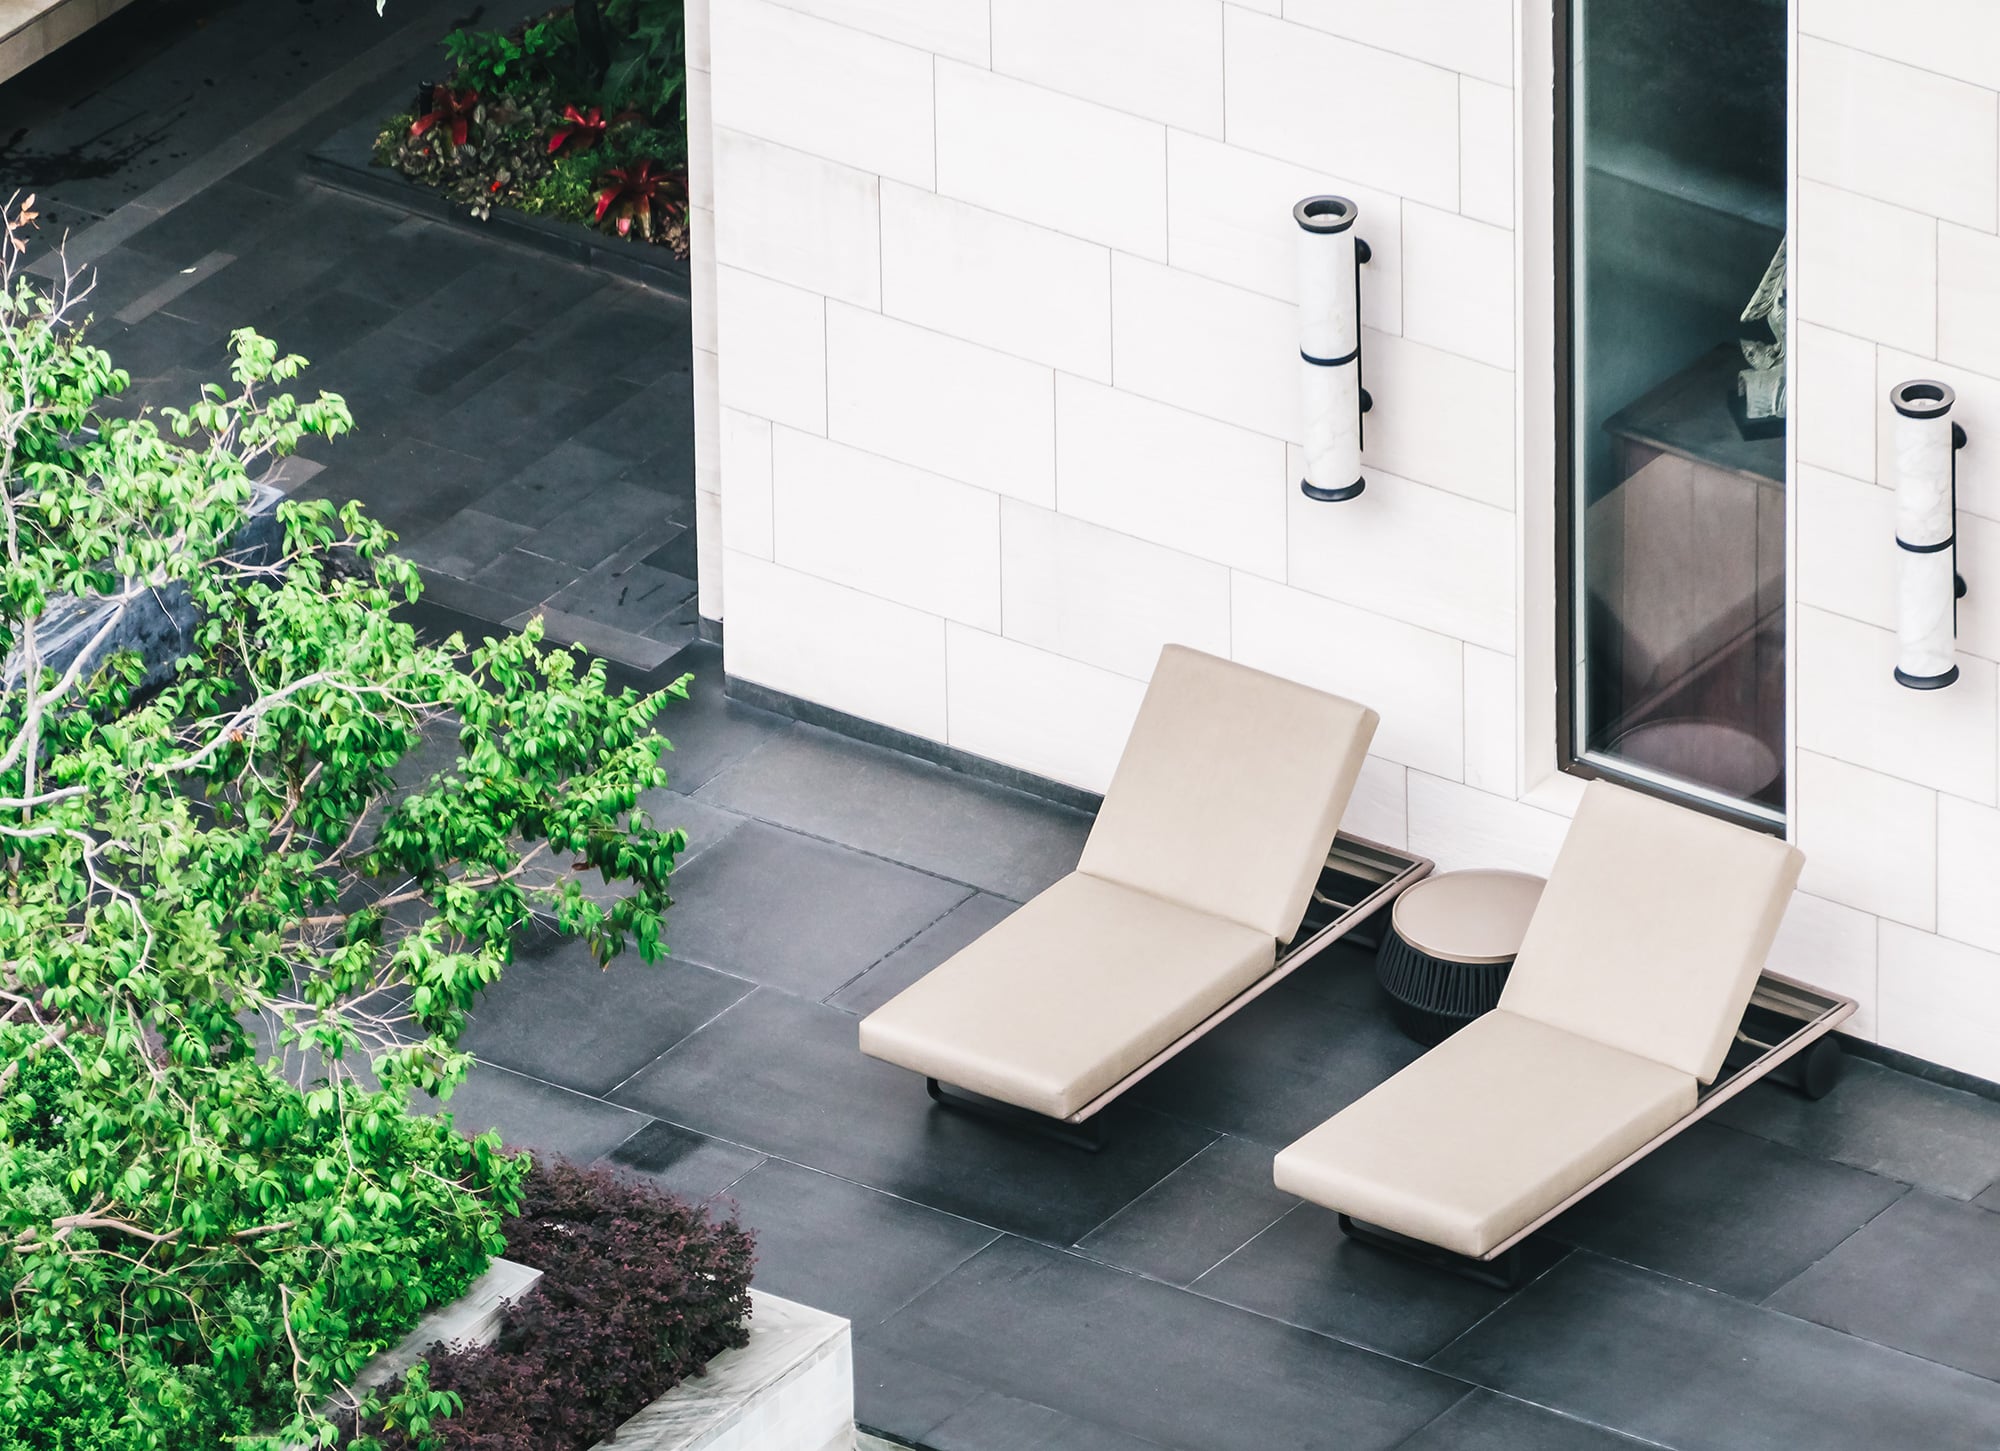


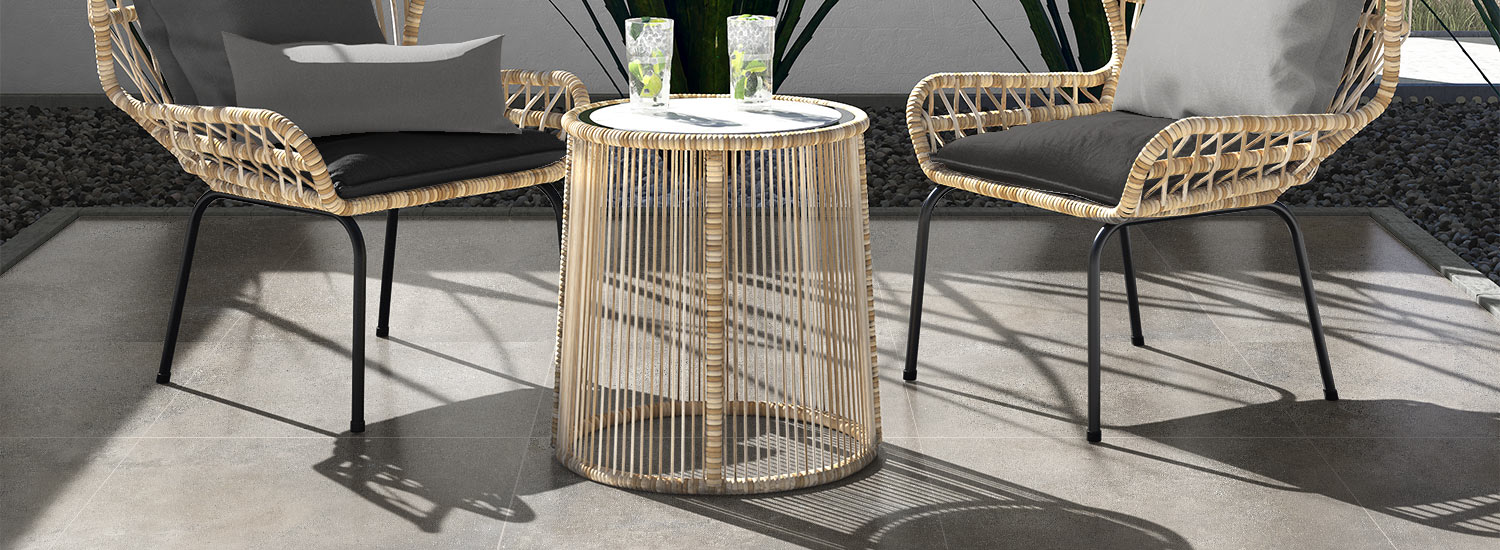
The tile you select will mostly depend on the aesthetic you desire, but certain types are particularly well-suited for outdoor use.
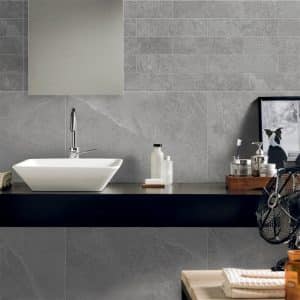
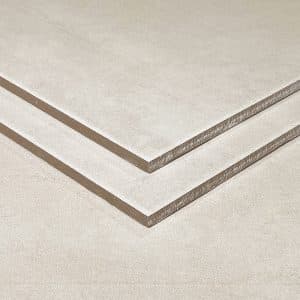
Porcelain Tiles
An outdoor porcelain tile should be your first consideration when it comes to choosing outdoor tiles. Why, you ask? When you lay porcelain tiles, you get a highly durable and frost-resistant surface that is low maintenance and looks amazing. Only a simple sweep and occasional wash will keep them looking pristine.
Slate Tiles
If you’re a fan of the rustic appeal, slate tiles might just win your heart. They offer natural slip resistance, an ideal feature if your outdoor space includes a pool or hot tub. An added advantage? Their dark tones do a great job of camouflaging dirt!
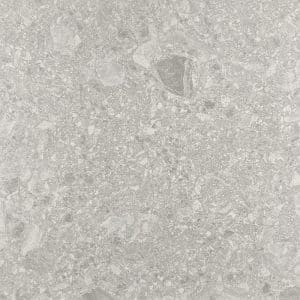
Quarry Tiles
These unglazed tiles serve as another excellent choice to lay in your outdoor areas. Quarry tiles undergo high-temperature firings, which make them naturally dense and water-resistant. If your style leans towards the traditional, these tiles could be your perfect mate.
Granite Tiles
When durability tops your list of priorities, turn your attention to granite. This extremely hard material stands up to wear and tear like a pro. Available in a spectrum of colours, granite tiles lend an elegant touch to any outdoor space.
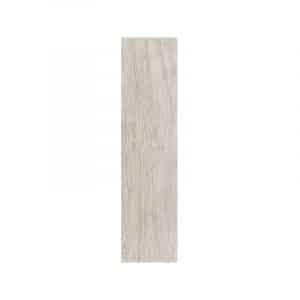
Travertine Tiles
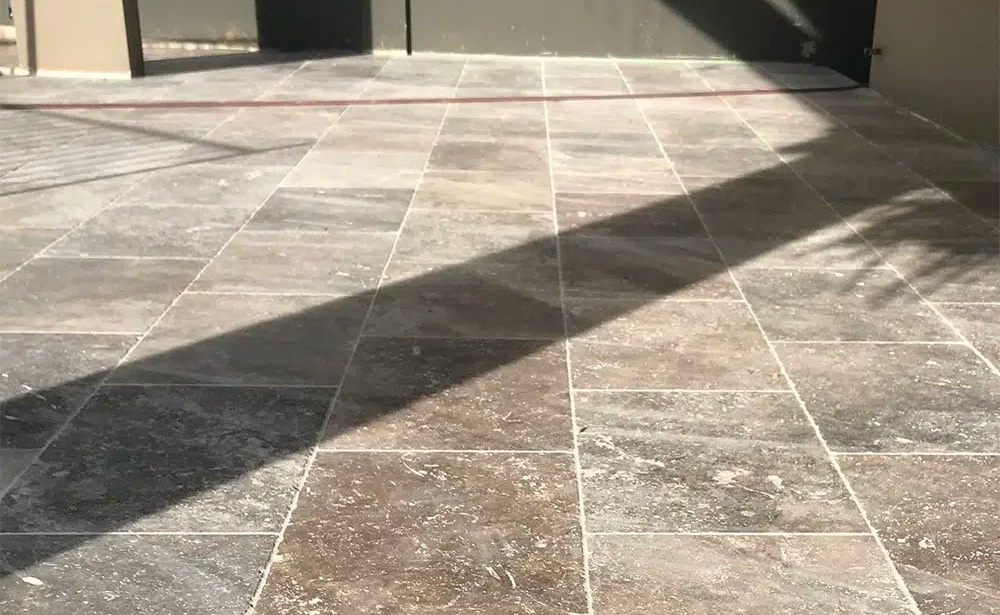 For a taste of luxury, consider travertine. A variety of limestone, it offers a unique, earthy charm. However, remember that travertine requires consistent sealing to shield it from stains and weather damage.
Concrete Tiles
 Last on our list, but certainly not least, we have concrete tiles. These tiles provide a contemporary, industrial vibe and can be customised in numerous ways. Concrete is as tough as they come, capable of enduring heavy foot traffic and severe weather conditions.
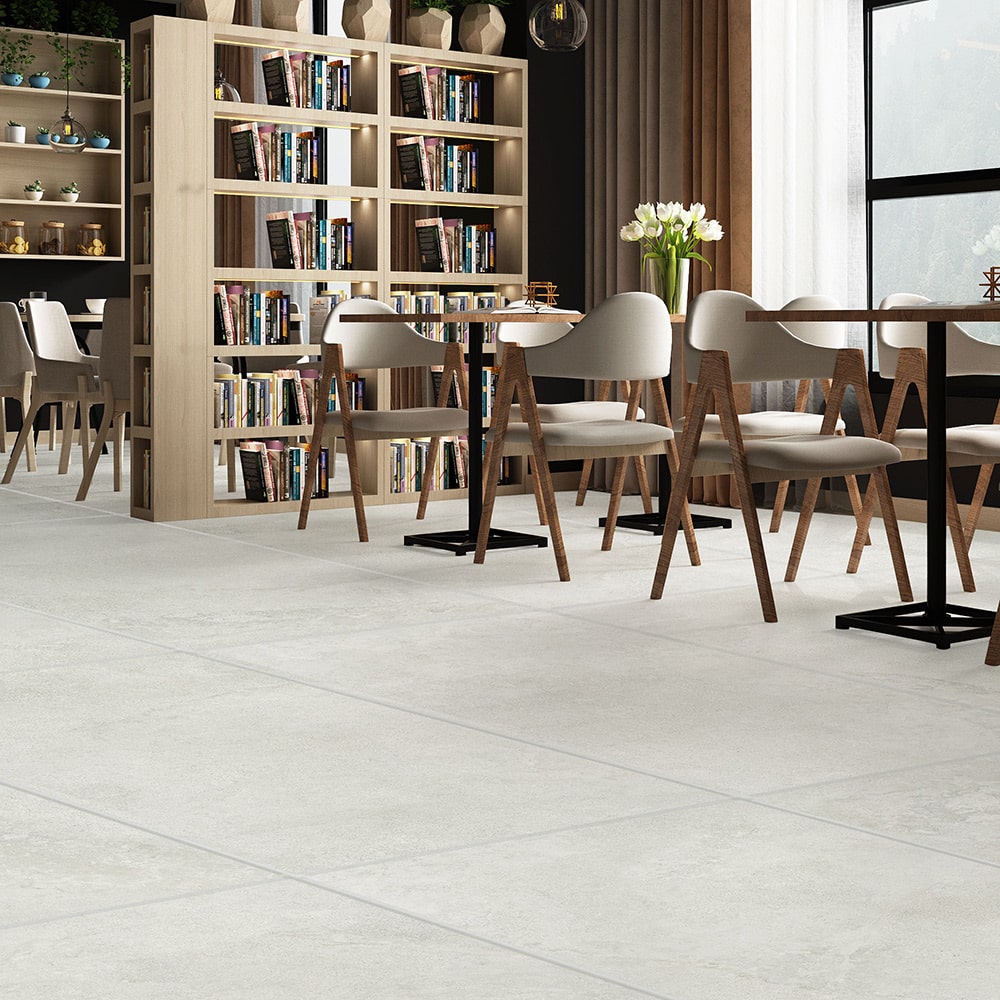
Whether you’re looking to install outdoor tile on a patio, a concrete slab, or porcelain pavers, this guide should help you choose the right one for your project.
Now, you’ve decided to upgrade your outdoor space with some stylish wall tiles. Excellent choice! Installing outdoor wall tiles can be a rewarding DIY project, and we’re here to guide you through the process step by step.
Step #1: Preparation
Just like with floor tiles, the first step is preparing your surface. Clean your wall thoroughly to remove any dirt or debris. If there are any cracks or holes, fill them in with a suitable filler.
Step #2: Planning
Next, it’s time to plan your layout. Starting from the centre of your wall and working your way out ensures an even distribution of full and cut tiles. Use a chalk line or laser level to mark your starting point and keep your rows straight.
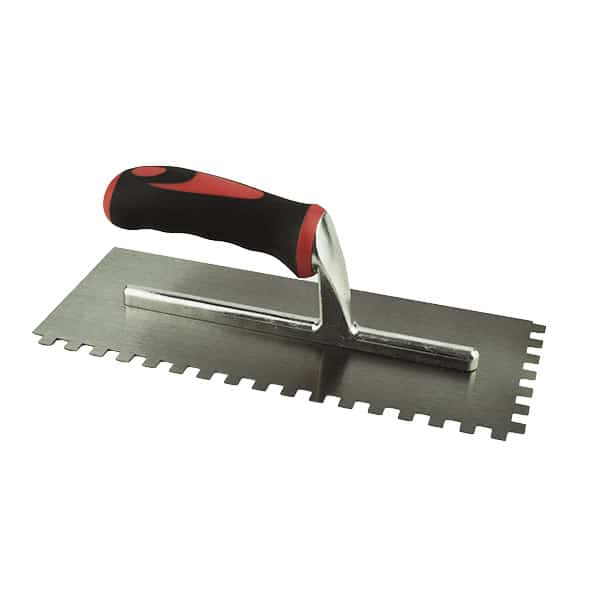
Step #3: Applying Adhesive
Now, apply tile adhesive onto the wall using your notched trowel. The notches create ridges in the adhesive, which helps the tiles adhere better. Remember, only apply as much adhesive as you can and cover it with tiles before it starts to dry. A mix of sharp sand and cement usually works well as an adhesive for outdoor tiles.
Step #4: Setting the Tiles
Start setting your tiles onto the adhesive. Press each tile firmly into place and give it a little wiggle to ensure a good bond. Use tile spacers to maintain consistent gaps for grout.
Step #5: Cutting Tiles
You’ll likely need to cut some tiles to fit around edges, corners, or fixtures. Measure twice and cut once with your tile cutter. Then, apply these tiles just as you did with the full-size ones.
Step #6: Grouting
Once the adhesive has dried completely (usually after 24 hours), remove the tile spacers and start grouting. Use your grout float to press the grout into the gaps and scrape off the excess.
Step #7: Cleaning
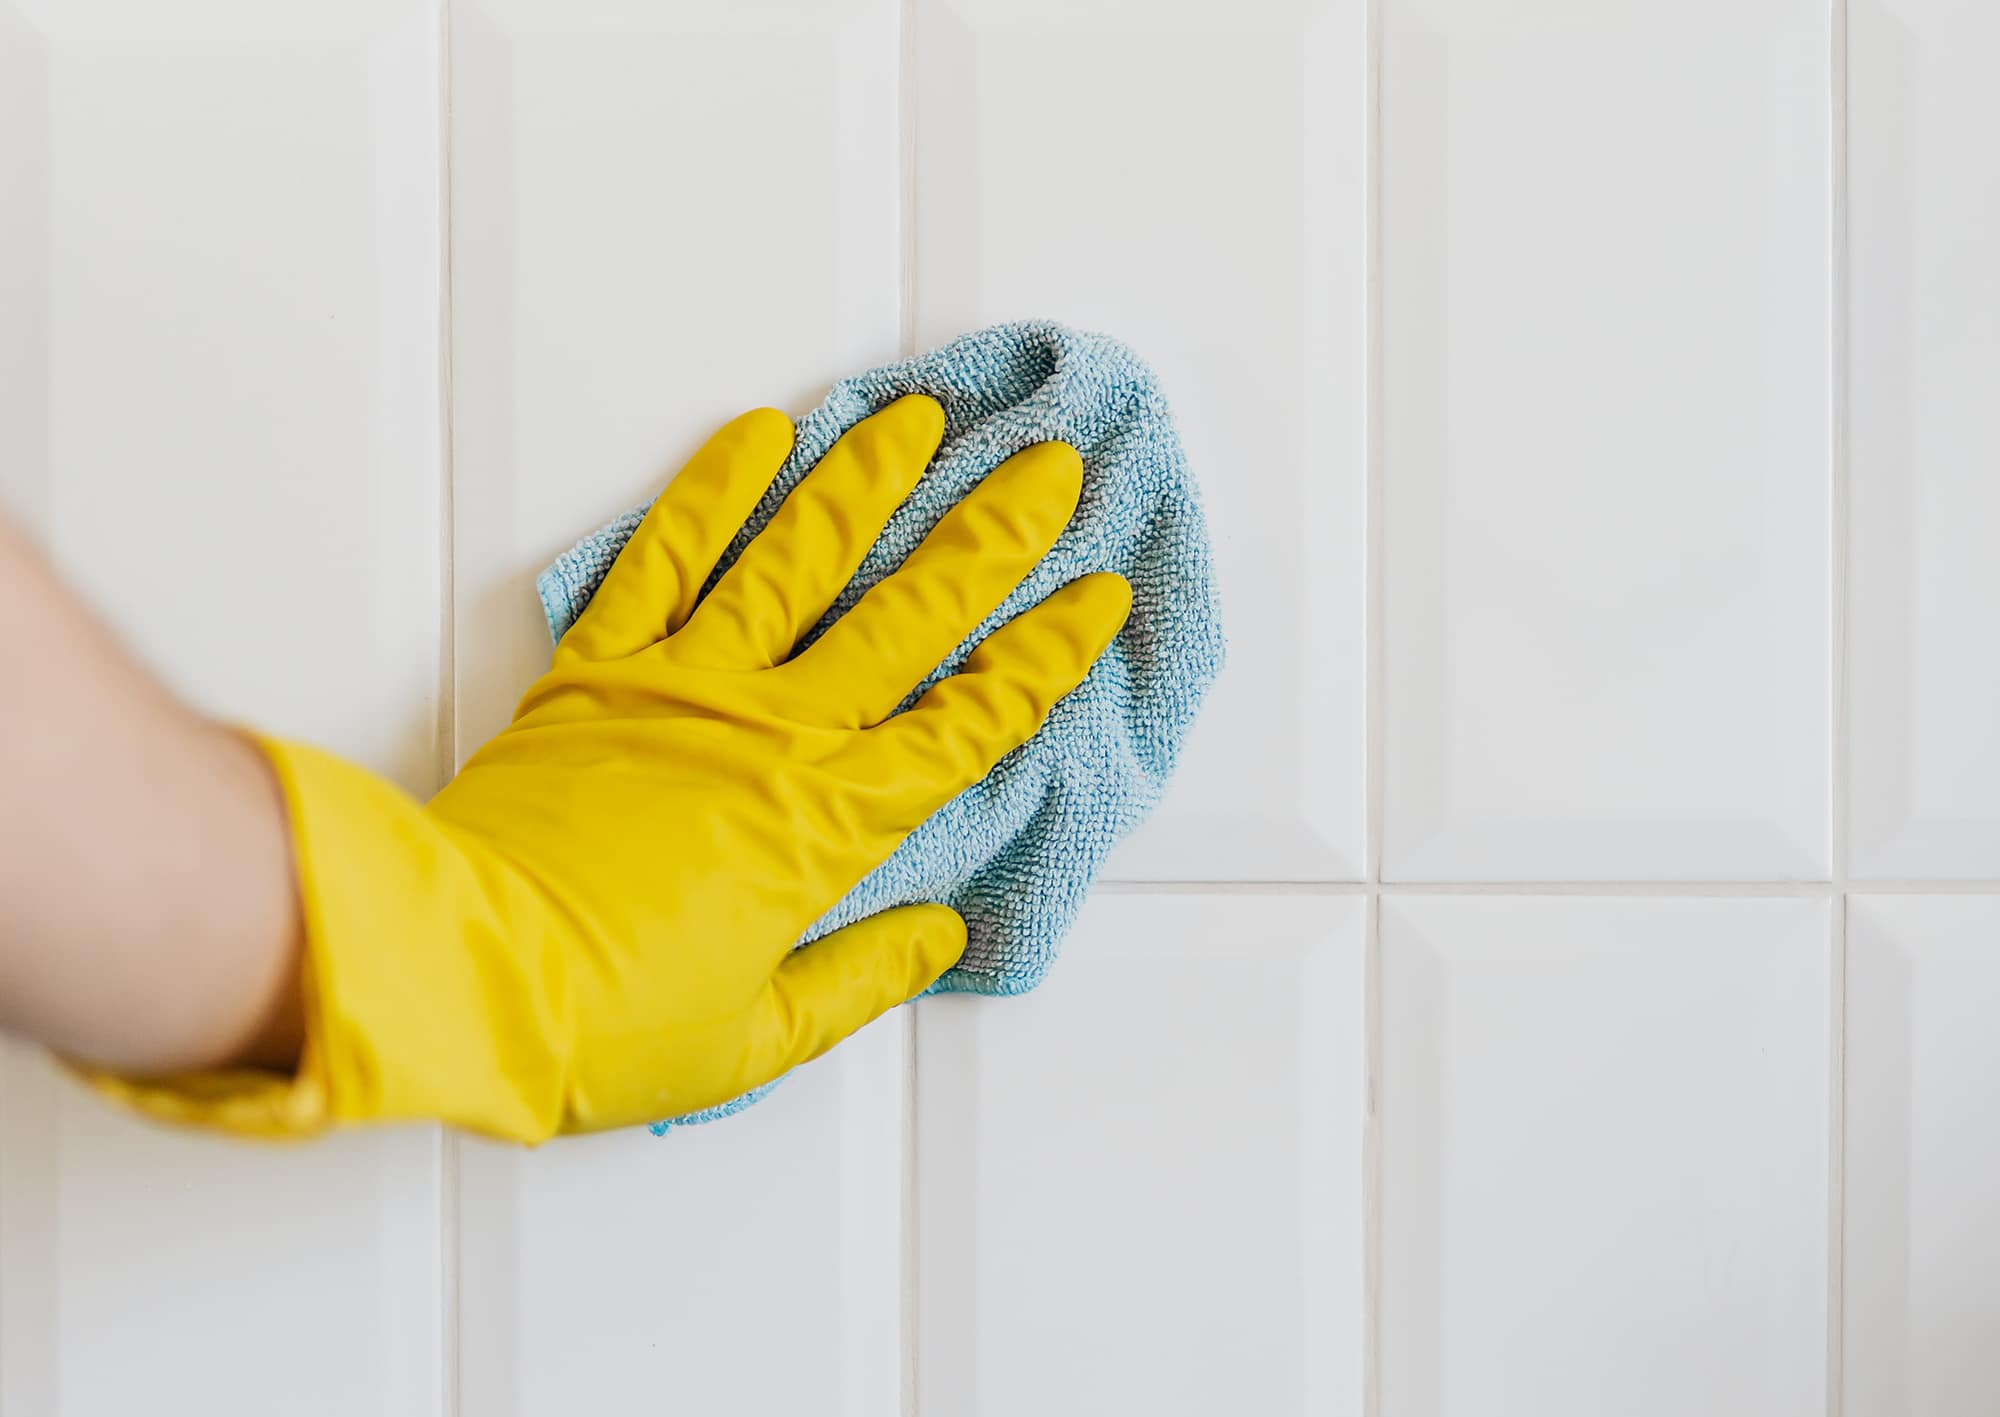 Finally, clean your newly installed tiles with a damp sponge, removing any leftover grout on the tile surfaces. Once the grout has dried, give your tiles another good clean to reveal their true shine.
Step #8: Sealing Your Grout
As the final step in your installation process, it’s a good idea to apply a top-notch grout sealer. Using a brush, make sure to spread the sealer evenly across all the grouted areas. This vital action will shield your grout from dirt and mould, ensuring they hold onto its stunning appearance for many, many years ahead.
When it comes to installing outdoor tiles, safety should always be your co-pilot. A DIY project isn’t just about the final result but also about how safely you got there. To help you out, here are crucial safety tips to keep in mind.
1. Wear Protective Gear
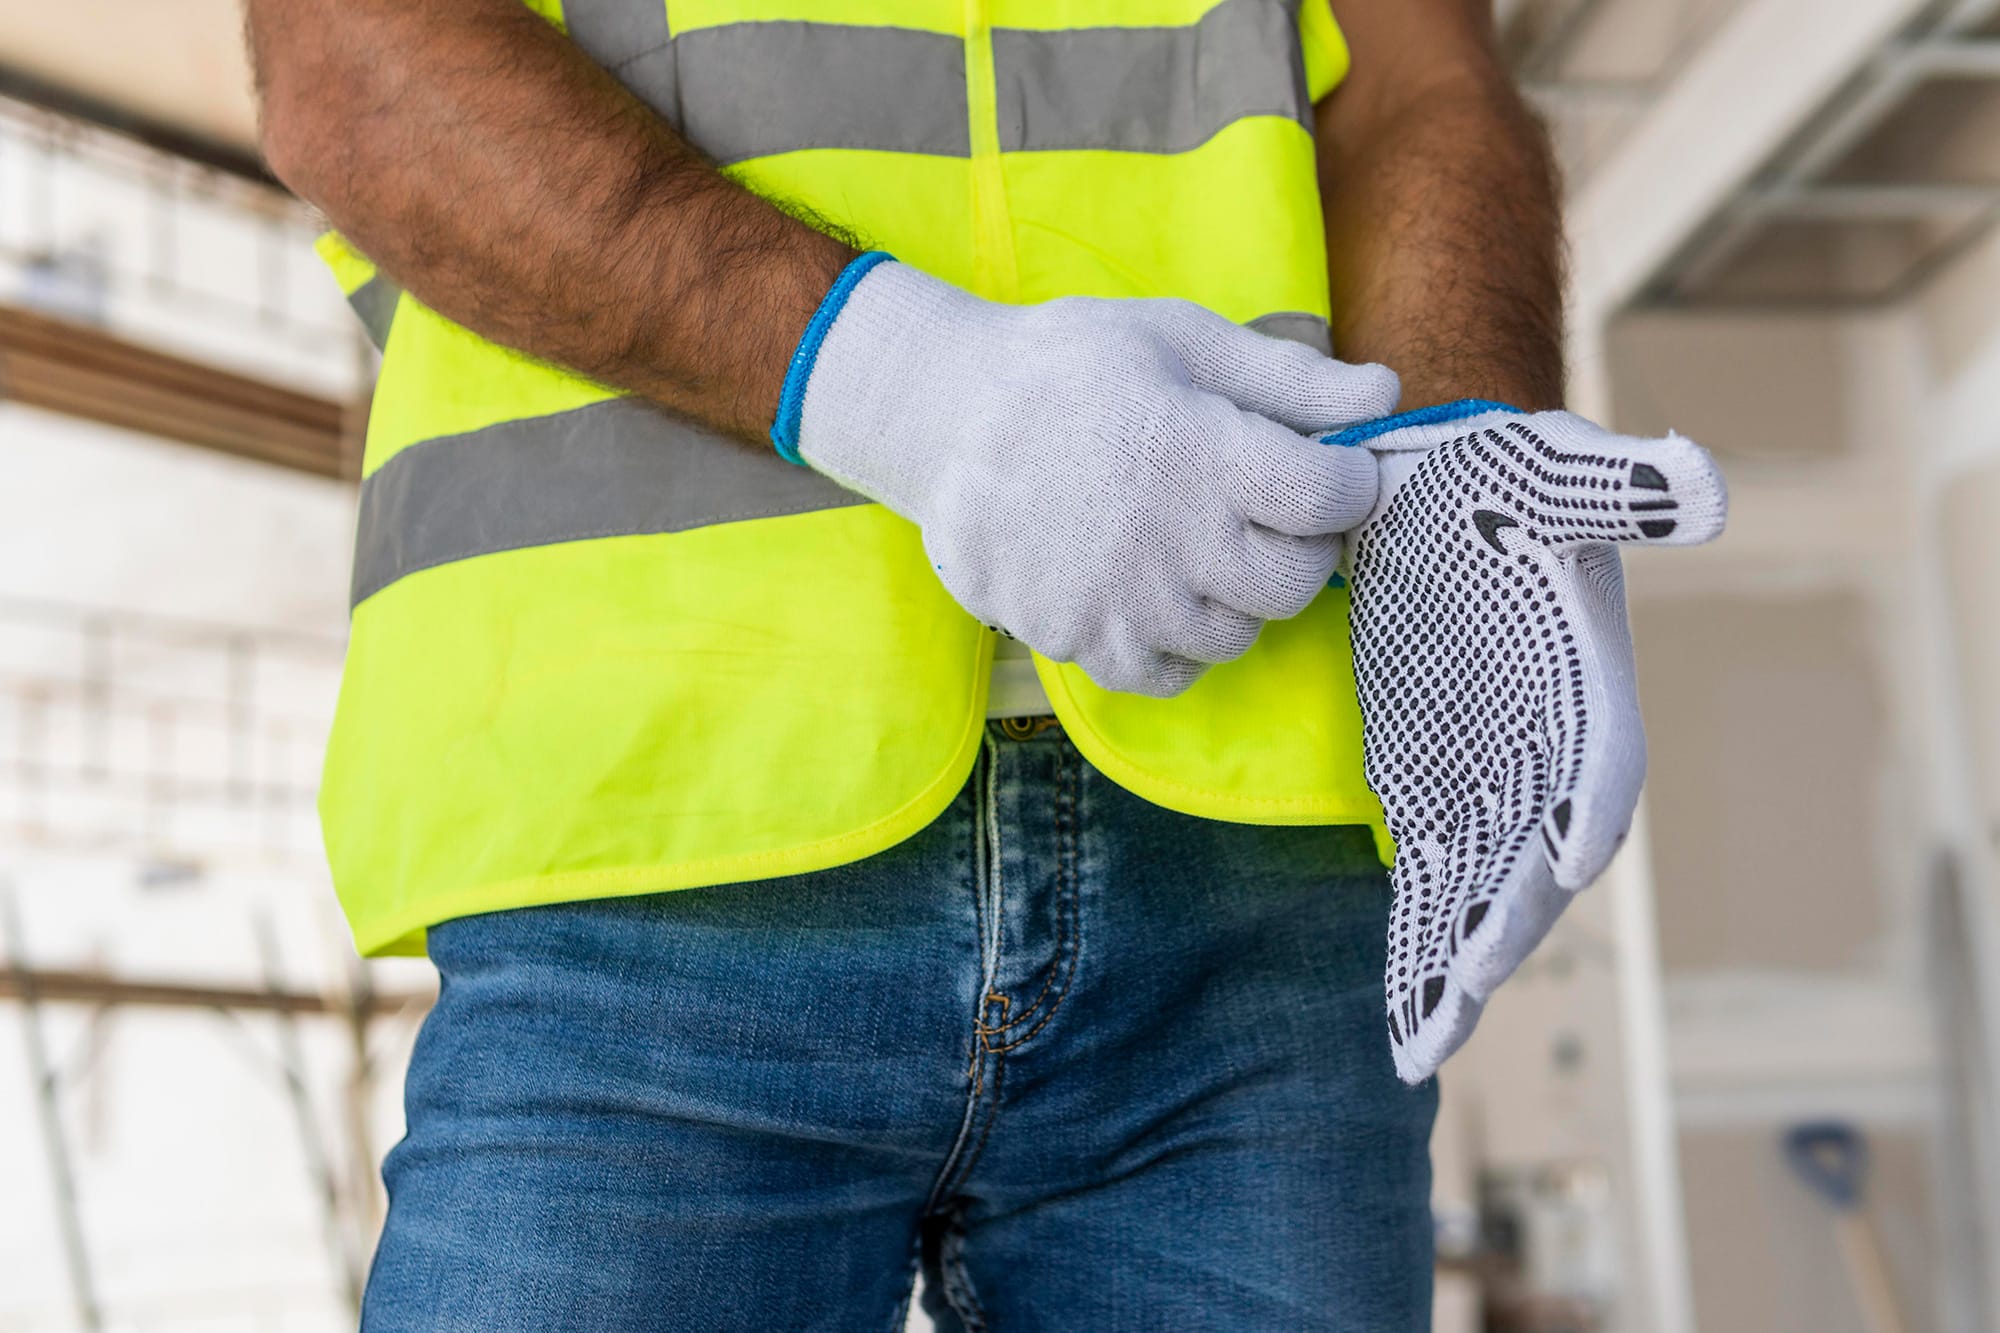 Never underestimate the importance of proper protective gear. Safety glasses can protect your eyes from flying fragments when cutting tiles. Gloves help to shield your hands from sharp tile edges and potentially irritating substances like adhesive and grout.
And don’t forget about sturdy, closed-toe footwear – it can protect your feet from falling tiles and provide a better grip on potentially slippery surfaces.
2. Use Tools Correctly
Just like every person has a unique story, each tool has its own special purpose and way of operating. So, before you channel your inner ‘DIY guru’ for your tiling project, ensure you’ve gone through the manufacturer’s instructions for each tool you’ll be using.
Power tools such as tile cutters are there to be your reliable allies, streamlining your project and making it more efficient. They’re not meant to add unnecessary suspense to your DIY journey. So, handle them with care and always prioritise safety.
3. Check Your Surroundings
A cluttered workspace is a hazard waiting to happen. Keep your area clean and organised, stowing tools and materials away when not in use. Ensure cables are safely tucked away to prevent tripping.
Good lighting is also crucial – it helps you see what you’re doing clearly, reducing the chance of mistakes or accidents.
4. Handle Tiles Carefully
Tiles can be surprisingly heavy, putting strain on your back and arms if not handled properly. Always bend at your knees when lifting heavy tiles. The edges of cut tiles can be very sharp, so handle them with care to avoid cuts.
If a tile feels too heavy, don’t hesitate to ask for help – it’s better to be safe than sorry.
5. Proper Ventilation
Even though you’re working outdoors, certain adhesives and sealants can release strong fumes. Make sure you’re in a well-ventilated area when using these products, and consider wearing a mask for additional protection.
6. Choose Slip-resistant Tiles
Outdoor tiles often get wet due to rain, dew, or pool water, which can make them dangerously slippery. When selecting your tiles, opt for ones with a slip-resistant surface to reduce the likelihood of slips and falls.
7. Take Regular Breaks
Remember, this task demands your full attention, a keen eye for detail, and a fair bit of elbow grease. So don’t shy away from taking regular breaks. Think of them as pit stops that rejuvenate your energy, sharpen your focus, and ensure your work remains top-notch.