How to Lay Mosaic Tiles

Ready to add a splash of personality to your humble home? Mosaic tiles are the perfect way to do just that! These tiny, beautiful pieces are not only durable but definitely worth the investment. But how do you start with laying mosaic tiles? Don’t worry, it’s easier than you think!
Cheap Tiles Online is here to guide you through the process step by step so you can achieve a professional-looking finish.
What tools and materials do I need to lay mosaic tiles?
First and foremost, you’ll need to gather all the necessary tools and materials for laying mosaic tiles. These include:
Tools You’ll Need
- Chalk line
- Clean rags
- Framing square
- Level
- Paintbrush or roller
- Pencil
- Rubber mallet
- Screw gun
- Tape measure
- Taping knife
- Tile nipper or wet saw
- Utility knife
Materials You’ll Need
- Cement board screws
- Cement board
- Fibreglass cement board tape
- Grout
- Grout sealer
- Grout haze remove
- Latex adhesive (if needed)
- Mosaic tile sheets
- Notched trowel
- Scrap of 2×4
- Thin-set adhesive
Step-by-step guide on how to lay mosaic tiles
Once you’ve gathered all your tools and materials, you’re now ready to lay your mosaic tiles. Let’s dive into the step-by-step guide to help you transform your space.
Step 1: Get the Surface Ready
Installing mosaic tiles begins with getting the tile surface ready. It has to be smooth and flat, ideally topped with a cement board straight onto wall studs or over a plywood base floor. Although you can place mosaic tiles directly on a wallboard or plywood, a cement board makes for a top-notch underlayment.
Begin by installing large cement board sheets, then trim pieces to fill in any leftover spaces. Use cement board screws to fix the panels securely to the studs, leaving around a 0.3 cm gap between each panel. Afterwards, bridge the gaps between cement Afterwardspanels using 5 cm wide fibreglass cement board tape, finishing off with a light dusting of thin-set adhesive.
Pro tip: If you’re setting tiles over plywood or drywall, a latex adhesive might be better than a thin set.
Step 2: Map Out Your Tile Design
Getting your layout right is key to having perfectly aligned grout lines. Draw intersecting straight lines that split the surface from top to bottom and left to right. Kick off your installation from the centre of the surface. Start by laying all full sheets of tile, then trim where needed at the edges and around any obstructions.
Step 3: Attach the First Tile Sheet
Start things off at the intersection of the layout lines. Apply a layer of thin-set adhesive to one of the layout sections using a notched trowel. Keep your work area limited to sections about 2 to 3 feet square to avoid applying too much adhesive. Fix mosaic tiles into the corner of the first section, adjusting it to line up perfectly with the layout lines. Give it a firm press to ensure the tile sticks well into the thin set.
Pro tip: For the best results, check your tile and thin-set packaging for advice on the right size and type of notched trowel to use.
Step 4: Complete the First Quadrant
Keep going with the tile installation in the first section, using tile spacers to maintain even gaps between sheets. The tiny tiles on mosaic sheets are designed to mesh together, so ensure they interlock correctly. Pay careful attention to keep the grout lines consistent throughout the area.
Step 5: Secure the Tiles
Once you’ve got a few sheets of mosaic tiles in place, it’s time to make sure they’re set just right. If not done properly, mosaic sheets can create unwanted waves or bumps on the surface. To prevent this, grab a small piece of plywood (roughly 20 cm²) and a rubber mallet. Gently tap the mosaic sheet into the thin set to ensure a flat surface. Pay extra care to the seams between sheets to avoid any unevenness (where one row of tiles sits higher than the next one) or mismatched gaps (where the spaces between sheets are wider than those within the sheets).
Step 6: The Tile Sheets to Fit
As you approach the edges of your tiling area, you might find you need to give the tile sheets a bit of a trim. Sometimes, a simple snip of the fibreglass mesh will yield a partial sheet that fits like a glove. But occasionally, you might need to adjust individual edge tiles for that perfect fit. Try to sidestep this if you can, as cove tiles, other decorative elements, or baseboard mouldings could be used to hide any gaps at the edge of the layout. To resize the sheets, grab a sharp utility knife and cut through the mesh backing along the grout lines.
Step 7: Trim the Individual Tiles
If you find yourself needing to cut individual tiles within the sheet, don’t worry, you’ve got options. You could run the tile sheets through a tile wet saw, just like you would with full-size natural stone or ceramic tiles. This method is especially handy for big jobs that need lots of cuts. You can rent wet saws from home improvement centres and tool rental shops.
Another option is to use a tile nipper, a handy tool that ‘nibbles’ away at each individual tile square within the sheet. You could also use a rail cutter or manual tile cutter to score an entire row of tiles and then break each individual tile within the sheet.
Pro tip: A 12 cm grinder fitted with a diamond wheel can also be used to cut tiles.
Step 8: Finish Up the Rest of the Quadrants
Once you’ve got one quadrant done and dusted, it’s time to do the same for the remaining three. Just follow the steps you’ve already mastered, starting from the centre point of the layout and working your way towards the edges.
Step 9: Put In the Trim Tiles
Once you’ve set all the mosaic tiles, it’s time for the finishing touches – the trim or accent tiles. This can be bullnose edging, cove tiles, or baseboard tiles. You’ll need to use thin-set adhesive for these, too. After all the tiles are snugly in place, give them some time to settle and let the adhesive firm up before you jump into grouting.
Step 10: Ready the Grout
When your mosaic tiles are firmly set and aren’t going to budge, it’s time to get your grout ready. If you’ve got a big job on your hands, whip up a batch of grout from dry powder. But if it’s a smaller project, pre-mixed grout might be just the ticket. As a rule of thumb, use unsanded grout for tiles with grout seams that are 0.3 cm or smaller and sanded grout for wider seams. And always make sure to follow the manufacturer’s instructions when mixing.
Step 11: Let’s Grout
Now comes the fun part, grouting! Scoop up some grout with a rubber grout float and spread it over your tiles. Hold the float at a 45-degree angle and really work that grout into the joints. Mix it up a bit by changing the direction of your float – this will make sure all the joints are fully filled. Mosaic tiles have a lot of grout joints, so this step might take a while. Finish off by using the edge of the float to scrape off any excess grout from the tile faces.
Step 12: Time for a Clean-Up
Once you’ve grouted, let it set and harden a bit as per the manufacturer’s instructions. Then, grab a clean cloth and gently wipe off any dried grout from the tile faces. When the grout is fully cured (check the manufacturer’s instructions for this, too), use a liquid grout haze remover to tackle any leftover grout film. Your tiles should be sparkling clean!
Step 13: Seal the Grout Lines
As tile grout is porous, it needs to be sealed to safeguard the underlayment and keep the grout in top condition. This is crucial in moist places like showers. Use the sealer that the grout manufacturer recommends, and ensure the grout is bone dry and fully cured before you apply it.
With mosaic tiles, due to their numerous grout lines, it’s simplest to apply the sealer by either brushing or rolling it over the whole surface. As the surface starts to dry, wipe off any extra sealer from the tile faces – it would have already soaked into the grout. Most sealers recommend two initial applications, followed by an application every one to two years.
Are there any safety considerations I need to be aware of before laying mosaic tiles?
Sure, safety matters before you start laying mosaic tiles! Here are three safety tips to keep in mind:
- Proper Protective Gear: Don’t forget to gear up with the right safety equipment. Wear safety glasses to shield your eyes from any flying tile bits, particularly when you’re cutting tiles. Wearing gloves can also keep your hands safe from sharp tile edges and grout, which can be rough on your skin.
- Safe Handling of Tools: It’s important to get comfortable with all your tools before you start. This is especially true for power tools like wet saws or grinders. Always follow the instructions provided by the manufacturer, and remember – there’s no need to rush. Taking your time ensures accurate and safe cuts.
- Ventilation: Some products used in tile installation, such as certain adhesives and sealers, can produce fumes. Keep the room well-ventilated during and after applying these products to avoid breathing in any harmful chemicals.
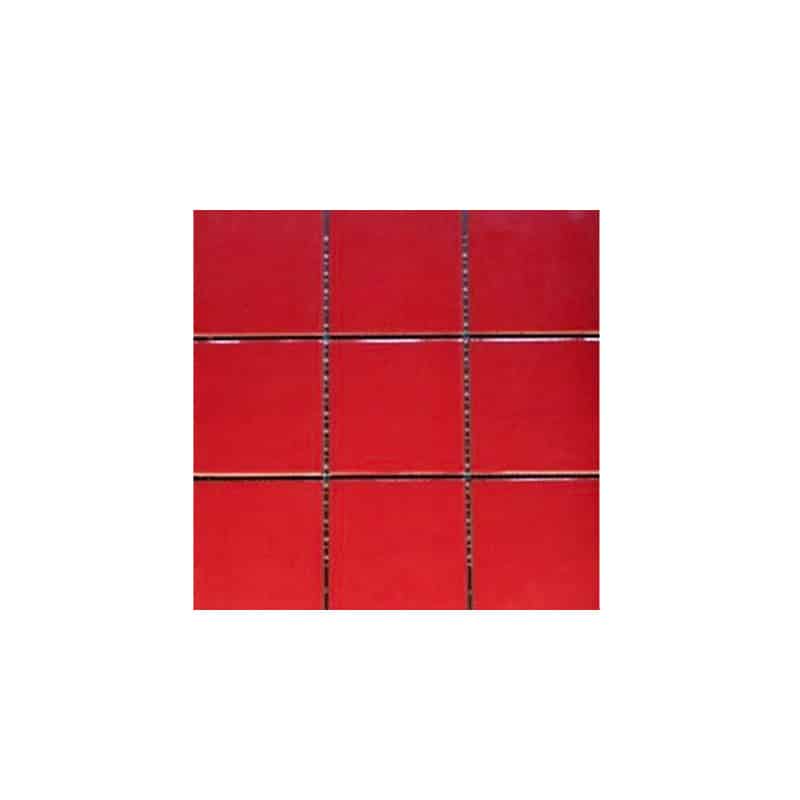
100×100 RAL Red (DM) Matte Mosaic Poolsafe tiles 300×300 sheet
$7.95 / sheet

Artemis Carrara Marble Herringbone Mosaic Natural Stone Tile 220x220mm
$154.95 $139.95 / square metre
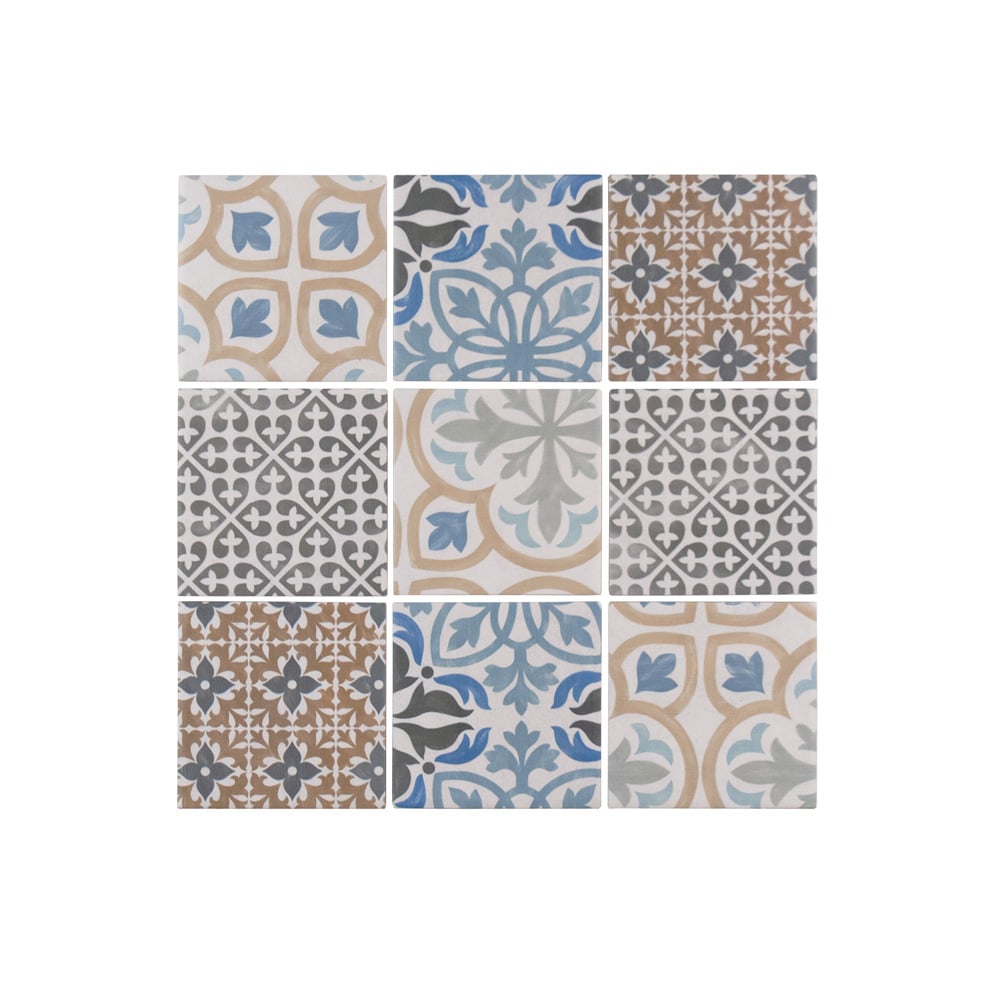
Porto Mosaic Mosaic Wall tiles 300×300 sheet
$78.50 / square metre
Clovelly Antique Grey Finger Kit Kat Gloss Mosaic Tiles 296×299
$94.95 $79.95 / square metre
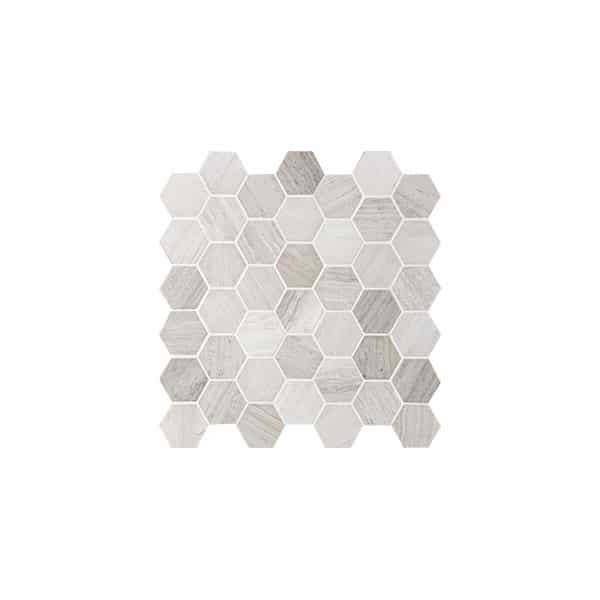
Montage Sirocco Concrete Hexagon Internal Low Sheen tile 300×300 sheet
$35.95 / sheet
Merchant Mosaic Wall tiles 300×300 sheet
$24.95 / sheet
Azure Blue Gloss Mosaic Poolsafe 47×47 tiles 297×297
$65.95 / square metre
Paradise Sentosa Glass Mosaic Pool Safe tiles 300×300
$98.00 / square metre
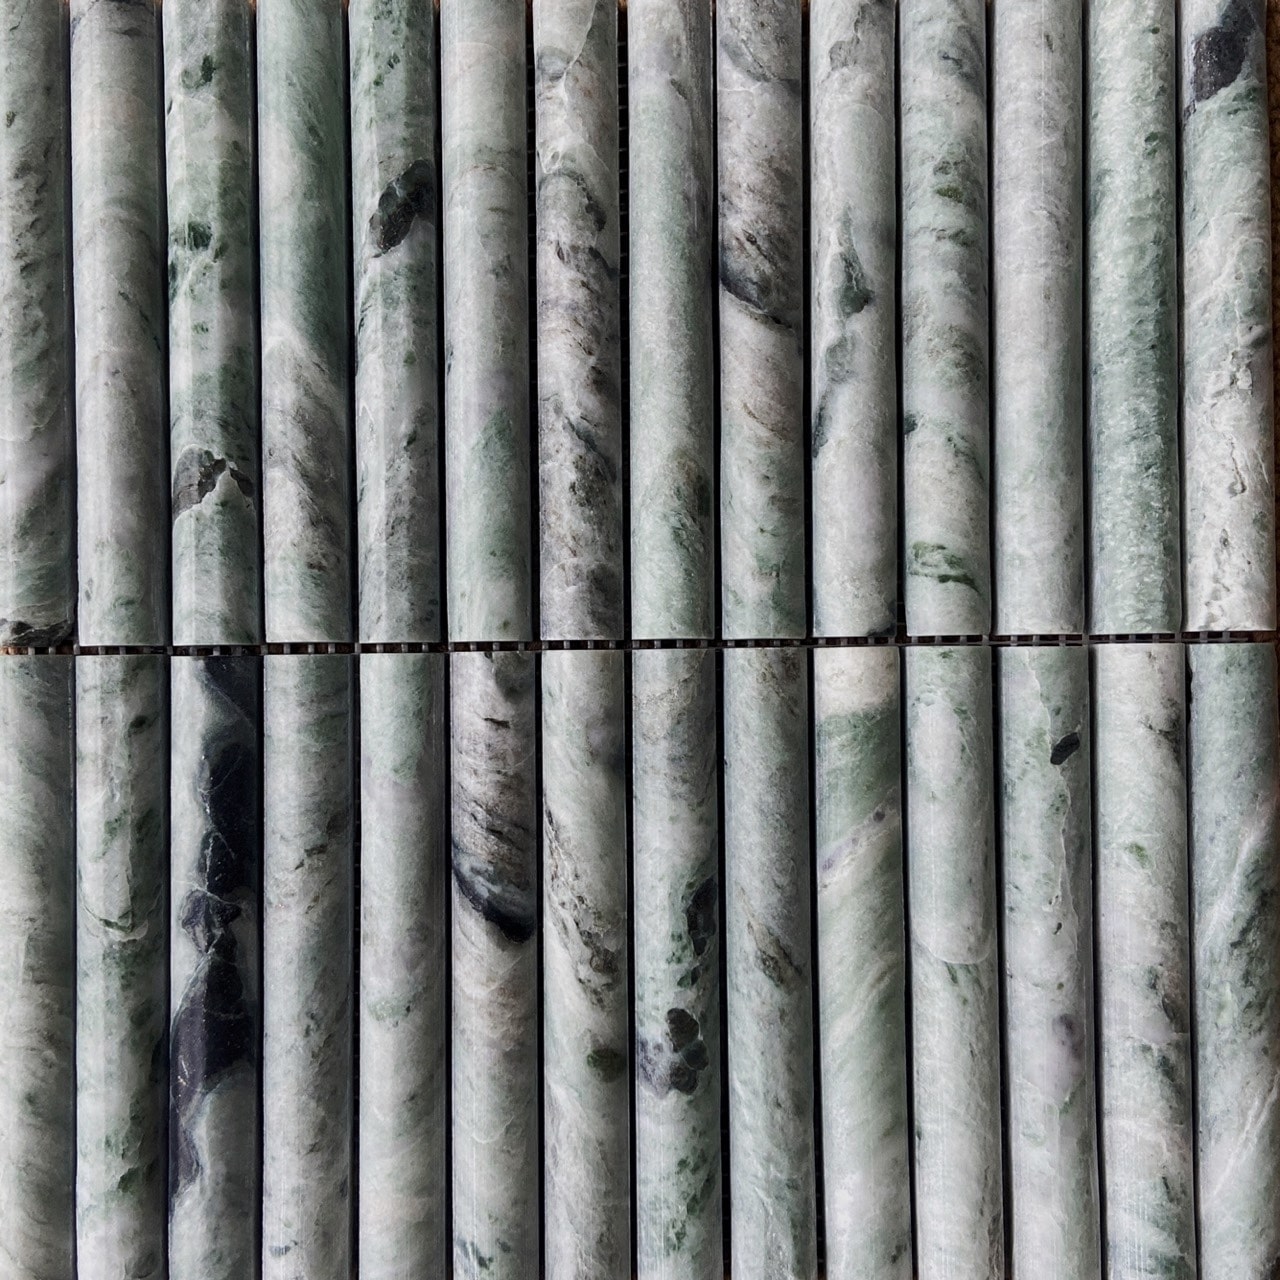
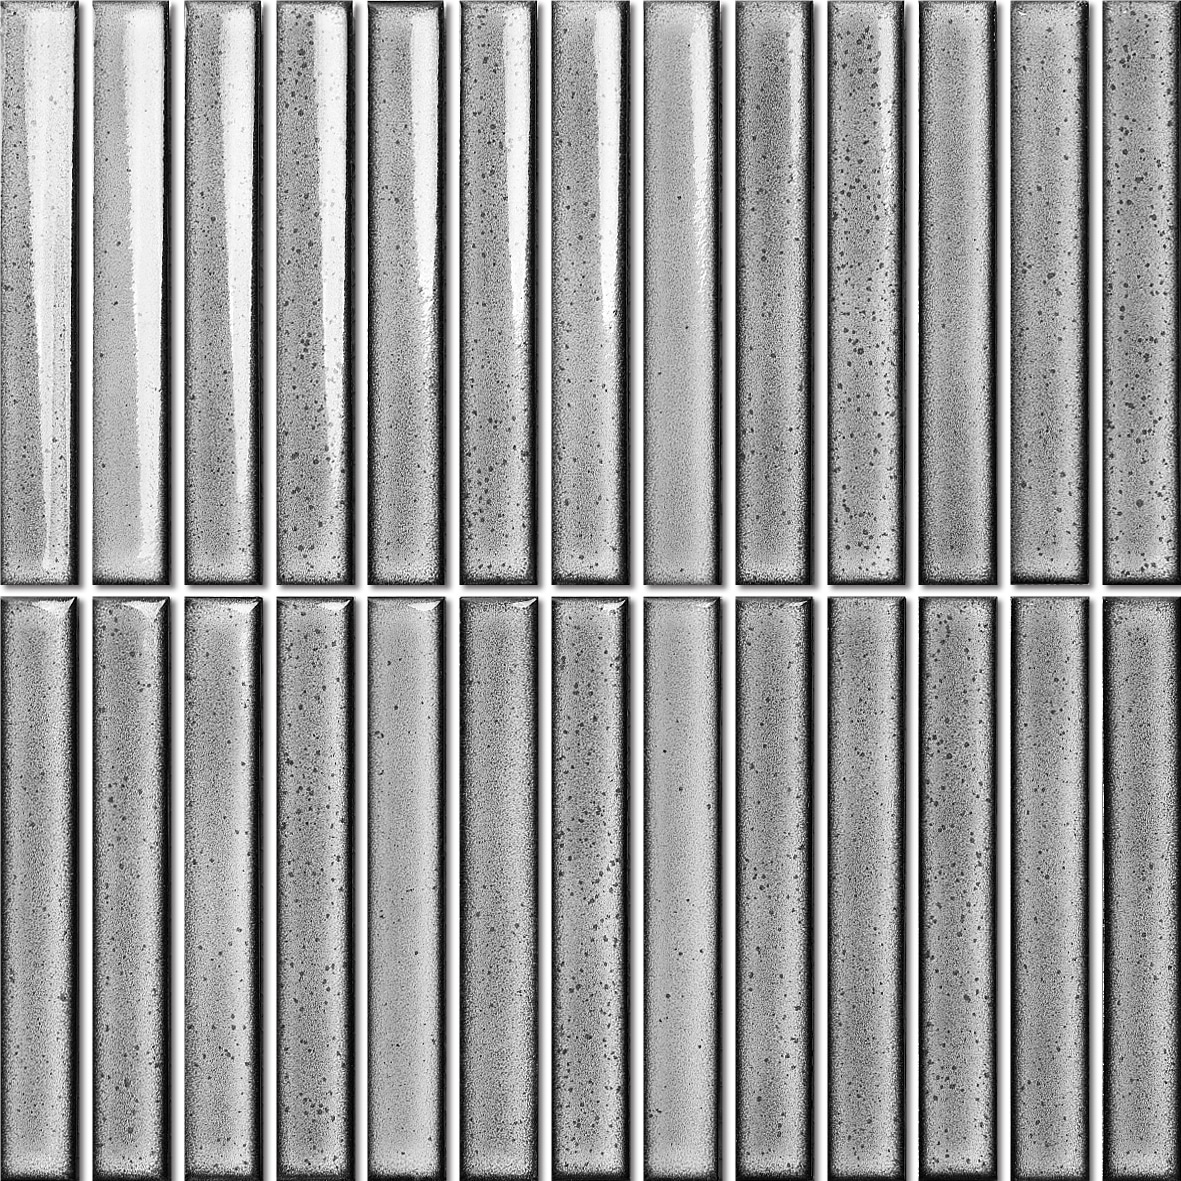
GREEN MARBLE FLUTE MOSAIC 305X305MM
$229.95 $199.95 / square metre
FAQs
What is the best adhesive for mosaic tiles?
The best adhesive for mosaic tiles is a thin-set mortar. It’s a high-performing adhesive that provides excellent bonding and is highly resilient to moisture, making it suitable for both interior and exterior applications.
What kind of grout do you use for mosaic tiles?
The type of grout used for mosaic tiles largely depends on the width of your grout seams. For thinner seams (0.3 cm or smaller), unsanded grout is the go-to choice. However, for wider seams, sanded grout works best. It’s always advisable to follow the manufacturer’s instructions when choosing and applying grout.
Does mosaic tile need to be sealed?
Yes, mosaic tile does need to be sealed. Since grout is porous, it can absorb water and other substances, which can cause damage over time. A sealer provides a protective layer to prevent this. The frequency of resealing depends on the sealer and grout manufacturer’s instructions, but generally, it’s recommended every one to two years.