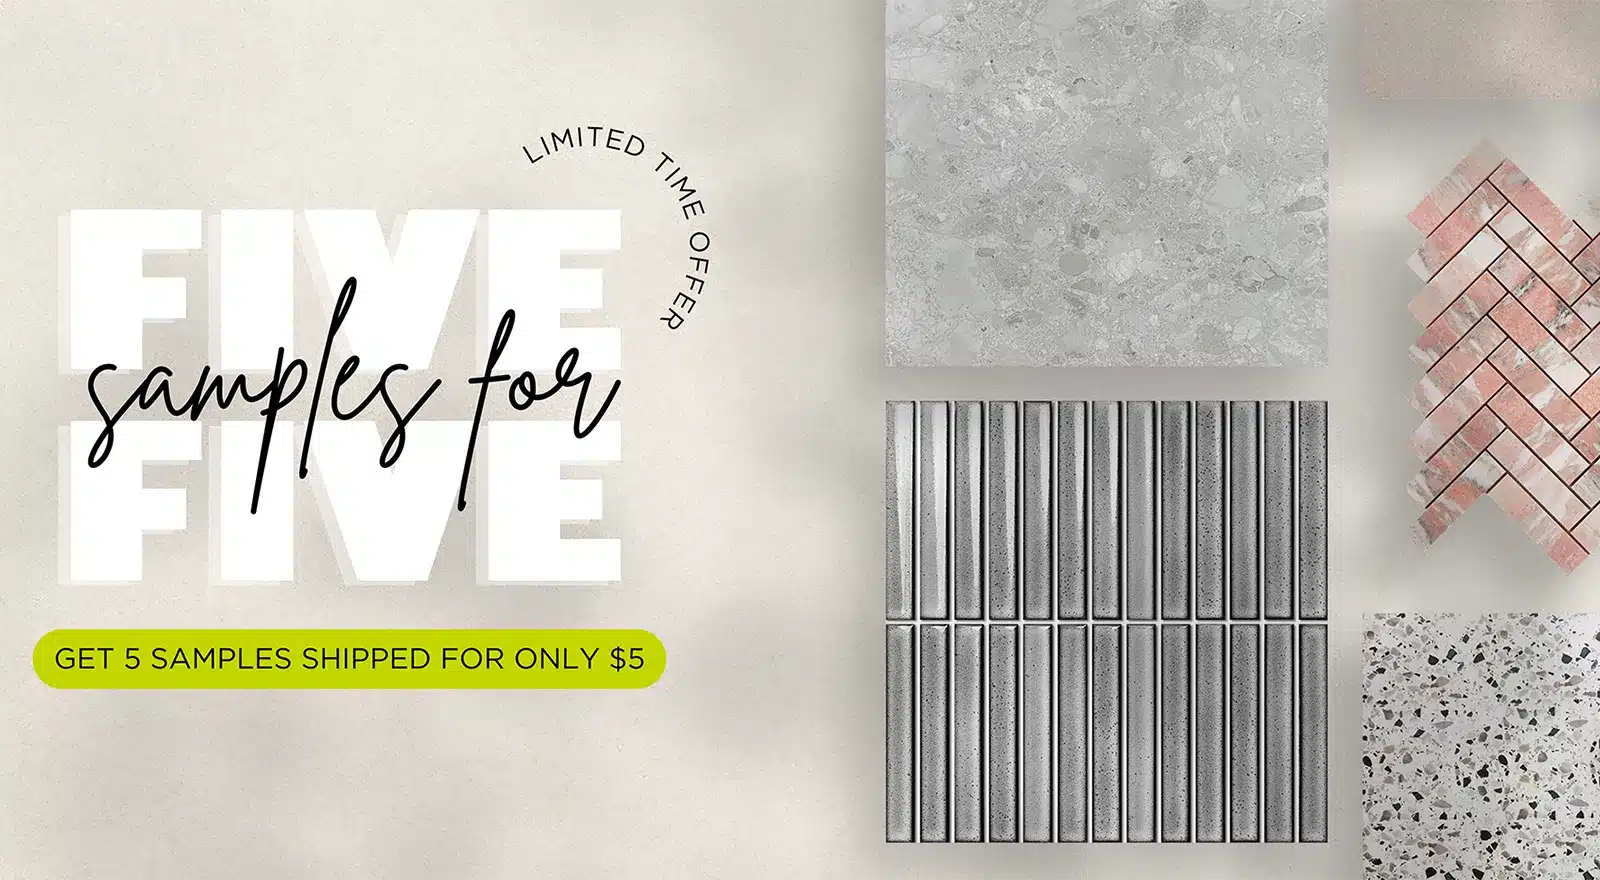
How to Grout Tiles
There’s nothing more satisfying than seeing your tiles sparkle with freshly applied grout. It might seem daunting at first, but don’t you worry. With Cheap Tiles Online and this handy guide, you’re well on your way to achieving that professional finish all by yourself. We’ll walk you through all the tools, tips, and steps you need to know. But before you get your hands dirty, let’s start with the basics.
What Tools Will I Need to Grout Tiles?
To get started, make sure you have these essentials on hand:
- Grout: Choose based on your tile type and the area where it’s being applied.
- Grout float: This tool helps you apply and spread the grout.
- Mixing bucket and sponge: Used to mix grout and clean excess.
- Protective gloves: To keep your hands safe from the grout.
- Grout sealer: To protect your grout from moisture and stains.
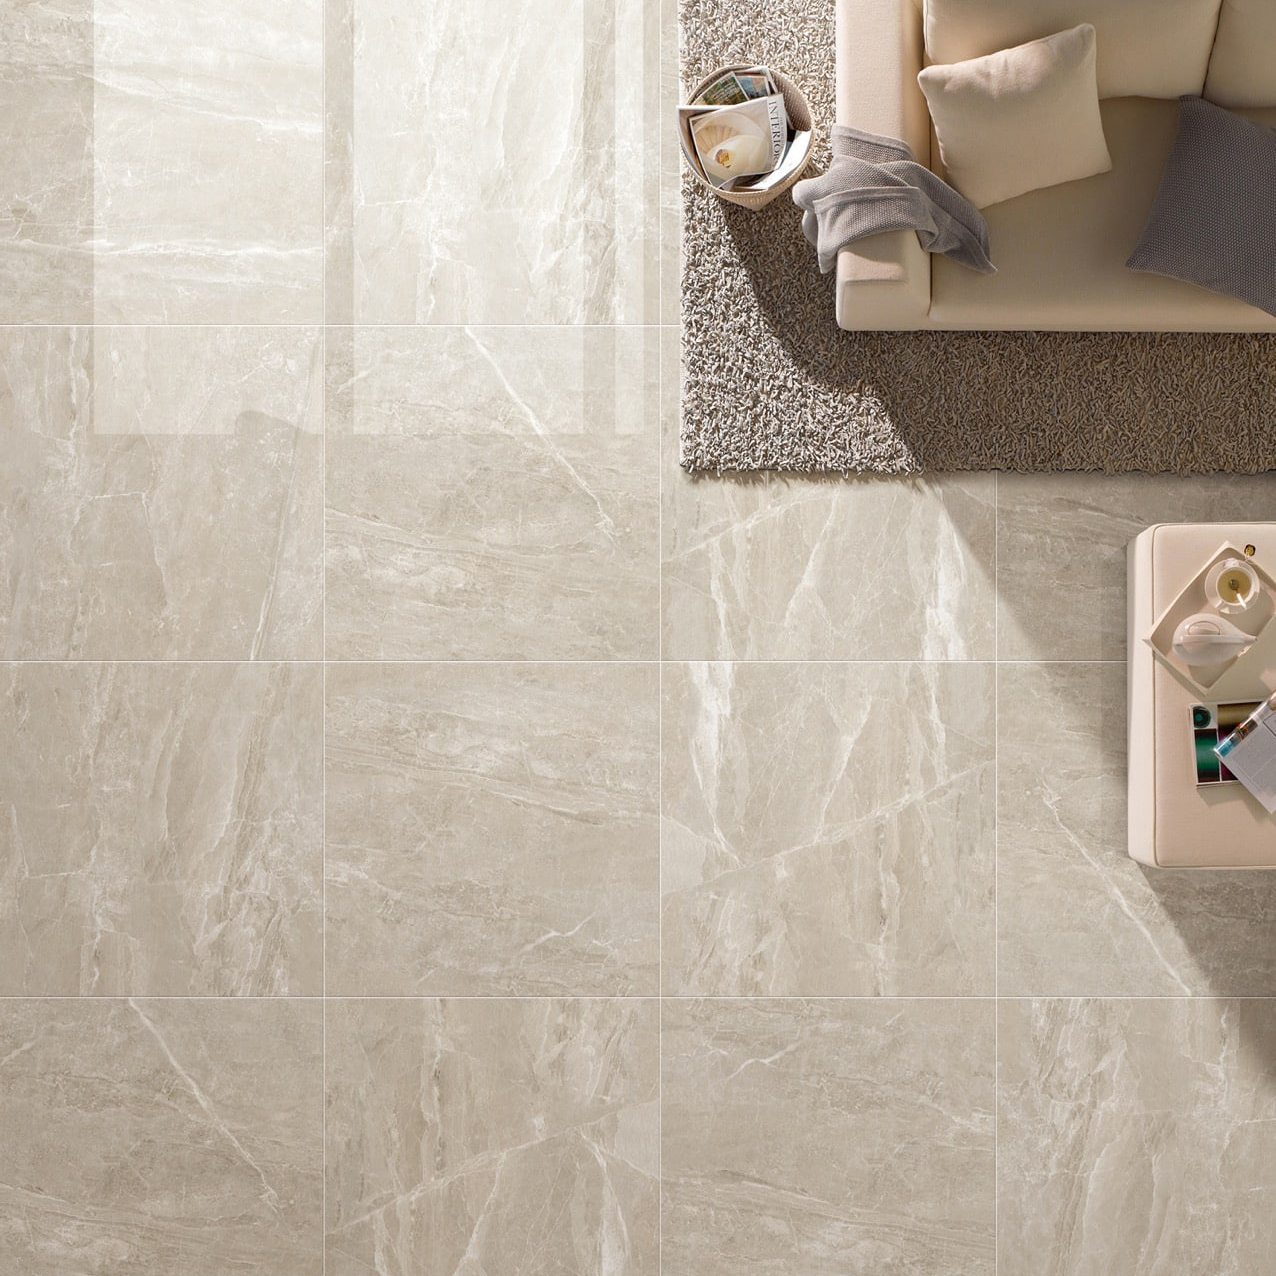
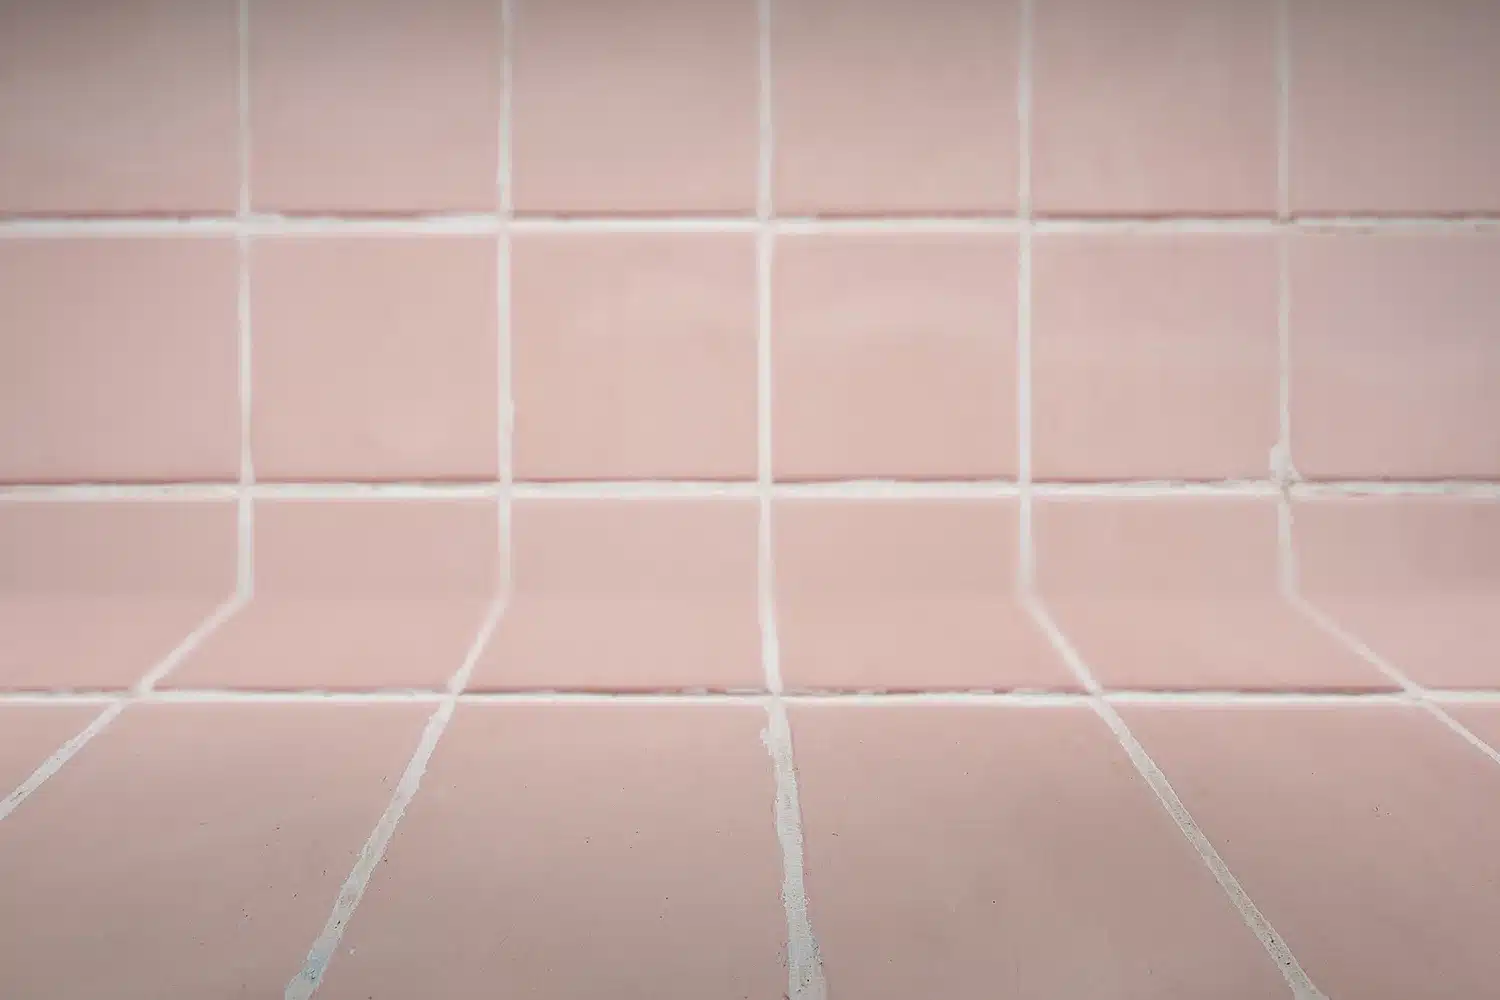
How to Choose the Right Grout Colour for Your Tiles?
Choosing the right grout colour can drastically change the look of your tiled area. Here are some things to consider:
Consider Your Space
If you’re tiling a large area, a contrasting grout colour can create a complex, eye-catching look, but it might be overwhelming. Matching your grout to your tile colour can give a continuous surface visually, making small spaces appear larger.
Location Matters
The location of your tiles can influence your grout colour choice. For wall tiles and backsplashes that are directly in your line of sight, a bold contrast might be too much.
Design Complexity
Your grout colour can add or reduce complexity in your design. Matching grout and tile colours create a minimalist look while contrasting colours make a more vibrant design.
Patterns & Tile Shape
If your tile is patterned, use a neutral grout to keep the focus on the pattern. Conversely, a contrasting grout can highlight unique tile shapes or layouts. Also, certain tile shapes like circular ones, may require larger areas of grout, making it more noticeable.
Surrounding Decor
Ensure your grout colour complements not just your tiles but also your interior decor. Grout swatches can help you find a colour that ties in with your room’s overall palette.
Multicoloured Tiles
For multicoloured tiles, you can match your grout with one of the tile colours or choose a neutral grout that contrasts with all tile colours.
Tile Edges & Finish
The finish of your tiles and whether they are rectified (cut to exact dimensions) or non-rectified can influence your grout colour choice. Highly polished tiles can reflect light and appear lighter, so consider this when choosing your grout colour.
Step-by-Step Guide on How to Grout Tiles
Step 1: Mix it Up
Start by mixing your grout. Follow the instructions and stir until you get a thick, clay-like consistency.
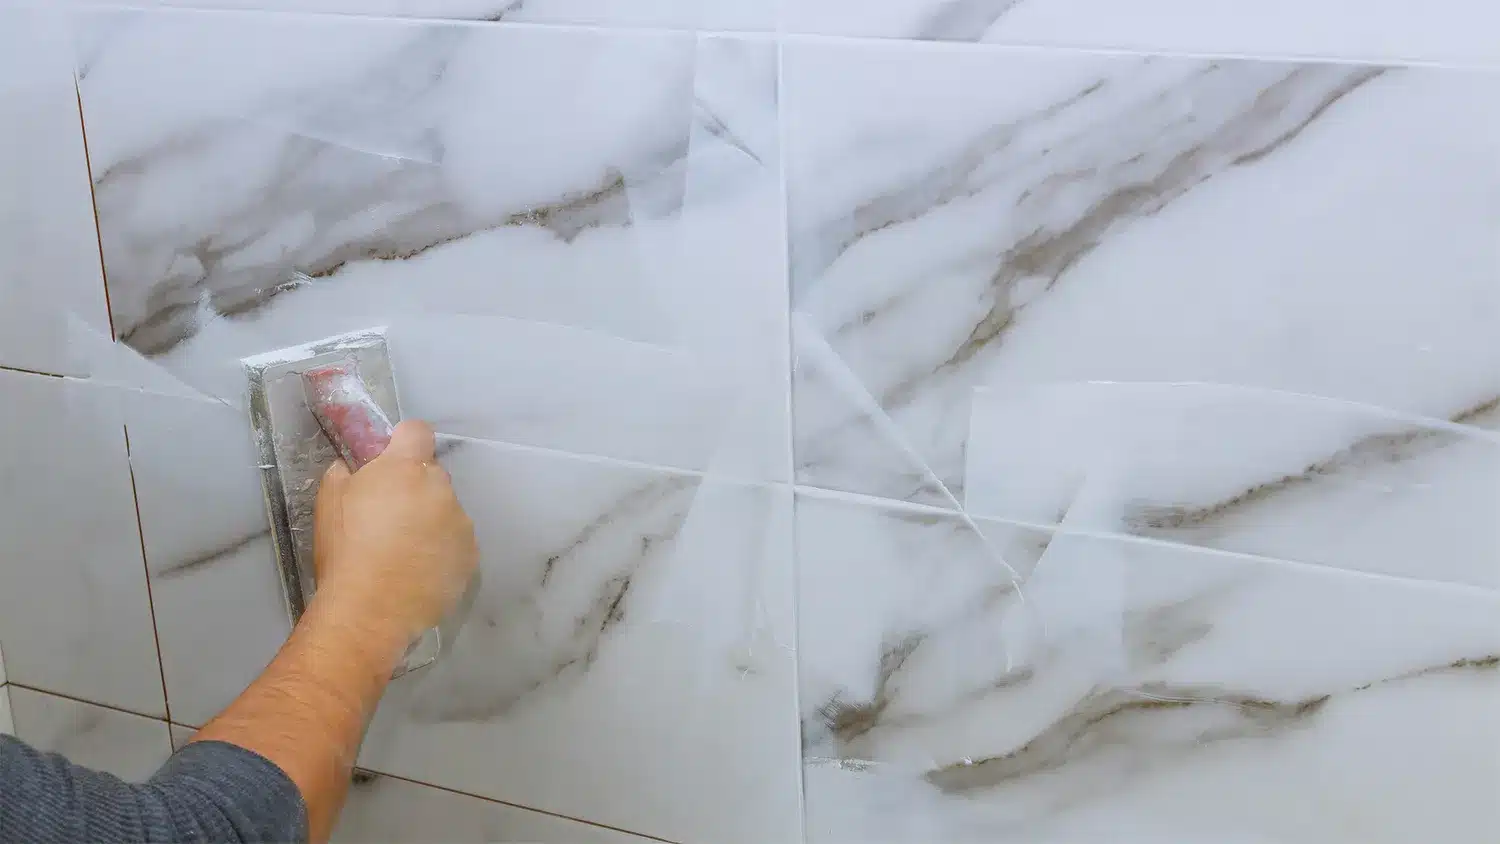
Step 2: Get into the Grout
Using a grout float, apply the grout in a diagonal or 45-degree angle, firmly pushing it into the tile joints, leaving no pockets or voids. Avoid applying grout where walls meet floors or other walls – we’ll be using silicone here. Start small until you’re comfortable.
Step 3: Time for a Clean Up
Allow the grout to dry and form a film on the tiles before cleaning. If you clean too soon, you risk removing the grout joints. Once the grout is slightly powdery, remove excess grout with a clean, damp sponge diagonally across the tile. Rinely and repeat. The aim here is to lift the film from the tile without wetting the actual grouted joint.
Step 4: Wash Out Any Residue
24-48 hours after the grout has dried, give your tiles a wash with a simple soap and water solution and a microfibre cloth. This will clear any residual grout haze from your tile surface.
Step 5: Seal the Deal
If you’ve used epoxy grout, you’re done – great choice, by the way! It’s naturally resistant to chemicals, stains, and mould. If you’ve used sand or cement-based grout, apply a grout sealer to minimise stains, mould, and mildew growth.
Step 6: Stand Back and Admire
Congratulations! You’ve done it! Now sit back, admire your handiwork, and enjoy your newly grouted tiles.
What Safety Considerations Do I Need to Be Aware of When Grouting Tiles?
Safety should always be your number one priority. Here are three crucial safety considerations you must keep in mind when you apply grout:
1. Wear Protective Gear
When mixing grout, tiny particles can become airborne and may irritate your eyes and skin. Always wear safety glasses, gloves, and a dust mask to protect yourself. It’s a small effort that keeps you safe and comfortable throughout the project.
2. Ensure Good Ventilation
Some grouts, especially epoxy-based ones, can emit strong fumes. Make sure the area is well-ventilated. This not only helps the grout dry properly but also prevents you from inhaling any potentially harmful fumes.
3. Mind Your Posture
Grouting can take longer than expected, and maintaining a poor posture during this time can lead to back pain or strain. So, remember to take regular breaks and use knee pads if you’re working on floor tiles.
When is It Time to Call in the Professionals for Help?
While DIY grouting can be a rewarding project, there are moments when it’s best to hang up your trowel and call in the pros.
- Size Matters: If you’re dealing with a large area, the task can become quite daunting. A professional tiler has the expertise and efficiency to handle big projects smoothly and swiftly.
- Complex Patterns: Mosaic or herringbone patterns can be tricky. If your tile layout is complex, a professional eye can ensure precision and a flawless finish.
- Persistent Cracking: If your grout keeps cracking despite your best efforts, it’s a sign of an underlying issue. It could be due to incorrect mixing, improper application, or even a structural problem. A professional can diagnose and rectify the issue, saving you time and headaches.
Remember, Aussies, there’s no shame in calling for help when you need it. Professional tilers have the experience, skills, and tools to deliver top-notch results. So, if you’re feeling overwhelmed, pick up the phone and let the experts take over. Your tiles will thank you!

TRADIES CHOICE 20 KG MASTER FLEX
$29.95 Bag
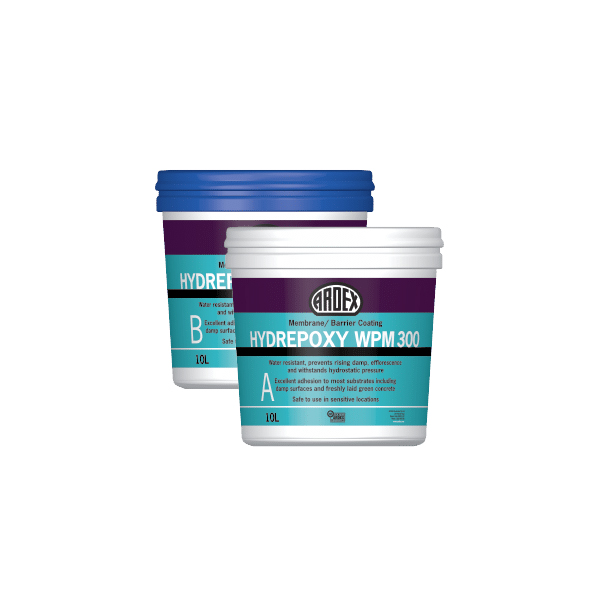
ARDEX HYDREPOXY WPM 300 GREY 20L KIT
$601.95 Bag
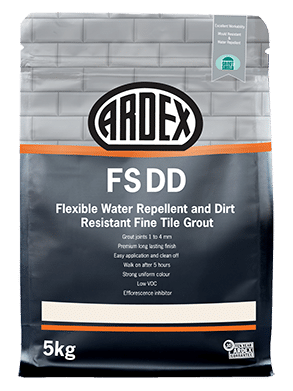
FSDD MIDNIGHT GROUT 5 KG
$21.95 Bag
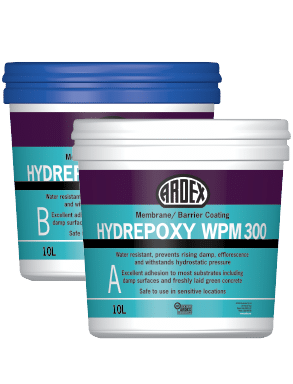
ARDEX HYDREPOXY WPM 300 GREY 4L KIT
$141.95 Bag
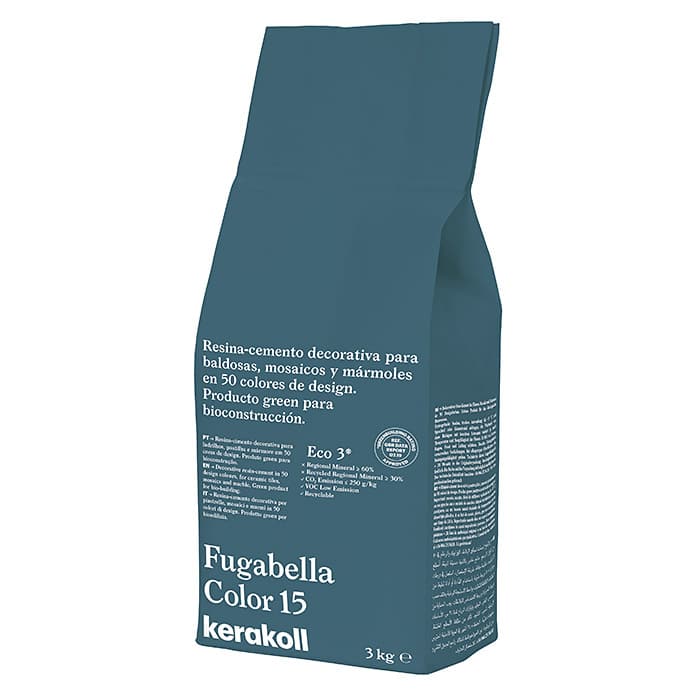
FUGABELLA COLOR 15 3KG
$43.95
FSDD ULTRA WHITE 390 GROUT – 20KG
$69.95 Bag
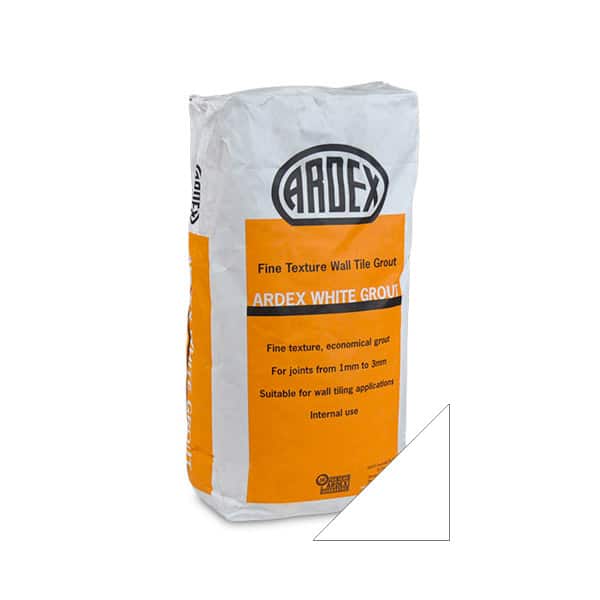
Ardex White Grout Fine Texture Joints 1 – 3mm 20kg
$39.95
FSDD TRAVERTINE 377 GROUT 5KG
$21.95 Bag
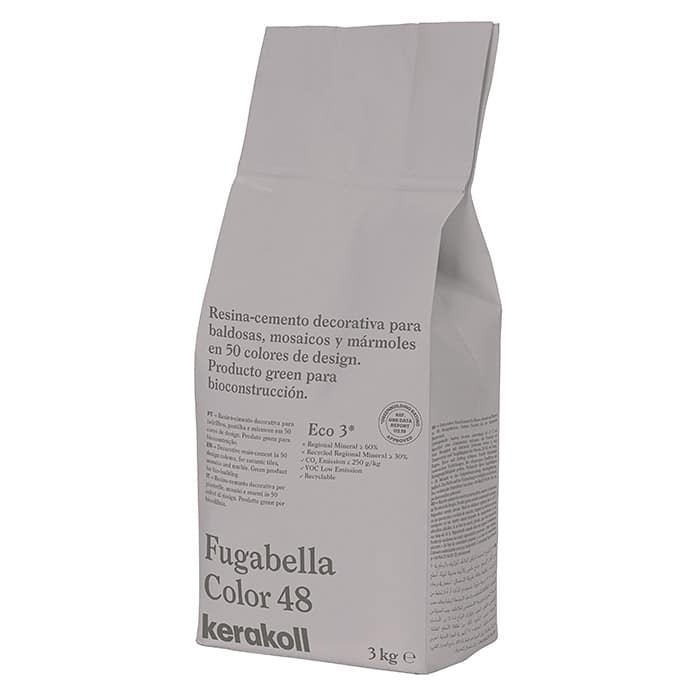
FUGABELLA COLOR 48 3KG
$43.95
FAQs
How long should you leave grout before wiping?
Wait about 15-20 minutes before wiping down the excess grout with a damp sponge.
How to clean tile grout?
Use a mixture of baking soda and water. Apply it to the grout lines, let it sit for a few minutes, then scrub with a brush and rinse.
How often should you regrout tiles?
It depends on the wear and tear, but generally, grout should last between 8-10 years. If it’s cracking or discoloured, it might be time for a regrout.