How to Use a Laser Level
Have you ever struggled with uneven shelves or crooked picture frames? We bet we all do! As an Australian homeowner, a laser level can be your best ally, ensuring precision in your DIY projects. Whether it’s hanging pictures, installing shelves, or laying tiles you bought here at Cheap Tiles Online, this tool brings simplicity and accuracy.
Say goodbye to wonky structures and embrace flawless installations with a laser level. How to use it? That’s what we’re here to help you with.
Types of Laser Levels
There are 4 common types of laser levels: rotary, dot/plumb, line, and self-levelling laser levels. Here’s a brief overview of each type:
Rotary Laser Level

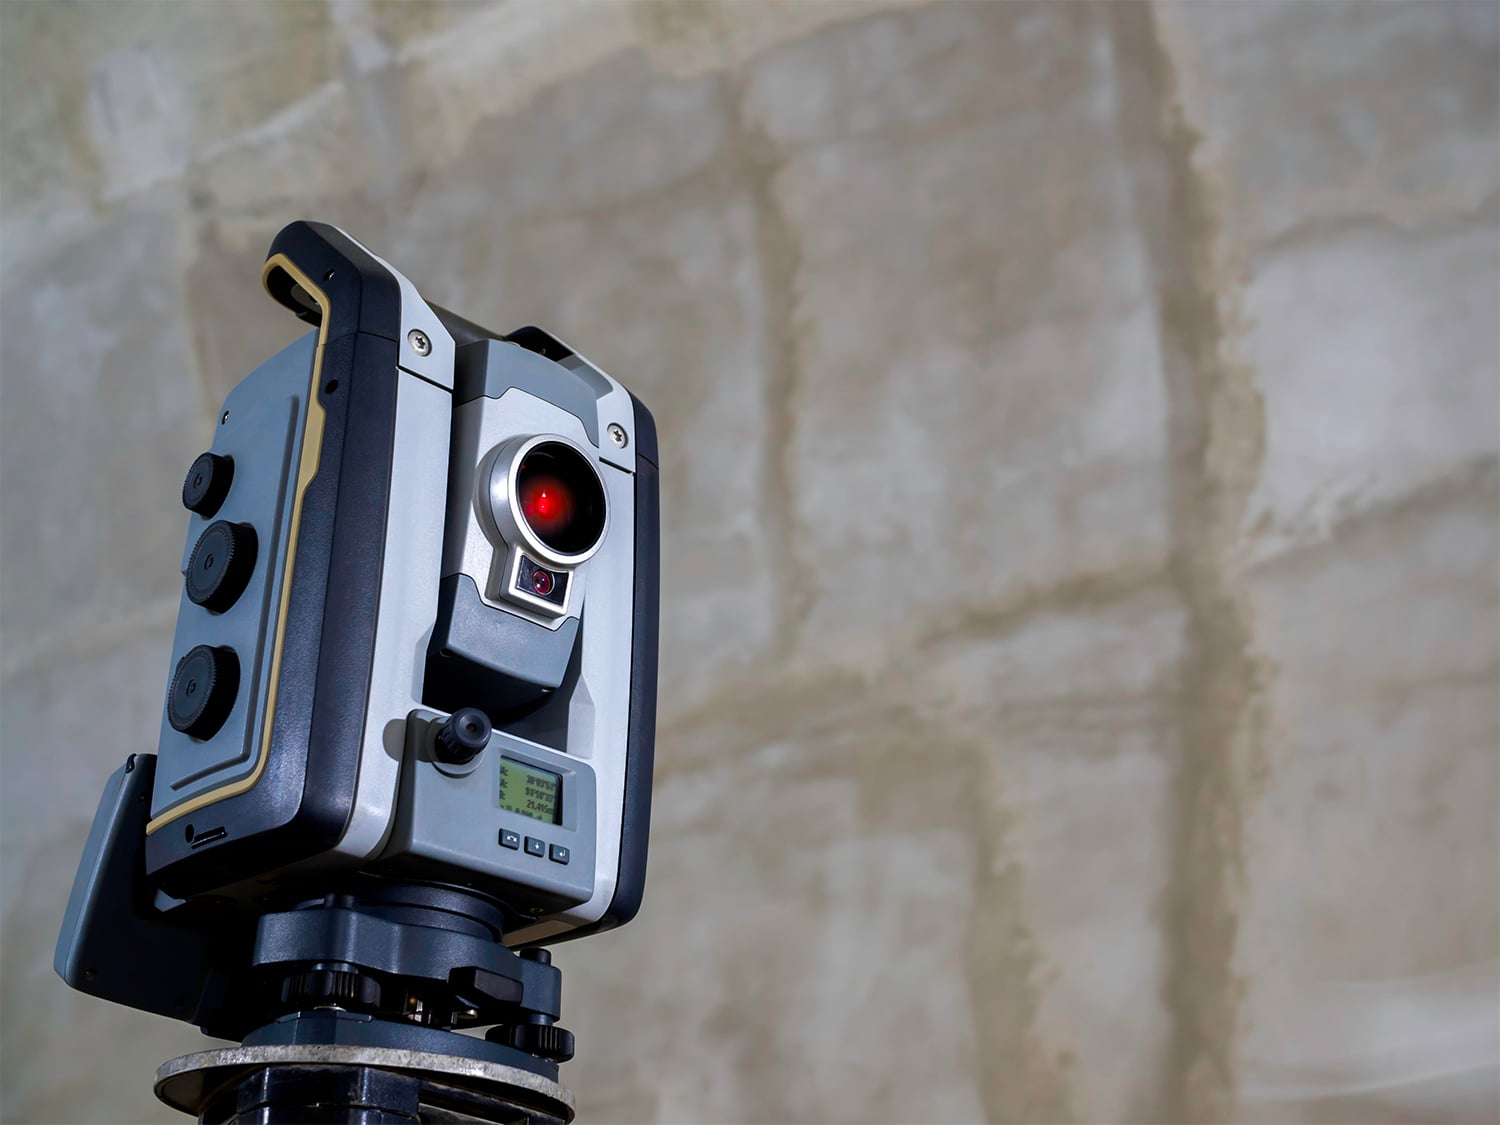
Think of rotary laser levels as the heavy-duty players in the laser-level world. They project a 360-degree laser beam at high speed, creating a visible plane of light. This feature makes them especially useful for larger construction projects, such as constructing walls or establishing foundations. They’re incredibly accurate, usually within 1.5mm up to 15m or within 3mm up to 30m.
However, due to their higher price point, they’re often more suited for professional contractors rather than the occasional DIY enthusiast.
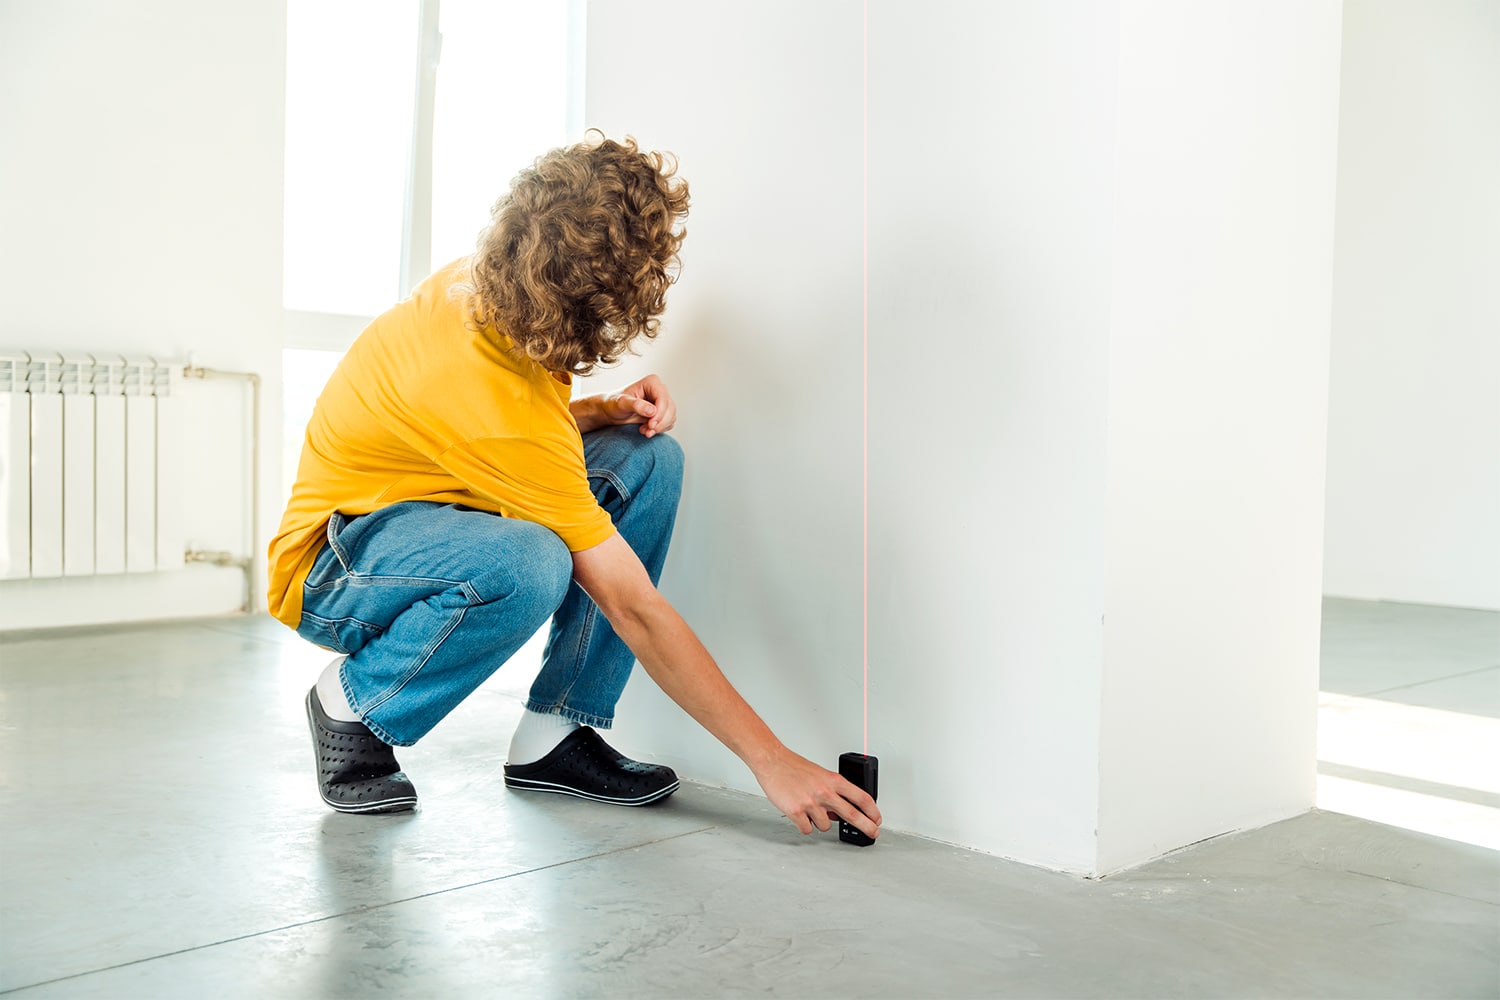
Dot/Plumb Laser Level
Dot/plumb laser levels are a more budget-friendly alternative. They project two, three, or five beams of light to create a line of dots on a surface. These beams can indicate level, plumb, and 90-degree angles with highly visible green or red lasers that intersect on the target surface.
While not as precise as rotary levels — they’re typically accurate to within 6mm up to 30m — they still offer great value for smaller projects.
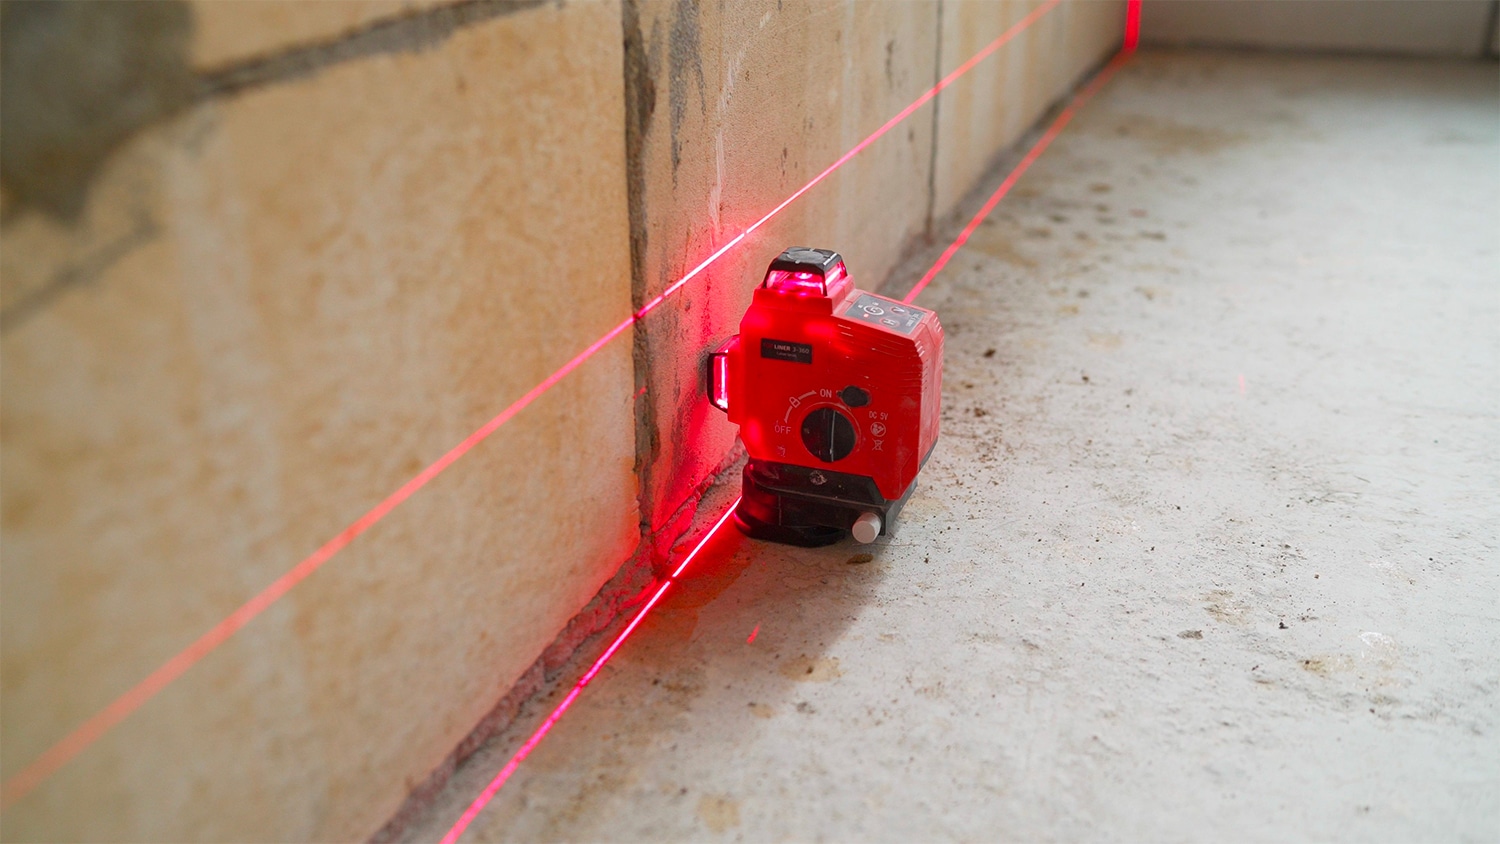
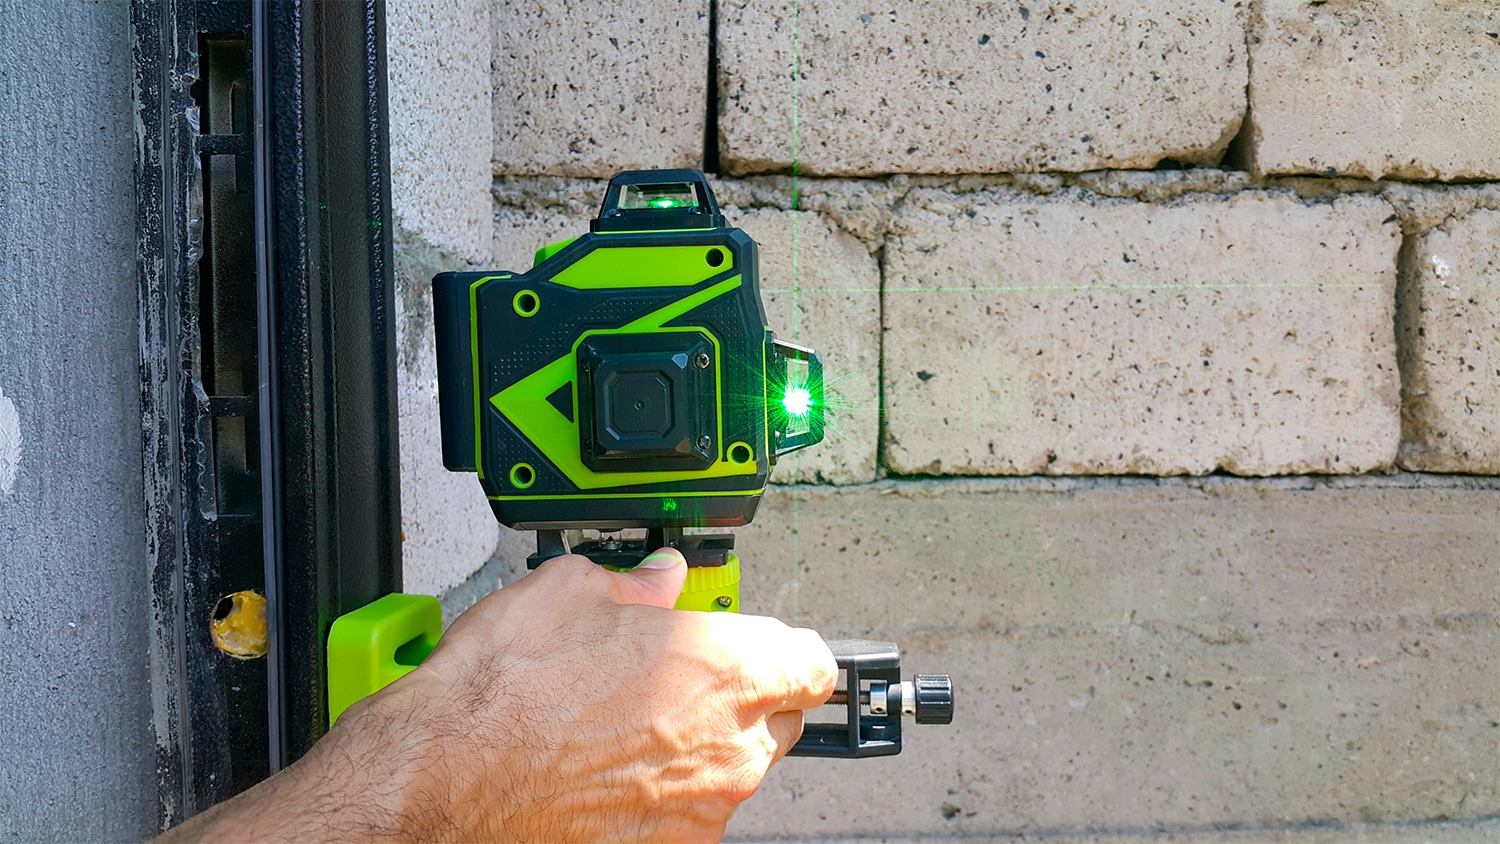
Line Laser Level
Line laser levels, also known as cross-line laser, are the most common type and with good reason. They’re affordable, easy to use, and versatile enough for a wide range of home renovation projects.
They emit a horizontal or vertical green or red laser line to indicate level or plumb, and most can pivot 180 degrees, although some advanced models can pivot a full 360 degrees. They’re generally accurate to within 6mm up to 30m, making them a reliable tool for most indoor projects.
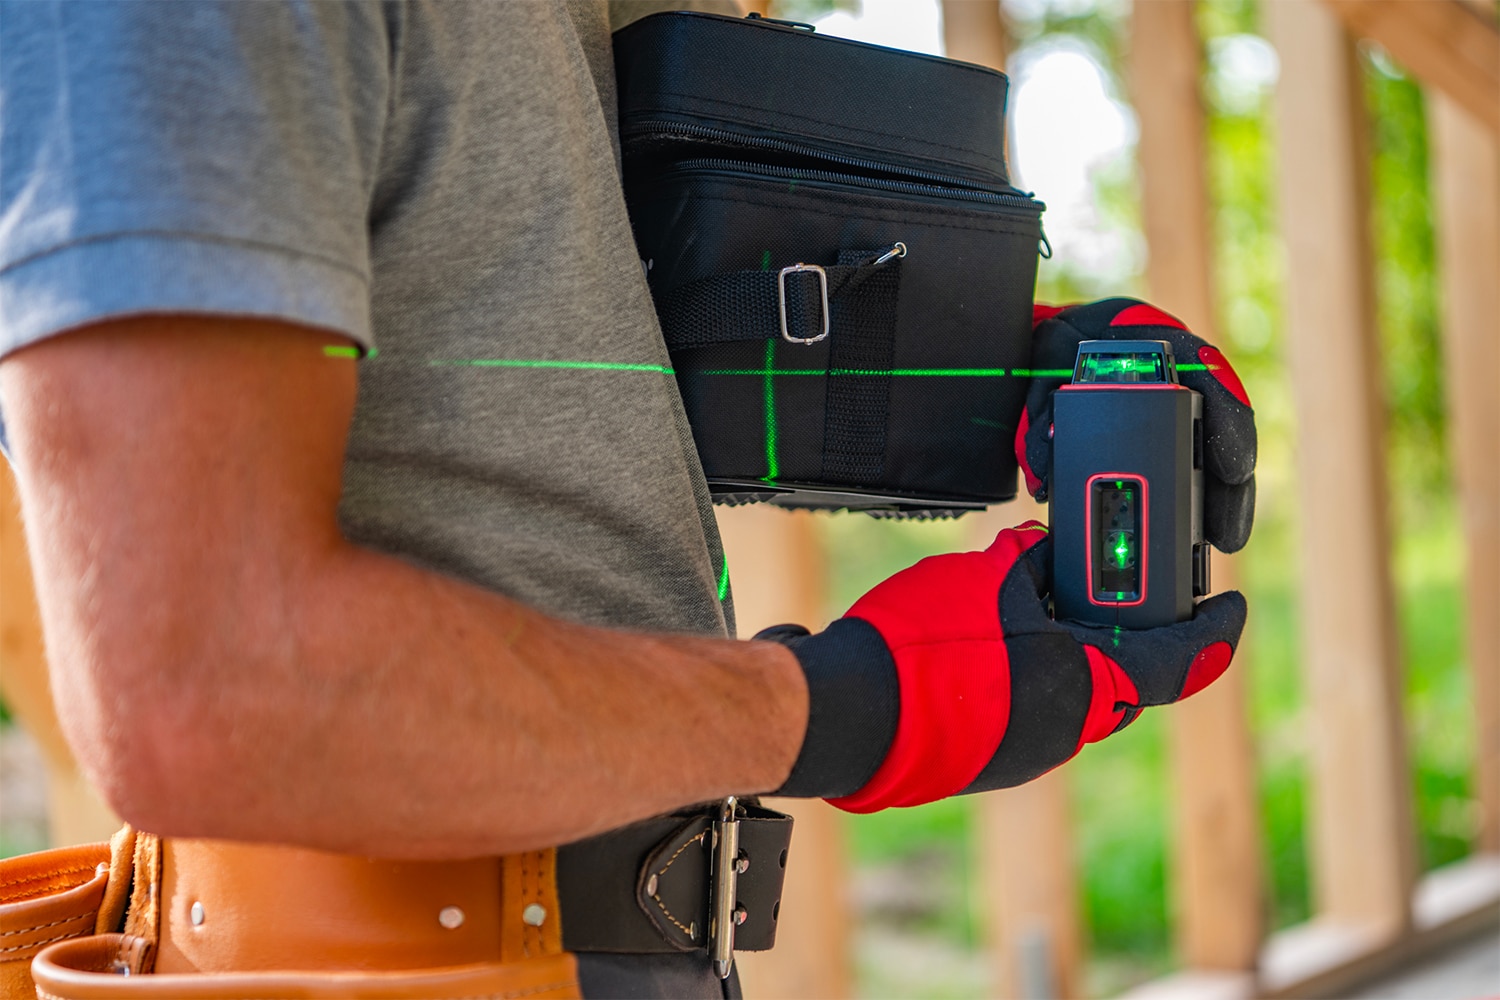
Self-Leveling Laser Level
For those who value precision and time-saving features, self-leveling laser levels are a fantastic option. These devices have a built-in mechanism (usually a pendulum) that maintains the level setup of the construction laser. This means even if you move or disturb the unit, it will automatically level itself – no manual adjustment is needed.
While this convenience comes with a slightly higher price tag, the benefits of time-saving and accuracy often outweigh the cost.
How to Choose a Laser Level
Choosing the right laser level doesn’t have to be confusing or overwhelming. Here are some key factors to consider when making your selection:
1. Wall Type
The type of wall can also influence your choice of laser level. Laser levels attach using either suction cups or pins. If you’re working with panelling or wallpaper, it’s best to avoid push-pin laser levels as they could damage the surface.
2. Outdoor Projects
For outdoor projects, especially those involving uneven surfaces or long distances, line and rotary lasers with a laser detector feature are your best bet. They’re designed to handle more challenging environments and provide reliable readings.
3. Indoor Projects
If you’re planning to hang pictures in a smaller room or align kitchen cabinets, multiple-line lasers will serve you well. They’re easy to use and offer a high degree of precision. For tiling or masonry work, consider using a laser square for that extra touch of accuracy.
4. Job Stability
Consider the job stability. For indoor projects, a manual laser level should suffice. However, if you’re dealing with outdoor projects on uneven surfaces, a self-levelling laser level would be more appropriate.
5. Room Size and Laser Distance
Finally, when considering the size of the room or the distance the laser needs to travel, remember that laser-level models with low RPM (rotations per minute) produce a bright, visible laser but don’t cover much distance. On the other hand, those with high RPM can reach farther, but the laser might appear fainter.
Step-by-Step Guide on How to Use Laser Level
We’ve got the basics down, so let’s dive into the nitty-gritty and learn how to use a laser level step by step:
1. How to Use a Laser Level
Before we start with the steps, make sure your laser level is fully charged and ready to go. Now, let’s get down to the details:
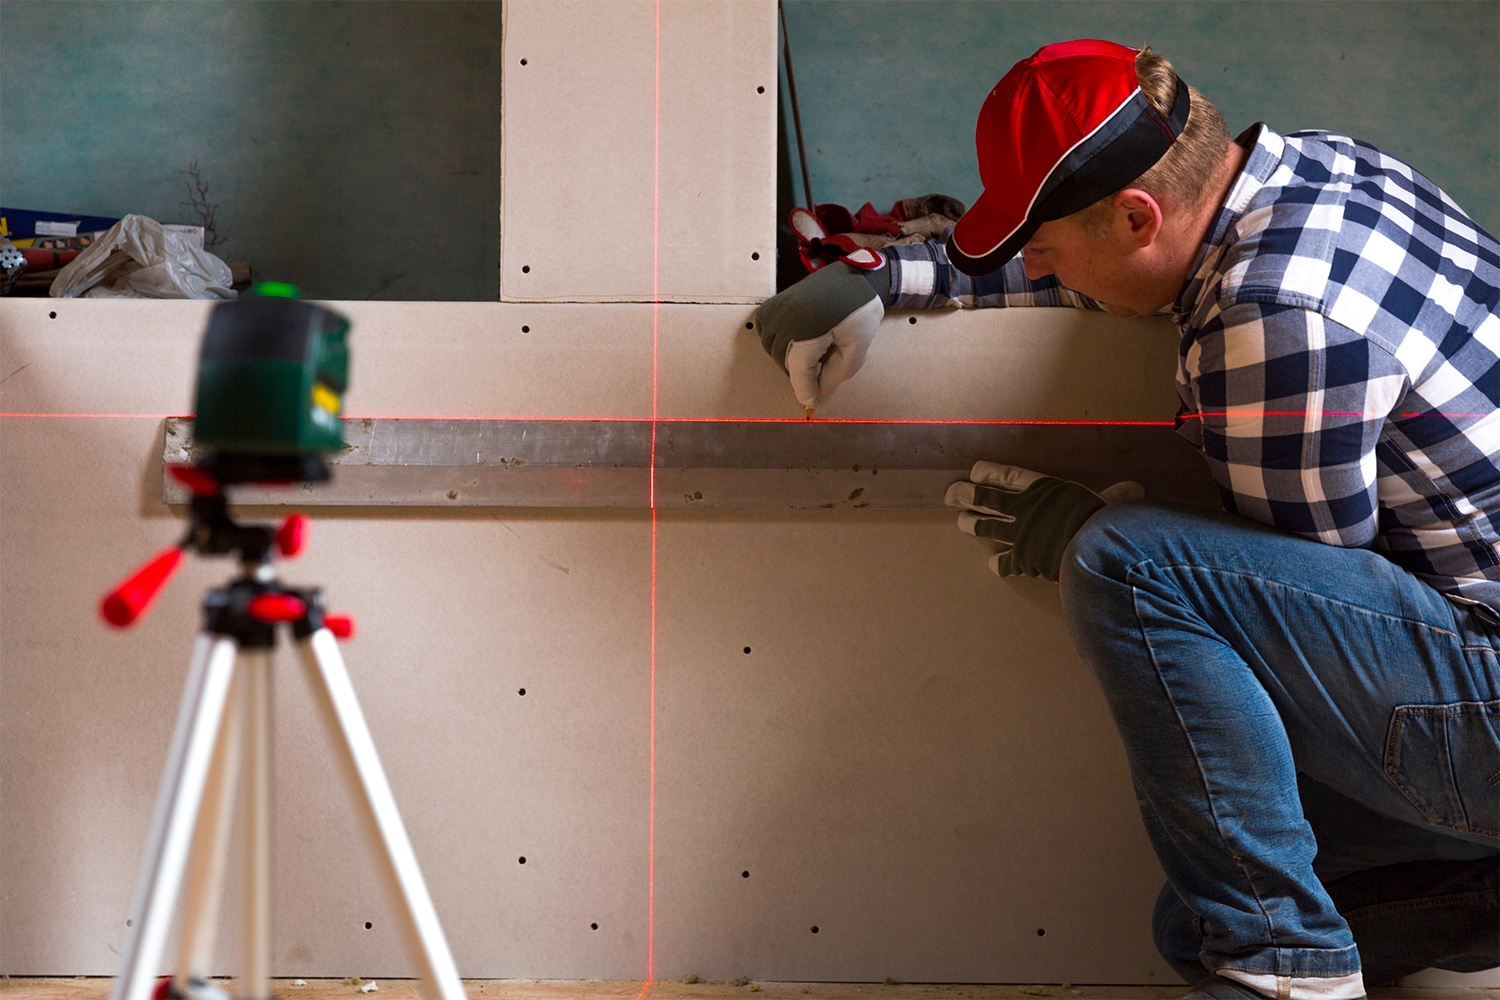
Step 1: Setting Up the Laser Level
Find a steady, flat surface or a tripod to place your laser level. This ensures accurate results.
Step 2: Adjusting Manual Levels
If you’re working with a manual laser level, adjust it until it’s perfectly balanced. Look for bubble vials on your device and small screws nearby. Adjust these screws until the bubbles indicate a perfect horizontal level.
Step 3: Powering On and Self-Leveling
Switch on your laser level. If you’re using a self-level laser model, wait for it to automatically adjust to the right level. This feature saves time and enhances accuracy.
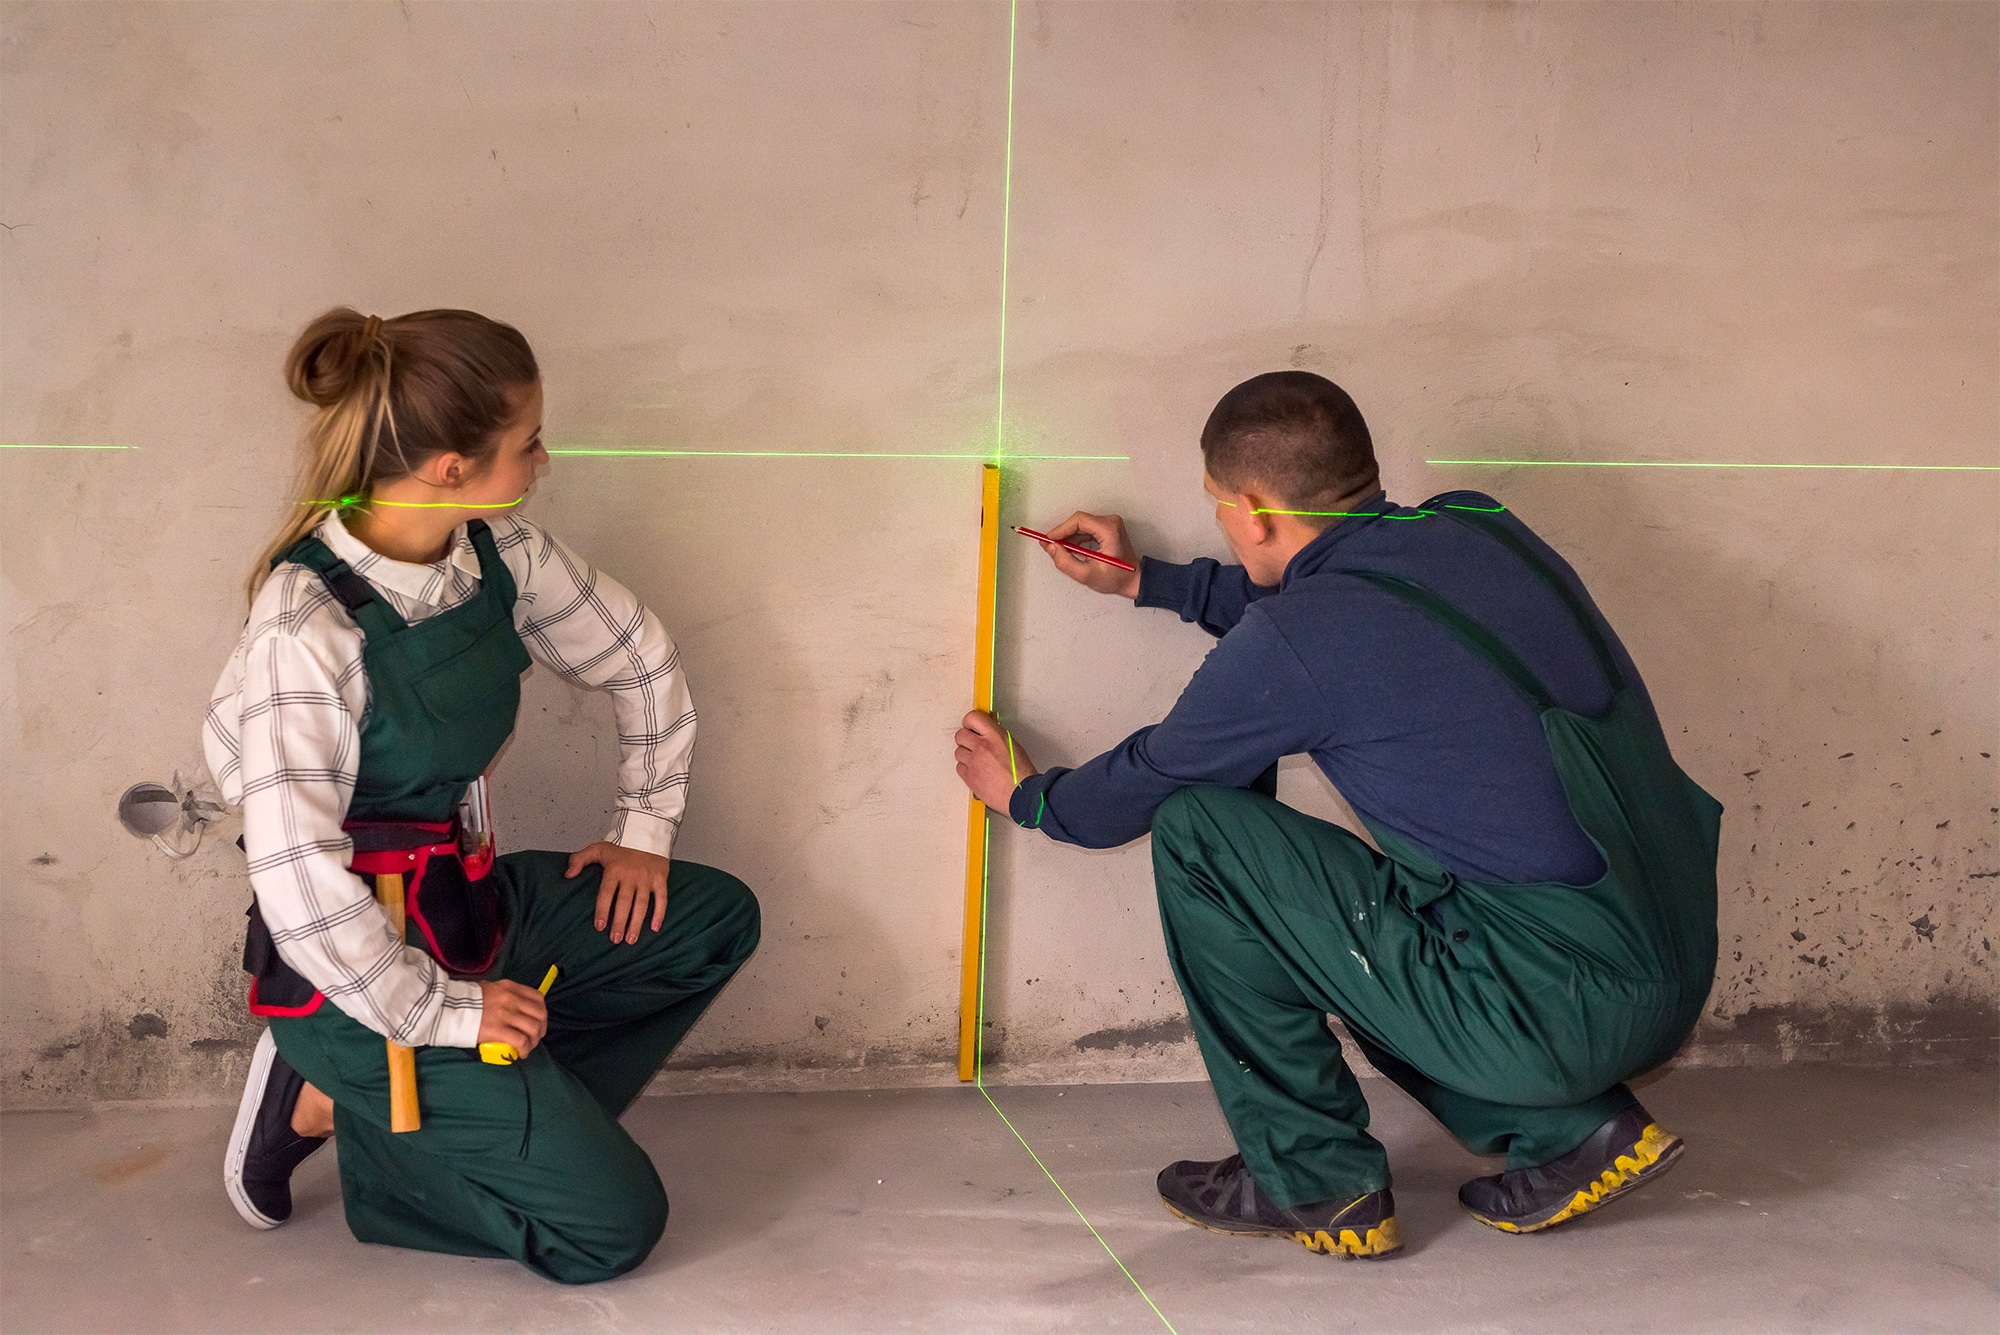
Step 4: Emitting the Laser
Your device will then project a laser, creating a level line (or dot) on a wall or workspace. The laser type—dot, multiple lines, or rotary—depends on your specific laser level. Rotary models can project a 360-degree line.
Step 5: Using a Laser Detector (If Needed)
In outdoor settings or places without a wall, a laser detector comes in handy. Attach the detector device to a measuring rod and move it along the rod up until it beeps, signifying it has located the laser. After securing the detector, you’re ready to take measurements.
2. How to Use a Laser Level to Hang Pictures
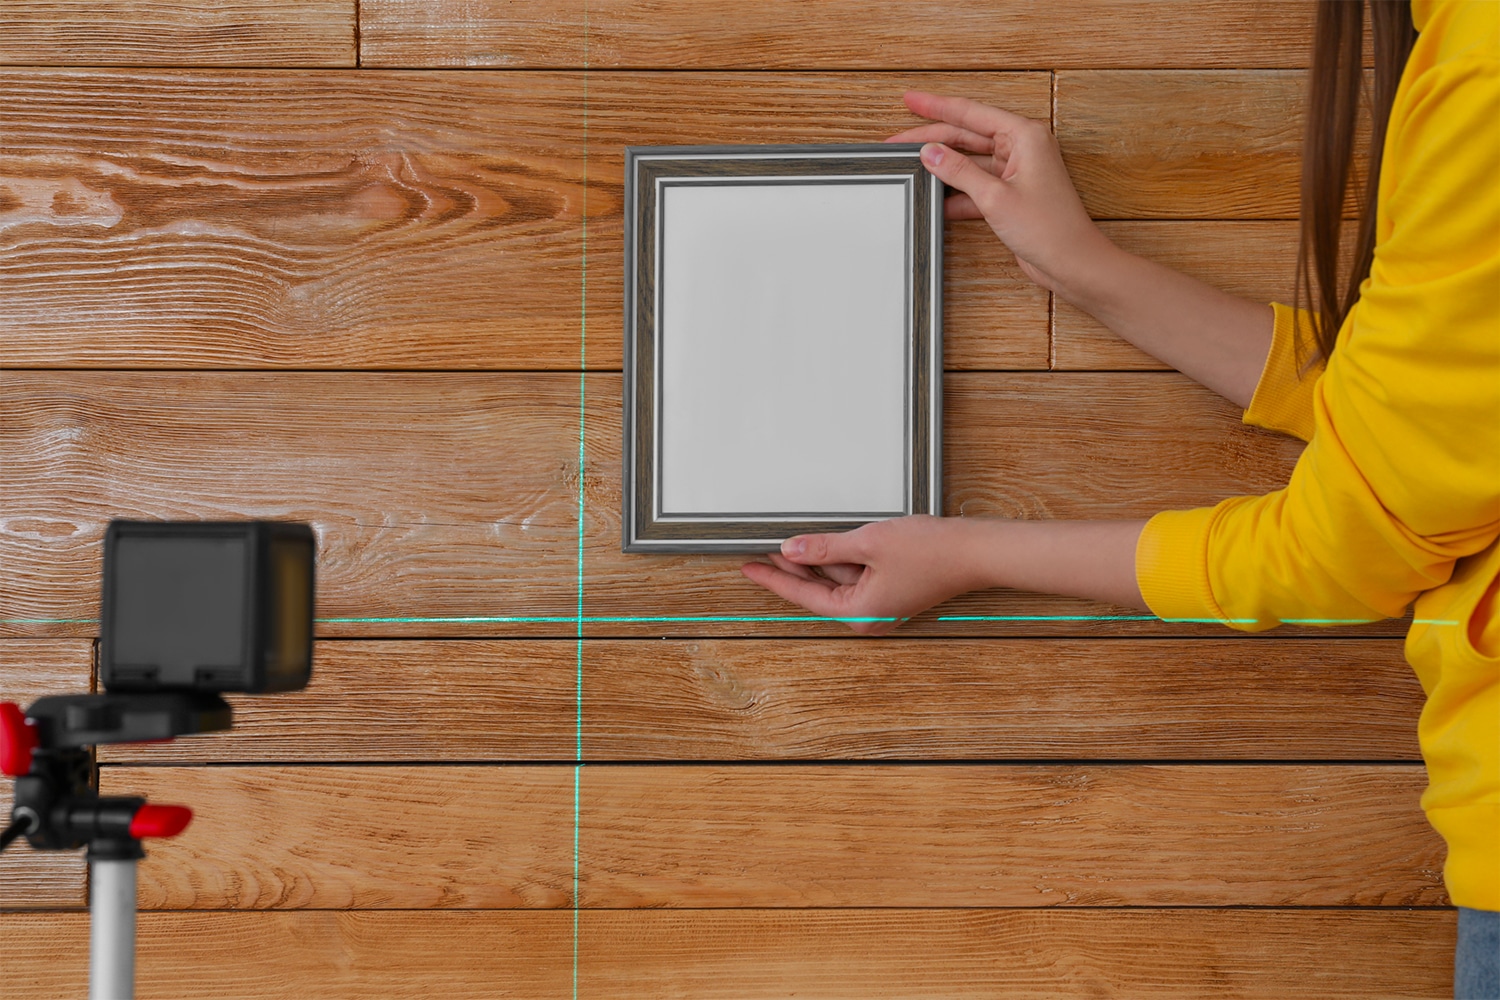
Now, if you’re going to hang a picture or any kind of decorative item, here’s how to do it:
Step 1: Determine Picture Frame Height
Start by determining the height at which the top of your picture frame should be. Mark this spot on the wall.
Step 2: Align the Laser Level
Switch on your laser level and align it with the mark you’ve made, ensuring the laser line is horizontal along the wall. Adjust the level until the bubble is centred between the black lines on the vial.
Step 3: Secure the Laser Level
Once the laser is level and intersects your mark, secure the level to the wall. This may involve using suction cups or putty, depending on your model.
Step 4: Measure and Mark the Mechanism Height
Measure the distance from the top of the picture frame to its hanging mechanism(s). Then, transfer this distance onto the wall by measuring from the laser line downwards to the spot where the mechanism will meet the wall. Mark this point.
Step 5: Hang the Picture Frame
Finally, insert a nail into the wall at the mark you just made. Hang your picture frame on the nail, ensuring the top of the frame aligns with the laser line for perfect placement.
3. How to Use a Laser Level Outdoors
If you’re planning to use it outdoors, here are some steps to ensure accurate readings:
Step 1: Suit Up
Start by wearing the tinted goggles or glasses from your laser-level kit. They’ll make the light beams more visible, even in bright daylight.
Step 2: Set Up the Laser Level
Place your laser level on a tripod for steadiness and turn it on. Point it towards the area where you need a reading. Once it’s aimed correctly, secure it in place.
Step 3: Position the Laser Receiver
Bring the laser receiver to the exact location where you need a reading. You have the option to fasten it using the included magnet or position it on an even surface at the same height as the laser level. Having a second tripod could be beneficial in this scenario.
Step 4: Catch the Laser Beam
Gently tweak the position of the laser receiver until it crosses paths with the laser beam from the level. It might require a bit of patience to find the beam, but once you do, firmly secure the receiver (if it’s on a grade rod or tripod) or ensure its stability (if it’s attached via magnet or on a flat surface).
Step 5: Find the Alignment
Lastly, utilise the level and receiver to pinpoint the right alignment or level. You may need to make small adjustments to the receiver’s position until you attain the alignment you’re aiming for.
FAQs
What is the maximum range of a typical laser level?
The maximum range of a typical laser level can greatly vary depending on the specific model and its features. As a general rule, however, indoor laser levels can typically reach up to 30 metres, while outdoor models can go much further, reaching distances up to 100 metres or more when used with a suitable laser detector.
Can I use a laser level outdoors, or is it strictly for indoor use?
Absolutely, you can use a laser-level outdoors! While it’s true that many models are perfectly suited for indoor use, such as hanging pictures or installing cabinets, there are plenty of laser levels that excel in outdoor settings, too. They are particularly useful for tasks like setting fence lines, grading land or aligning posts. Just ensure you’re using a model designed for outdoor use for the best results.
What should I do if my laser level isn’t projecting a straight line?
If your laser level isn’t projecting a straight line, don’t fret just yet. It could be that your device is not placed on a level surface, or the device itself may need recalibration. Start by ensuring you have a flat, stable base for your laser level. If the issue persists, consult your user manual for calibration instructions. Remember, for the most accurate results, it’s best to have your laser level calibrated professionally every couple of years.