How to Tile a Bathroom?

Tiling a bathroom can seem like a daunting task, especially for first-timers. But with the right tools, materials, and patience, you can achieve professional results and give your bathroom a fresh new look. In this guide, we’ll walk you through the process of tiling a bathroom, from preparation to finishing touches.
In this guide you’ll find:
What tools you need to tile a bathroom
What preparation you need to do to tile a bathroom
Safety considerations for tiling a bathroom
9 steps involved in waterproofing your bathroom
How to lay bathroom floor tiles
How to install backsplash tiles?
What tools will I need to tile my own bathroom?
Before you start, you’ll need to gather the necessary materials and tools:
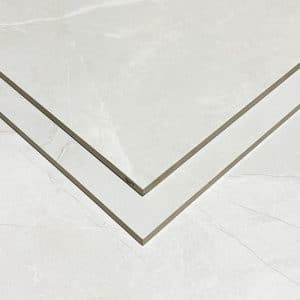
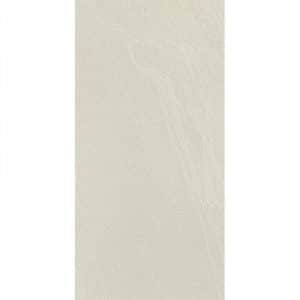
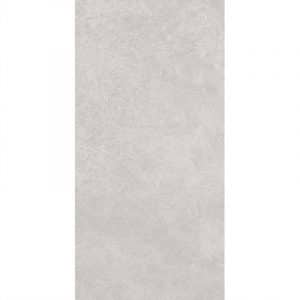
Tiles
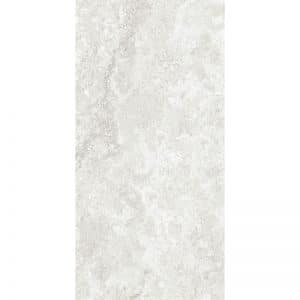
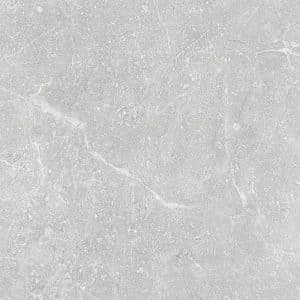
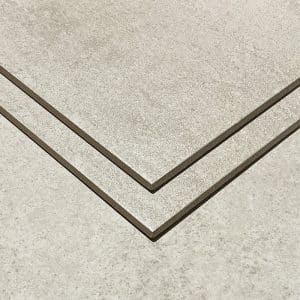
Available in a variety of materials, such as ceramic, porcelain, and natural stone, tiles are the foundation of your bathroom renovation project. They offer durability, water resistance, and endless design possibilities. Choose the right tile to create the perfect aesthetic and functionality for your bathroom.
At Cheap Tiles Online, our quality bathroom tiles not only provide exceptional durability and water resistance but also open up a world of design possibilities. Our team of experienced tile professionals can help you choose the right tiles for any project.
Tile adhesive
This essential bonding agent secures the tiles to the surface. Tile adhesives come in different types, such as pre-mixed or powder form, and are formulated for specific tile materials and applications. By selecting the right adhesive for your project, you’re not only ensuring a solid, enduring bond but also setting the stage for a long-lasting, professional finish.
Tile spacers
These small, plastic cross-shaped tools maintain consistent spacing between tiles, ensuring a professional and symmetrical finish. Tile spacers come in various sizes to accommodate different grout widths, allowing you to achieve your desired tile layout design effect.
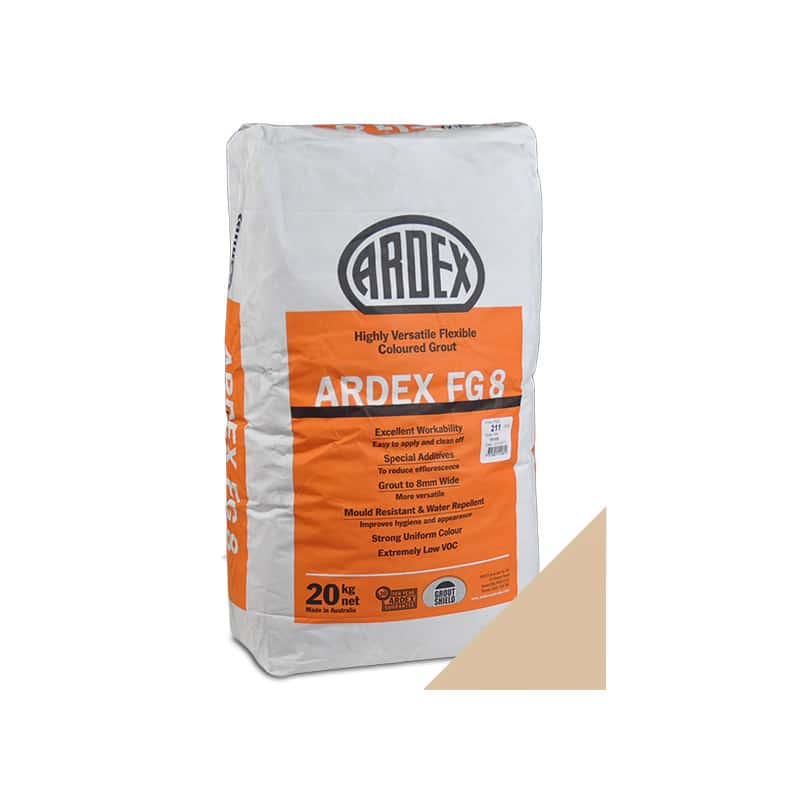
Grout
Grout fills the gaps between tiles, providing stability and a clean appearance. It’s available in sanded and unsanded varieties, as well as a range of colours to complement your tiles. Some grouts also have built-in sealants for added protection against moisture and stains.
Grout sealer
Since bathrooms are prone to moisture and humidity, a grout sealer is a crucial addition to your tiling project. This protective solution safeguards your grout lines from water damage, stains, and mildew growth once they’ve dried. Grout sealers come in a variety of types, such as penetrating and surface sealers, each offering unique advantages and application techniques.
By incorporating a grout sealer into your bathroom tiling process, you’ll not only extend the life of your tiles but also maintain their pristine appearance and optimal functionality for years to come.
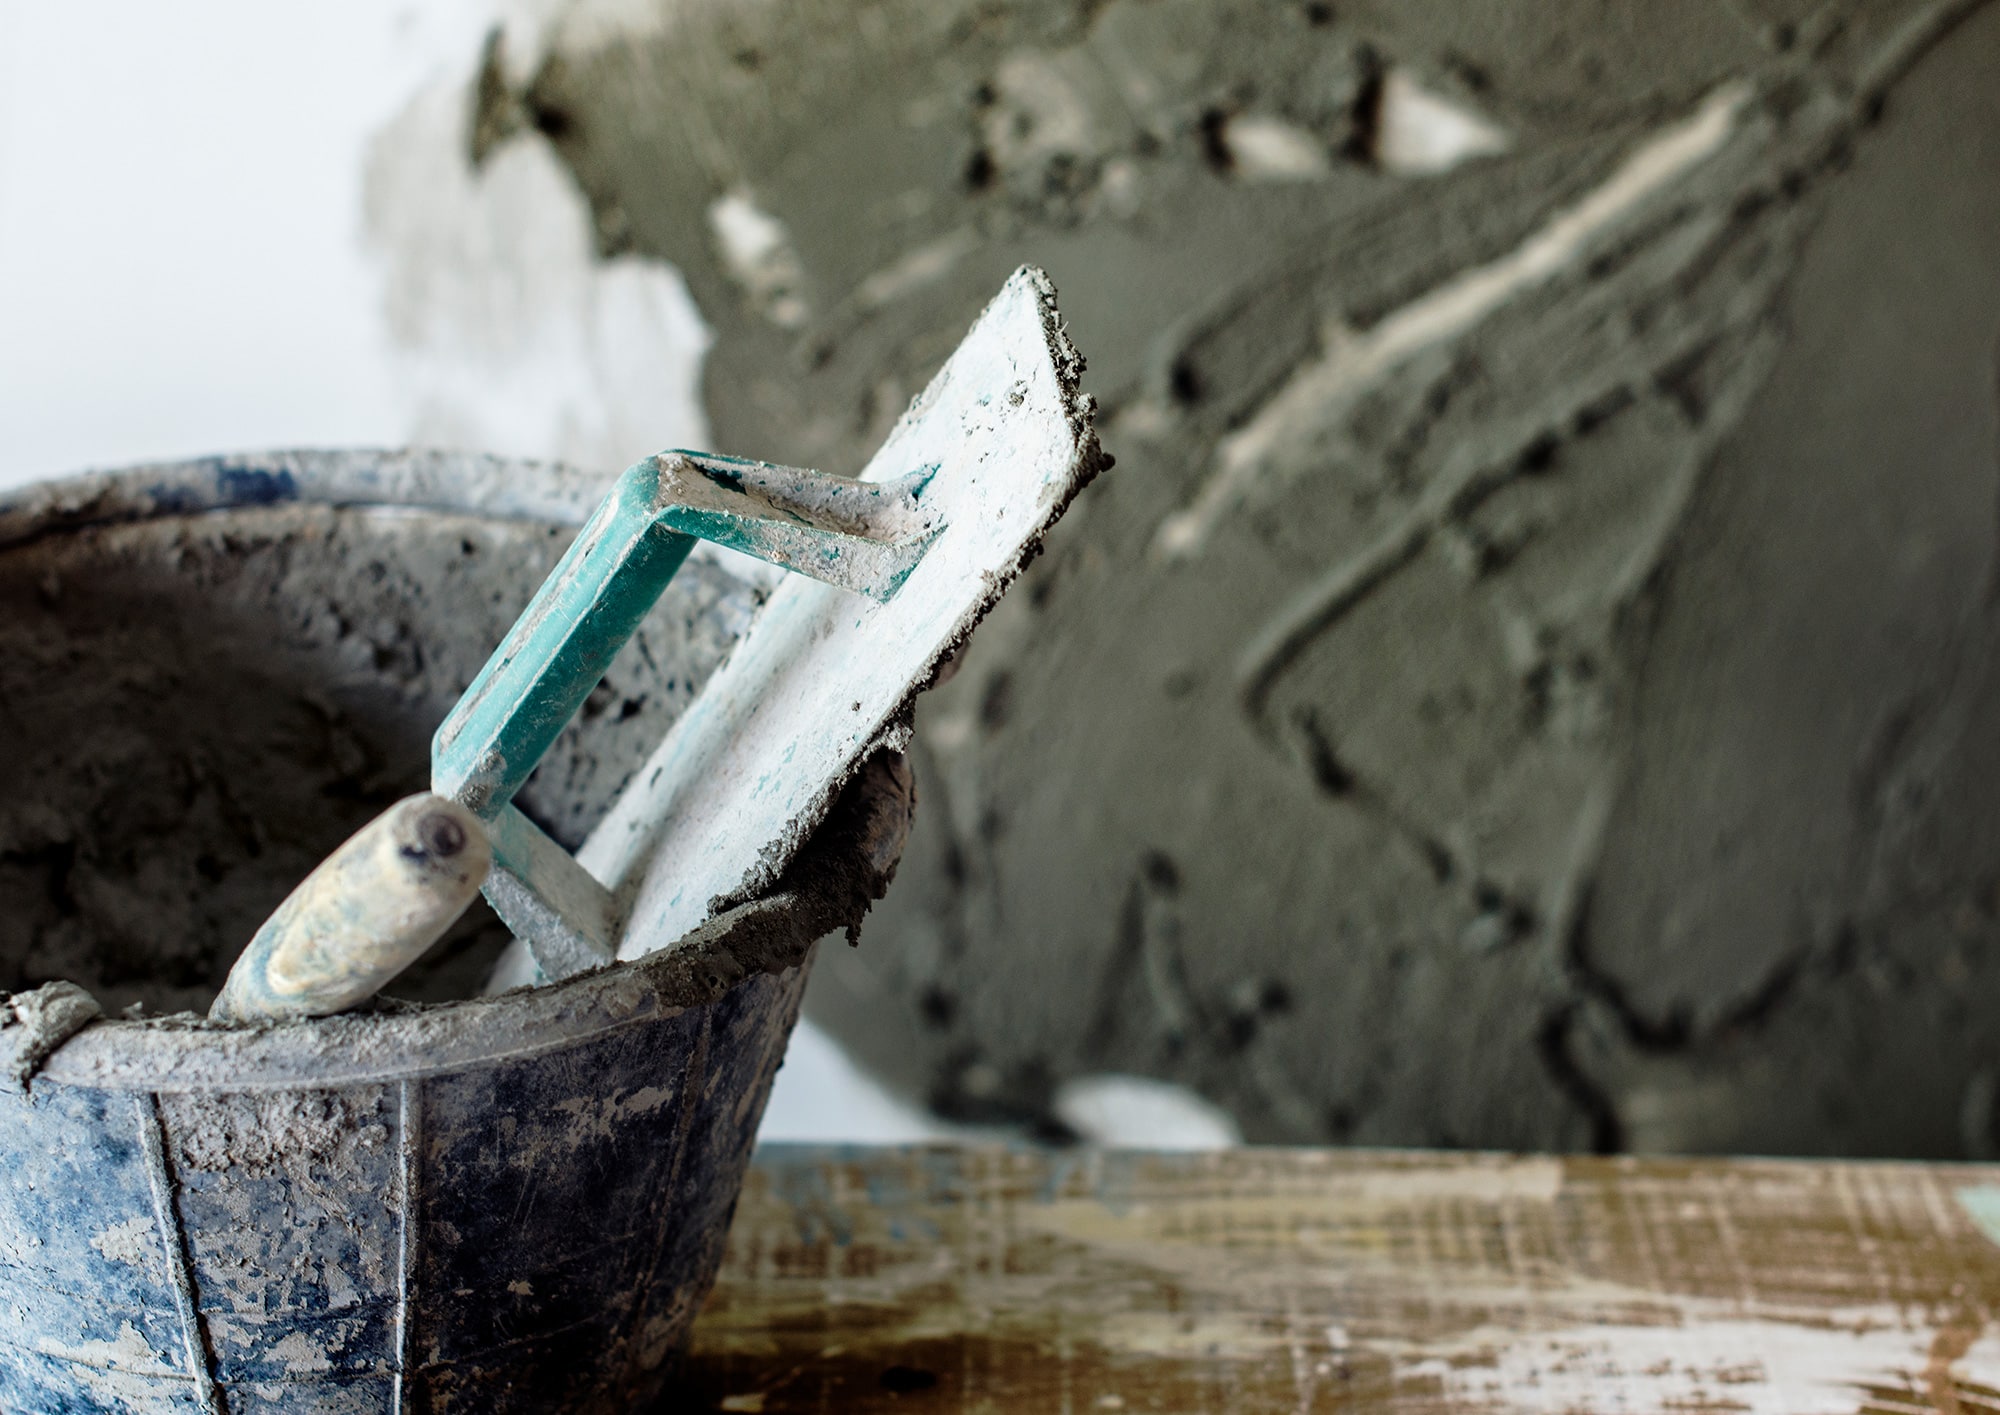
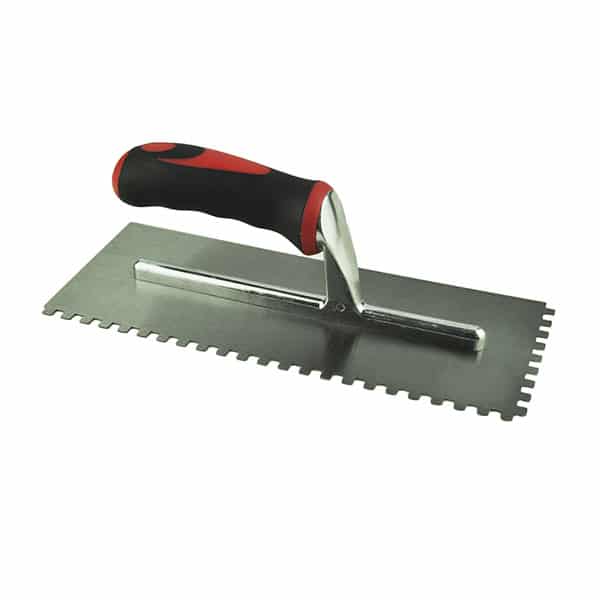
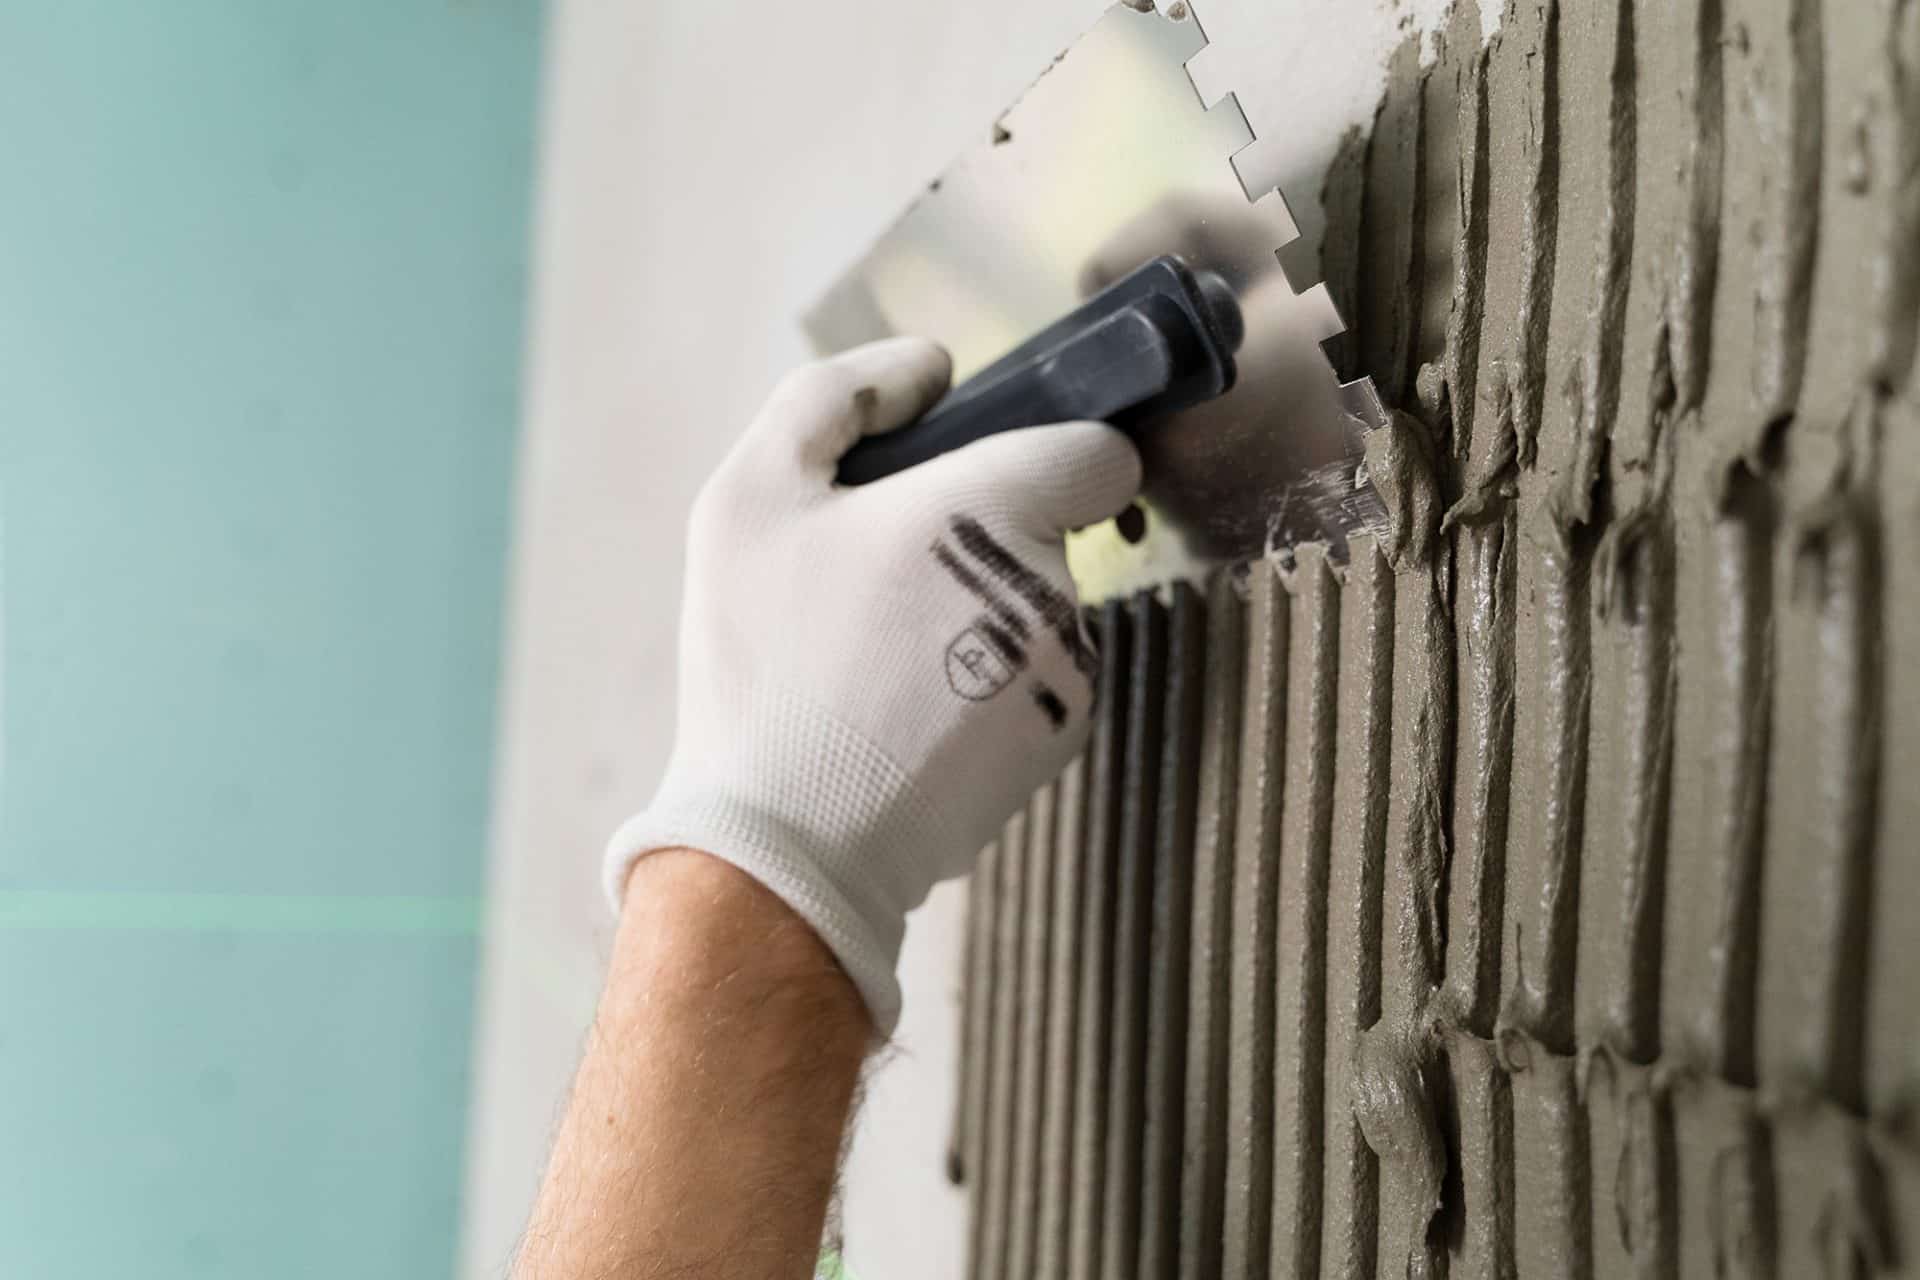
A notched trowel
This specialised tool features a flat blade with notches along one side, ideal for spreading tile adhesive evenly across the surface. The size of the notches determines the amount of adhesive applied, so choose a trowel that corresponds to the size of your tiles.
A tile cutter or a wet saw
Cutting tiles to fit around obstacles or edges is made easy with a tile cutter or wet saw. Manual tile cutters are suitable for straight cuts on ceramic and porcelain tiles, while a wet saw is perfect for cutting natural stone tiles and making intricate cuts.
Rubber mallet
A rubber mallet gently taps tiles into place without causing damage. This handy tool helps to level and align tiles during installation, ensuring a professional finish.
Grout float
This tool features a flat, rubber surface that allows you to apply and spread grout evenly across the tile joints. The grout float’s flexible design makes it easy to work the grout into gaps while removing excess material.
Level
A crucial tool for any tiling project, a level ensures that your tiles are perfectly aligned and even. Levels come in various sizes, including small torpedo levels for tight spaces and longer levels for larger areas.
Mixing bucket and paddle
A mixing bucket and paddle are necessary for preparing tile adhesive and grout. The paddle attaches to a power drill, making mixing quick and efficient, while the bucket provides ample space for thorough blending.
Sponge and clean water
A damp sponge is essential for wiping away grout haze and keeping the tiles clean during installation. Use clean water and rinse the sponge frequently to maintain a pristine finish.
Safety gear (gloves, goggles, and mask)
Protect yourself during the tiling process with proper safety gear. Gloves shield your hands from sharp edges and chemicals, while goggles and a mask prevent dust and debris from harming your eyes and lungs.
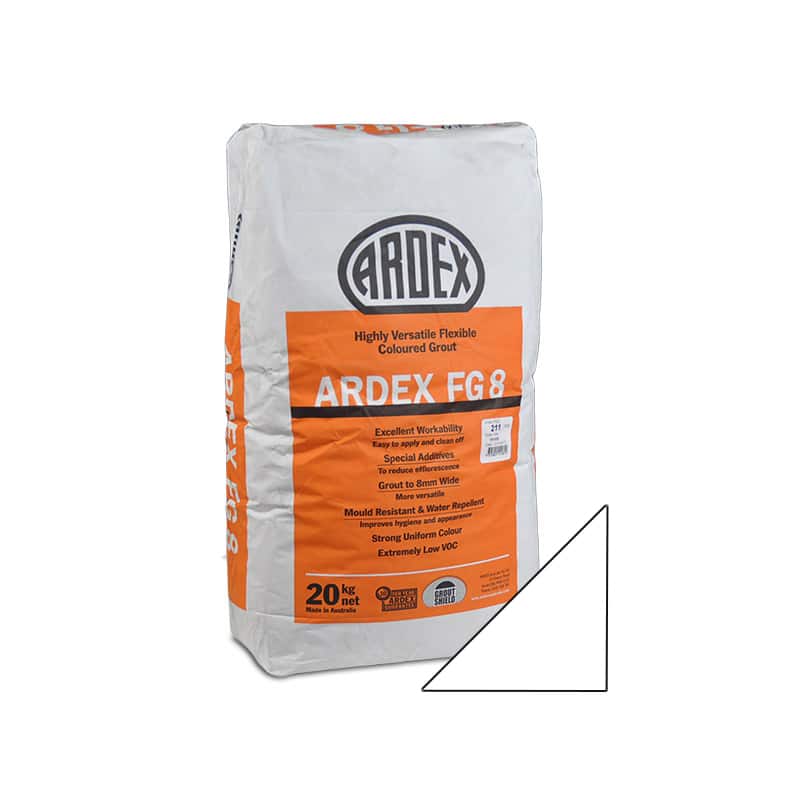
Ardex FG 8 Flexible Grout – White
from $9.00

EG15 EPOXY LIQUID 1.5LT ( 2 IN A BOX – PART A & B )
$90.00 Bag
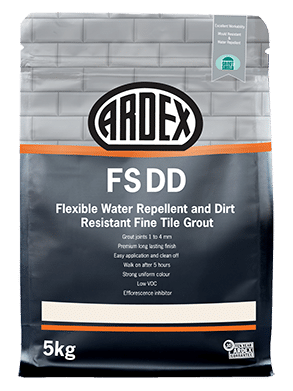
FSDD MIDNIGHT GROUT 5 KG
$21.95 Bag
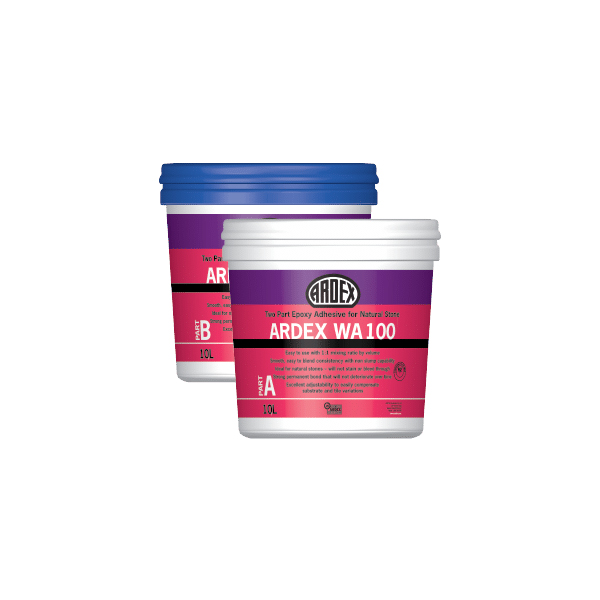
ARDEX WA WHITE EPOXY GROUT & ADHESIVE 4KGS
$115.00 Bag
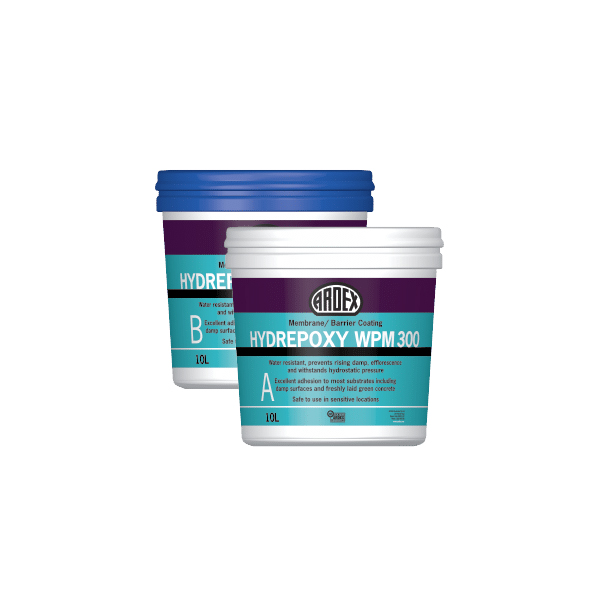
ARDEX HYDREPOXY WPM 300 GREY 20L KIT
$601.95 Bag

FUGABELLA COLOR 26 3KG
$43.95
Bright Steel Adhesive Trowel with rubber handle – 6mm
$20.00 $15.00
Ardex FG 8 Flexible Grout – Todd River 5kg
$19.95

EG15 EPOXY COLOUR PACK – CHARRED ASH 687
$35.00 Bag
How do I prepare my bathroom for tiling?
Typically, bathroom floors consist of concrete or timber, while plasterboard is commonly used for walls. By taking the time to prepare your surfaces properly, you’ll lay the foundation for a beautifully tiled bathroom that stands the test of time.
To help you through the preparation process for each type of surface, here are a few tips:
How to prepare concrete surfaces for tiling
- Clear the surface of debris, dirt, and loose particles.
- Check for cracks or uneven areas and repair them with a concrete patching compound.
- Allow repairs to dry thoroughly.
- Apply a levelling compound to create a smooth, even surface.
- Let the levelling compound dry according to the manufacturer’s guidelines.
How to prepare timber surfaces for tiling
- Examine the surface for loose or damaged boards; secure or replace them as necessary.
- Sand the surface to eliminate rough spots or old adhesive residue.
- Lay a layer of plywood or cement backer board over the timber to establish a stable, flat surface.
- Fasten the new layer using evenly spaced, countersunk screws.
- Vacuum the area to remove sanding dust and debris.
- Apply a waterproof sealant to hardwood floors for added protection against moisture.
- Allow the sealant to dry according to the manufacturer’s directions.
How to prepare plasterboard surfaces for tiling
- Ensure the plasterboard is firmly attached to the wall studs.
- Fill any gaps or holes with an appropriate filler and let it dry.
- Lightly sand the surface to eliminate imperfections or rough spots.
- Wipe down the surface with a damp cloth to remove dust and debris.
How to prime your bathroom for tiling
- Turn off the water and electricity in the bathroom.
- Remove fixtures, fittings, or accessories that may obstruct tiling.
- Protect untiled areas with masking tape or plastic sheeting.
- Ensure all surfaces are clean, dry, and free from dust and debris.
- Apply a suitable primer to the surface, adhering to the manufacturer’s instructions for drying time and coverage.
Safety considerations

Prioritising safety is essential for any tiling project, as it not only ensures a visually appealing outcome but also fosters a secure working environment. By following a well-planned and carefully executed approach, you can effectively protect yourself and others during the process. Here are some crucial safety considerations to keep in mind:
1. Personal Protective Equipment (PPE)
Always wear appropriate PPE, including safety goggles, gloves, and a dust mask, when cutting, mixing, or handling materials. This will protect you from dust, debris, and potential injuries.
2. Proper Ventilation
Ensure your workspace is well-ventilated, especially when using adhesives, grouts, or other chemicals that may release fumes. Open windows and doors, and consider using a fan to improve airflow.
3. Safe Handling of Tools and Equipment
Familiarise yourself with the proper use of tiling tools, such as tile cutters, trowels, and spacers. Handle them with care and always follow the manufacturer’s instructions to prevent accidents or injuries.
4. Electrical Safety
Before starting your project, turn off the electricity in the bathroom to avoid any potential electrical hazards. Use battery-powered or cordless tools whenever possible to minimise the risk of electrocution.
5. Slip Prevention
Wet surfaces can be slippery, so take precautions to prevent falls. Keep the work area clean and dry, and wear non-slip footwear throughout the project.
6. Lifting Techniques
Tiles and materials can be heavy, so use proper lifting techniques when moving them. Bend at the knees, not the waist, and engage your core to avoid strain or injury to your back.
7. First Aid Kit:
Keep a first aid kit handy in case of minor injuries or accidents. Familiarise yourself with fundamental first aid techniques to handle any situation efficiently and effectively.
9 steps involved in waterproofing your bathroom

As an Australian homeowner, safeguarding your bathroom from water damage should be a top priority. Waterproofing is a critical step in maintaining the integrity and longevity of your bathroom, preventing costly repairs down the line. Here’s a step-by-step guide to help you effectively waterproof your bathroom:
Step 1: Familiarise Yourself with Regulations
Before starting, review the Building Code of Australia (BCA) and Australian Standard AS 3740-2010 to understand the waterproofing requirements and best practices for wet residential areas.
The Building Code of Australia and Australian Standards (AS 3740-2010) establish the minimum requirements for bathroom waterproofing. These standards ensure the durability and safety of wet areas in residential buildings:
- The entire shower room floor must be waterproofed to protect against water damage.
- Any hob or step down onto the bathroom floor must be waterproofed by a minimum of 100mm to prevent water ingress.
- For bathrooms located on the second story or higher, the entire floor must be waterproofed to safeguard the structural integrity of the building.
- The walls inside the shower need to be waterproofed up to at least 150mm to protect against moisture penetration and potential damage.
- The vertical angle where any two walls meet in the shower must be waterproofed to a height of at least 1800mm, ensuring comprehensive protection in this critical area.
Step 2: Gather the Necessary Materials and Tools
To successfully waterproof your bathroom, you’ll need the following materials and tools:
- Primer
- Waterproofing membrane
- Reinforcing fabric or tape
- Silicone sealant
- Paintbrush and roller
- Gloves and safety goggles
Step 3: Prepare the Surface
Start by cleaning the bathroom floor thoroughly, removing any dirt, dust, or debris. Repair any cracks or damage in the surface to ensure a solid foundation for the waterproofing materials.
Step 4: Apply the Primer
Using a paintbrush or roller, apply a primer to the entire bathroom floor, following the manufacturer’s instructions. Allow the primer to dry completely before moving on to the next step.
Step 5: Waterproof the Joints and Corners
Apply a bead of silicone sealant along all joints and corners, including where the walls meet the floor. Smooth the sealant using a gloved finger or a silicone smoothing tool, ensuring a watertight seal.
Step 6: Install Reinforcing Fabric or Tape
Place reinforcing fabric or tape over the sealed joints and corners, pressing it firmly into the silicone sealant. This will provide added strength and protection against water penetration.
Step 7: Apply the Waterproofing Membrane
Following the manufacturer’s instructions, use a paintbrush or roller to apply the waterproofing membrane to the entire bathroom floor. Be sure to cover the reinforcing fabric or tape in the process. Allow the membrane to dry, and apply a second coat if necessary.
Step 8: Inspect and Test the Waterproofing System
Once the waterproofing membrane has fully cured, inspect the bathroom floor for any gaps or imperfections. Perform a water test by flooding the area with a small amount of water and check for any signs of leakage or moisture penetration.
Step 9: Maintain the Waterproofing System
Regularly inspect your bathroom for signs of water damage or compromised waterproofing. Address any issues promptly to maintain the effectiveness of your waterproofing system.
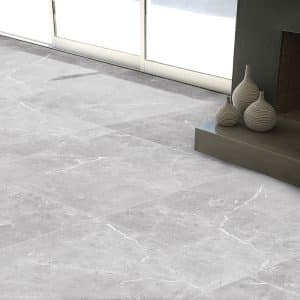
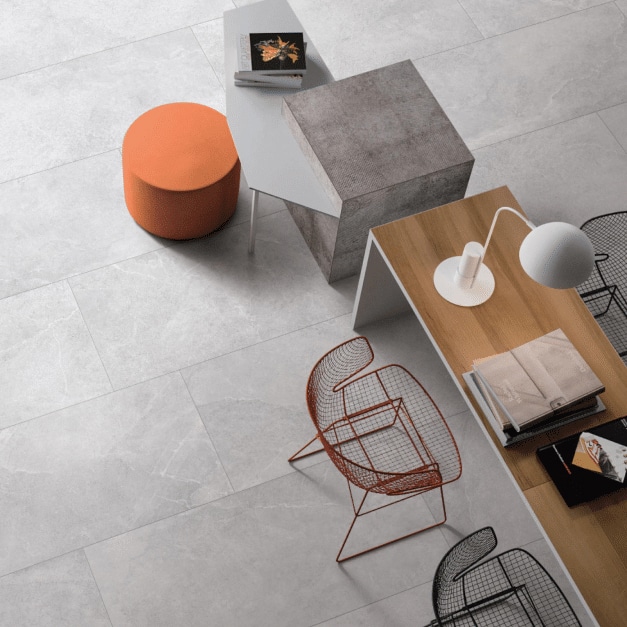
How to lay bathroom floor tiles?
Transforming your bathroom with new floor tiles can be an exciting and rewarding project. Follow this step-by-step guide to lay bathroom floor tiles with precision and professionalism.
Step 1: Determine the Number of Tiles Needed
Measure your bathroom floor’s length and width, then multiply them to find the area in square feet. Stock extra tiles beyond the calculated amount to ensure sufficient coverage for the project, accounting for potential mishaps or future repairs.
Step 2: Start in a Corner
Begin laying tiles in the corner of your bathroom, aligning with the entire wall to create a straight and uniform pattern.
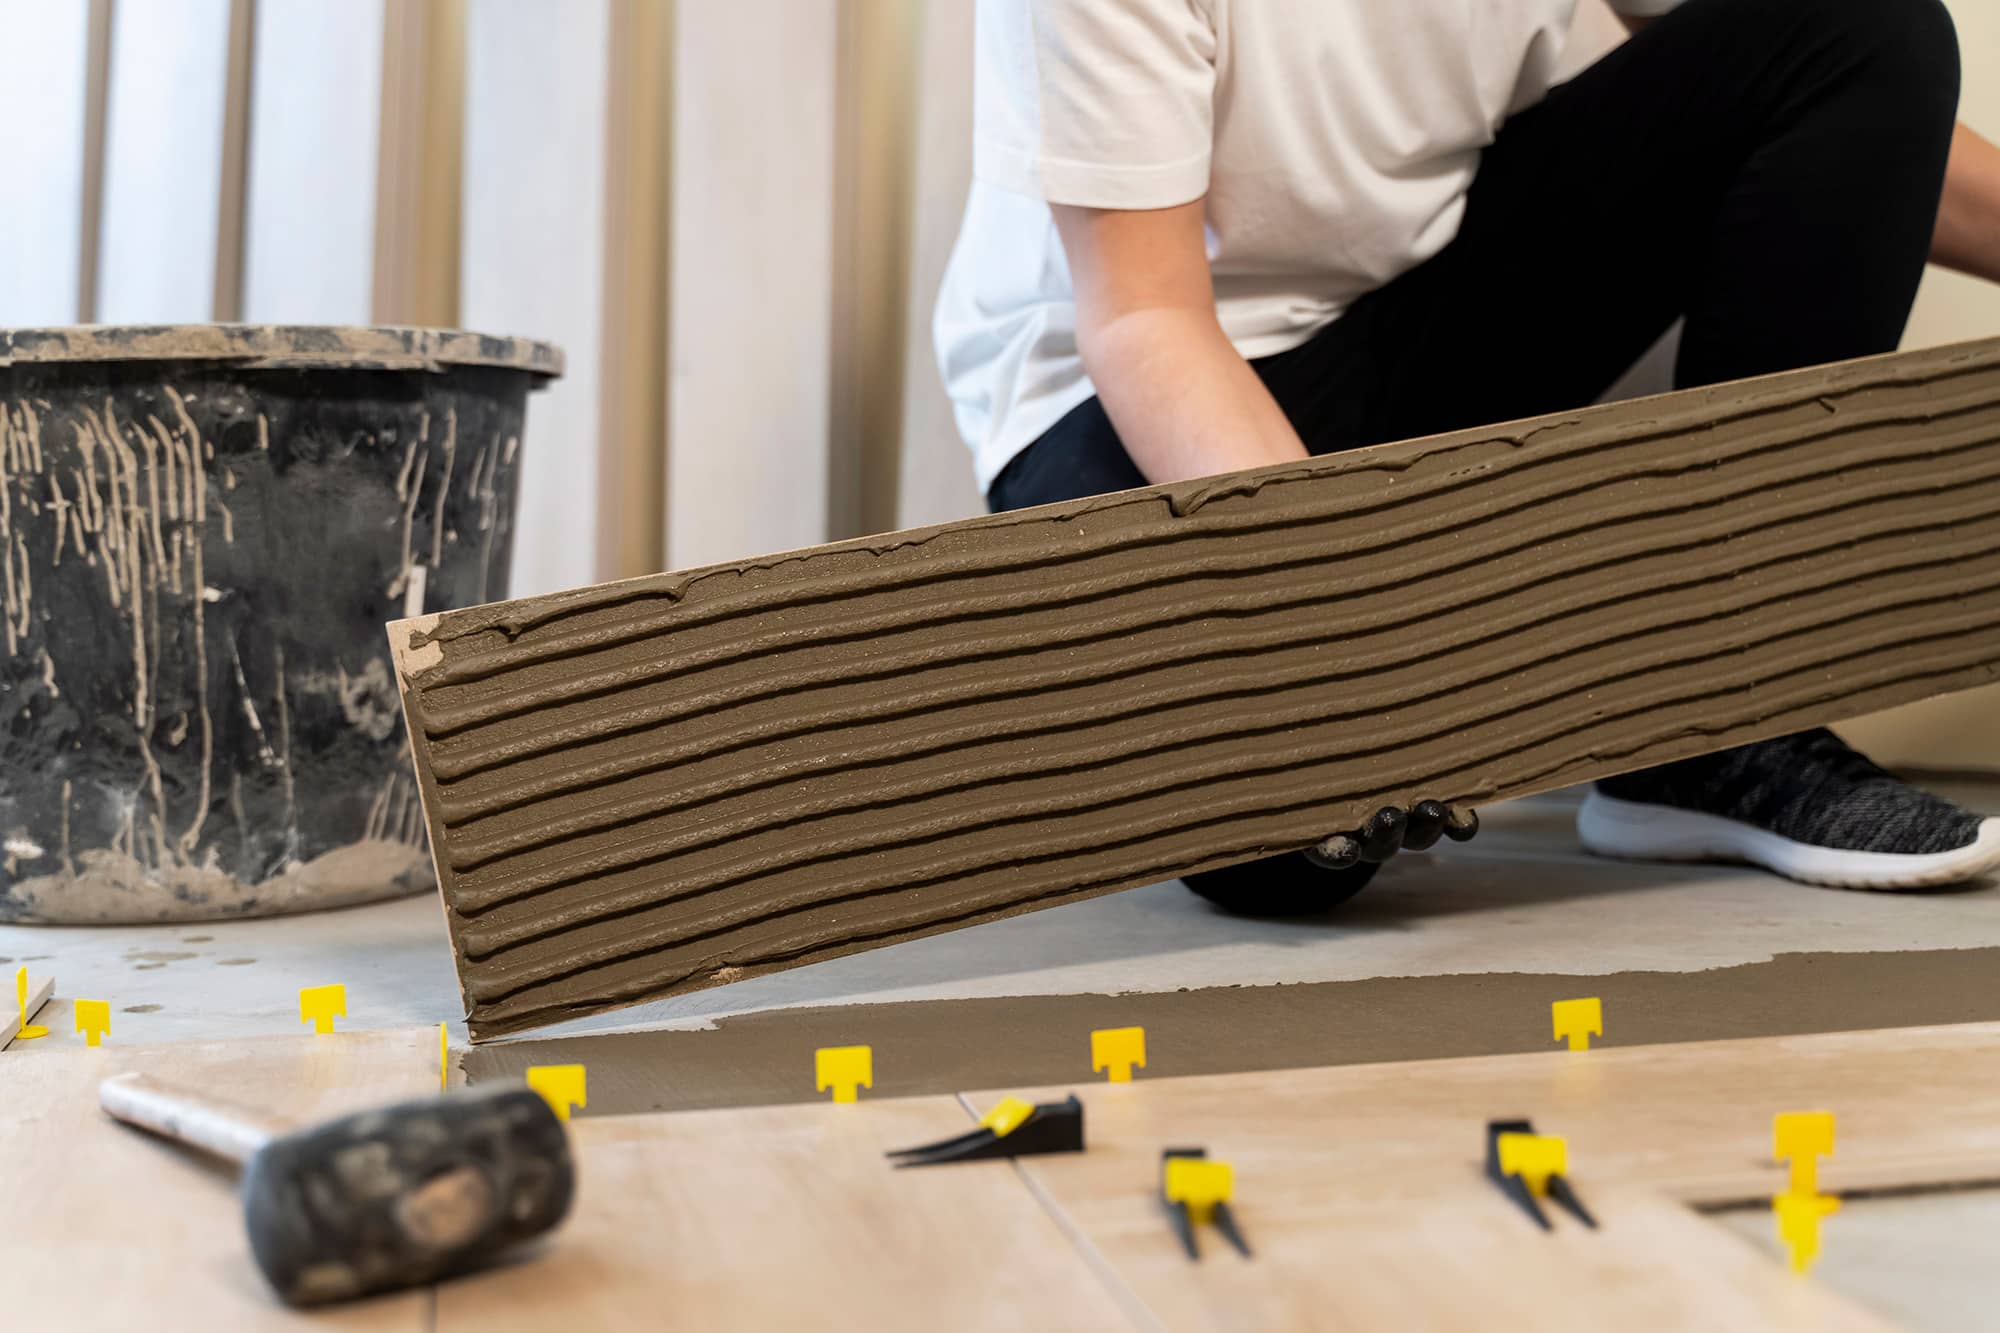
Step 3: Spread Tile Mortar
Apply tile mortar evenly on the bathroom floor using a notched trowel.
Step 4: Place the Tile Membrane
Lay the tile membrane over the wet mortar, ensuring full coverage by installing it in sections.
Step 5: Establish a Guideline
Draw a faint chalk line on the tile membrane to serve as a reference for maintaining straight and well-aligned tiles.
Step 6: Install the Tiles
Add another layer of tile mortar on top of the membrane and lay tile directly along the chalk line on the bathroom floor, gently pressing down and slightly twisting for optimal adhesion. Use tile spacers to equally space tiles for a consistent and even pattern.
Step 7: Edge the Bathroom Floor
Measure and mark half an inch on each border tile, cutting them with a wet saw. Place the trimmed tiles along the bathroom edges, leaving room for baseboards at the bottom of the wall.
Step 8: Clean the Tiles
During the process, use a damp sponge to eliminate any tile mortar residue from the freshly installed tiles.
Step 9: Add Grout
Allow the tile mortar to set for 24 hours before applying grout. Utilise a rubber float to spread grout diagonally across the tiles.
Step 10: Seal the Tiles
After 72 hours, apply a silicone sealant around the bathroom border to secure the tiles.
Step 11: Revel in Your New Bathroom Floor
Now, with a stunning tiled floor, enjoy an easier and more efficient bathroom cleaning experience.
How to tile a bathroom wall?
Tiling your bathroom wall can significantly enhance its appearance and functionality. Follow this step-by-step guide to achieve a professional finish when tiling your bathroom wall.
Step 1: Determine the Tile Height
Decide how high up the wall you want your tiles to reach and mark a line. This will help establish the pattern’s starting and ending points. Begin laying tiles at the wall’s centre to achieve a straight and aligned design.
Step 2: Assess Tile Dimensions
Line up ten tiles and measure their total length. For uneven tiles, divide this value by ten to find the average tile size.
Step 3: Mark the Top Line
Use a bubble level to draw a top line on the wall, indicating the highest point of your tiling.
Step 4: Establish Tile Rows
Calculate the number of bathroom tile rows required for your project. If your wall doesn’t conclude with a full row of tiles, adjust the top line to fit complete rows.
Step 5: Create a Grid
Form a rectangular grid on your bathroom wall using a chalk line to guarantee even spacing among the tiles.
Step 6: Attach a Batten
Secure a level wooden plank halfway between the floor and the top line. This will keep your initial tile row straight and facilitate the rest of the tiling process.
Step 7: Spread Tile Mortar
Using a notched trowel, apply tile mortar to the wall following the rectangular grid and spreading the adhesive vertically. Wipe off any mortar on the tiles with a damp sponge.
Step 8: Position the Tiles
Begin tiling the wall from the wooden plank, working upward in a diagonal arrangement.
Step 9: Finish the Tiling Process
Proceed with tiling the wall until fully covered, taking breaks as needed. After completing the first wall section, wait 12 hours before removing the wooden plank and installing the remaining tiles.
Step 10: Appreciate Your Completed Bathroom Wall Tiling
Once your tiled wall is securely in place, take a moment to step back and admire the results of your hard work.
How to install backsplash tiles?
Adding a backsplash to your bathroom is an excellent way to introduce colour and personal style to the space. Typically installed between the sink and medicine cabinet, backsplash tiles can elevate your bathroom’s appearance. Follow this step-by-step guide to install backsplash tiles professionally and efficiently.
Step 1: Examine the Wall
Before beginning, inspect the wall for important outlets or features. Be careful not to cover them with tiles during the installation.
Step 2: Identify a Center Point
Place a level wooden batten in the middle of your wall as the starting point for tile installation.
Step 3: Spread Tile Mortar
Apply tile mortar on the wall in sections using a notched trowel, ensuring consistent coverage throughout the process.
Step 4: Initiate Tiling
Begin laying tiles from the wooden batten in a stair-like arrangement, making sure essential outlets or features remain accessible.
Step 5: Complete the Tiling Process
Allow the initial tile section to set for 12 hours, then remove the wooden plank and proceed with tiling the remaining backsplash wall. Utilise tile spacers to maintain a uniform and even pattern.
Step 6: Add Grout
About 24 hours after completing the tiling, apply grout using a notched trowel for a clean and polished appearance.
Step 7: Seal the Grout
Wait at least 48 hours for the grout to dry before applying a grout sealer to protect it and prevent mould growth.
Step 8: Sit Back and Admire
With a newly installed backsplash, take a moment to relax and appreciate the added charm it brings to your bathroom.
How to prepare a shower for tiling?

As the saying goes, “A stitch in time saves nine.” When it comes to preparing your shower for tiling, proper preparation is essential to achieve a functional and visually appealing bathroom. Following each step in the process can help prevent water damage and ensure the tiles adhere correctly. This simple step-by-step guide will walk you through the necessary steps to prepare your shower for tiling.
Step 1: Remove the Old Bathroom
For existing bathrooms, start by removing all fixtures and fittings, such as shower screens, accessories, vanities, and toilets. Carefully remove old tiles and sheeting from the walls, ceiling, and floor. If you’re relocating your bathroom or building a new one, skip this step and move on to step 2.
Step 2: Plumbing and Electrical Work
With an empty room consisting only of the framework, call in a plumber and electrician to install new pipes, drains, and wiring for fixtures and outlets.
Step 3: Sheet the Floor
Place an 8mm fibre cement as a tile underlay over the entire floor area, in accordance with the manufacturer’s recommendations.
Step 4: Sheet and Set the Walls and Ceiling
Use water-resistant plasterboard for bathroom walls and ceilings. Install insulation if desired before sheeting the walls. Fix the plasterboard to the studs using an acrylic stud adhesive and screws.
Step 5: Frame the Windows and Doors
Set up architraves surrounding windows and doors, making sure that the tiles align seamlessly with the timber after installation. As another option, place tiles within the reveals for a contemporary appearance provided there is sufficient space between the frame and the reveal.
Step 6: Level the Floor
Level the floor to provide a suitable base for the tiles. According to Australian Standards 3740-2010 (with Amendment 1 2012), waterproofing can be done before or after levelling. However, it is typically recommended to level the floor prior to waterproofing to maintain dryness and prevent moisture or musty odours.
Step 7: Waterproof over Bedding
Apply the waterproof membrane of your choice over the bedding, following the manufacturer’s instructions. Allow it to dry for at least two days before moving on to tiling. This way, you can ensure water won’t seep through the tiling and into the substrate below.
Step 8: Install Shower Wastes
Using a contractor-grade sealant, install shower wastes into the floor at each point they’re needed. If you have a bath/shower combination, consider installing a floor waste before screeding.
How to cut holes in tiles for taps & fittings?
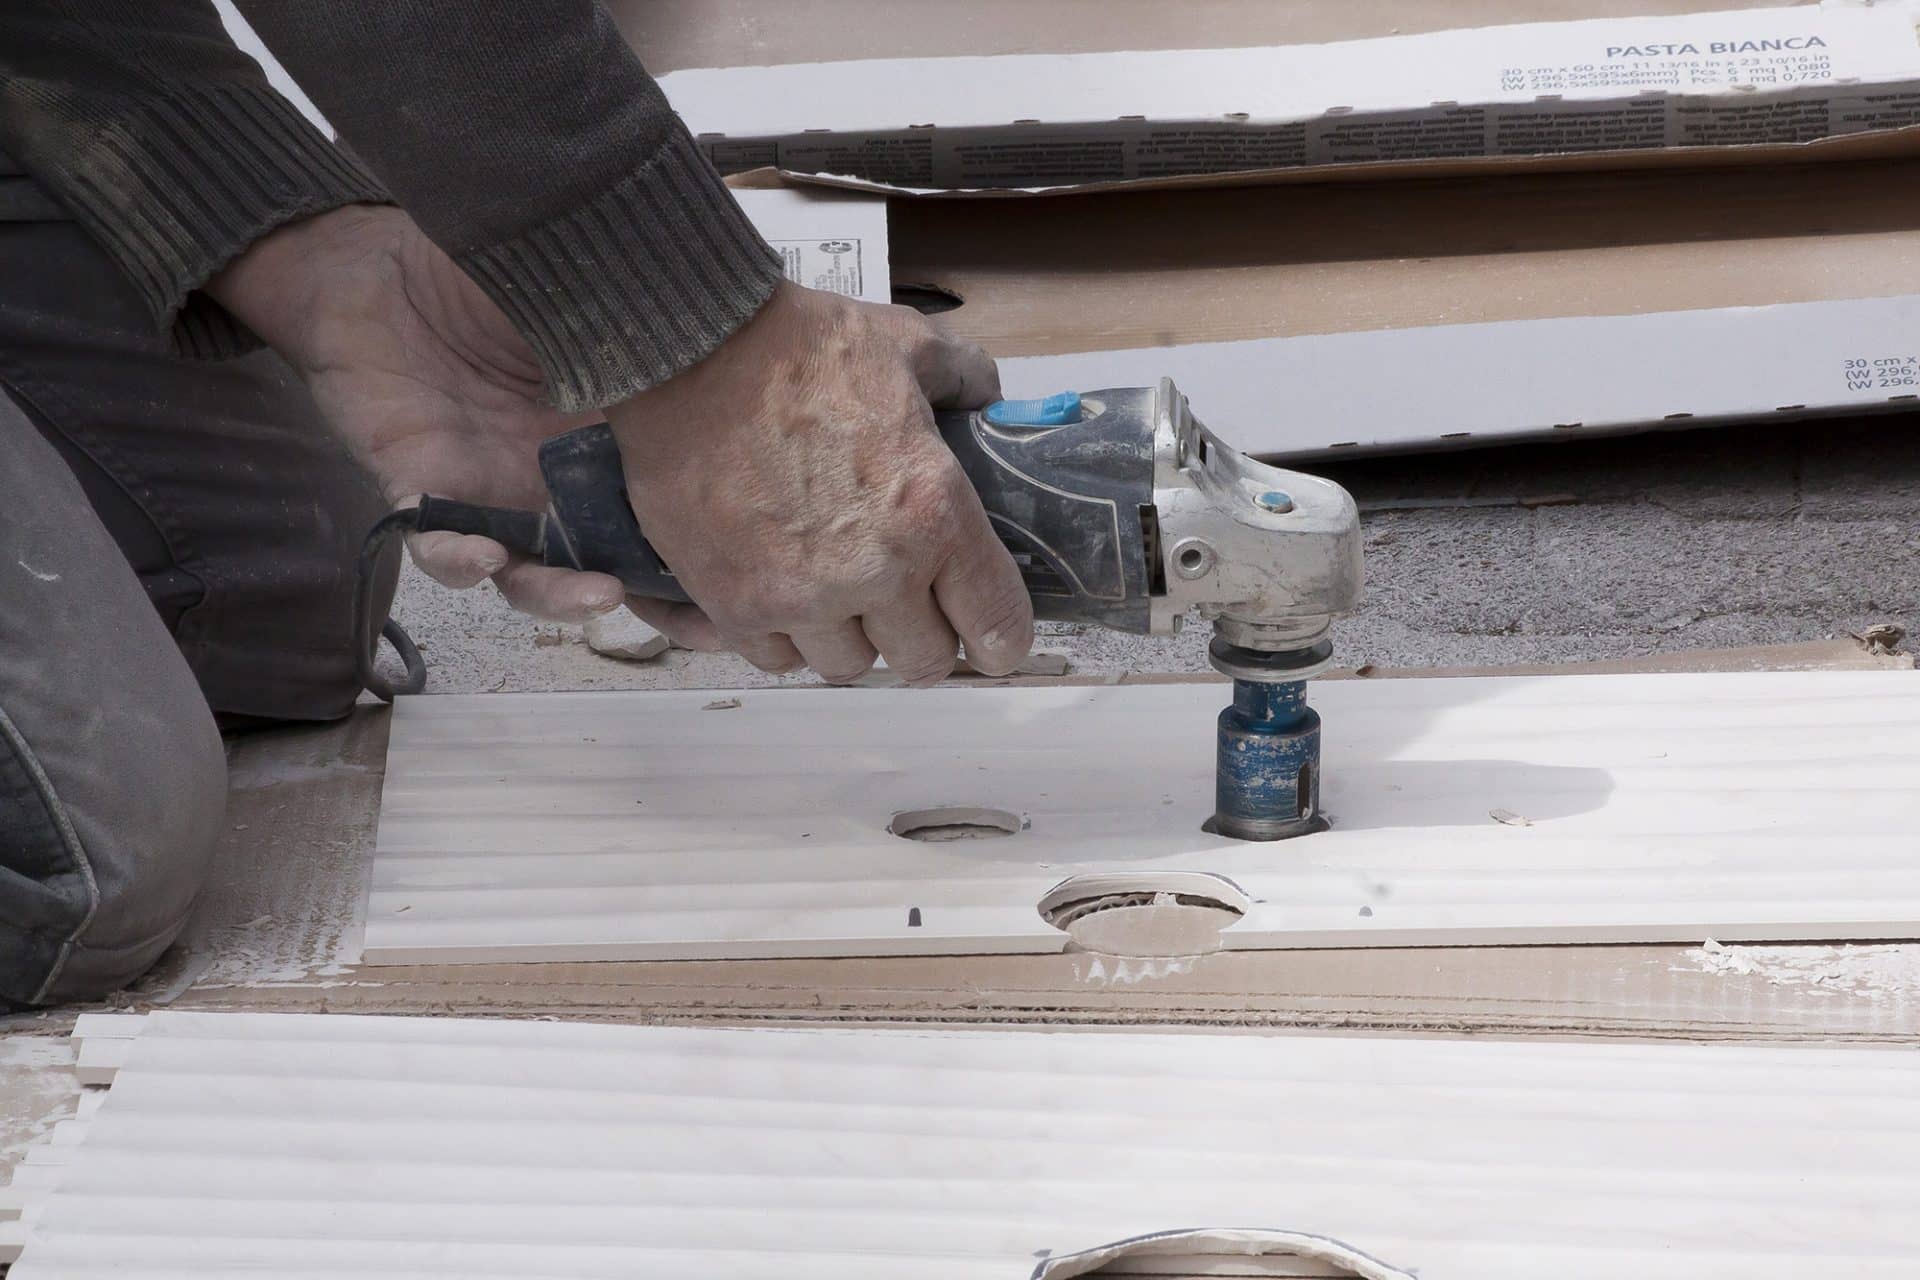
It’s very unlikely that a tiling job won’t require cutting tiles at some point, especially when working on a bathroom project where taps and fittings must be accommodated. So to ensure a neat and professional finish, here’s how to properly cut holes in tiles for taps & fittings.
Cutting Holes for Faucets
To create holes in tiles for faucets, use a tradesman or handyman hole cutter. Make sure to cut the tiles before installation.
Step 1: Mark the Tile
With a pencil, mark the centre of the hole where the tile needs to be cut to guide the hole cutter.
Step 2: Score the Marks
Position the tile on a stable work surface and use a grinder to score the marked spots.
Step 3: Cut the Hole
Drill the hole through the tile at the marked location using a hole cutter.
Drilling Holes for Fixtures
For fixtures, only a hole needs to be drilled, which can be done after laying the tiles.
Step 1: Identify the Drilling Location
Mark the drilling spot with a pencil to ensure accuracy. Place a piece of tape over the centre mark on the tile surface to prevent the drill bit from slipping. Drill the hole using a drill.
Step 2: Make a Dust Catcher
Form a small “well” with another piece of tape to collect dust while drilling, which can help minimise clean-up time.
Step 3: Create the Hole
Drill a hole in the marked area of the tile. Once the glazed surface of the tile has been penetrated, activate the hammer function of the drill.
Final Thoughts
Tiling your own bathroom can be both rewarding and challenging. The key steps include proper preparation, installing a waterproofing membrane, laying the tiles, and grouting. While challenges such as cutting tiles for fixtures or creating the perfect slope for drainage may arise, patience and attention to detail are essential.
As you take on your tiling project, remember that practice makes perfect. Don’t hesitate to seek help from professionals or experienced friends. Above all, enjoy the process, and soon you’ll be admiring the beautiful, functional bathroom you’ve created with your own hands.
Happy tiling!
FAQs
Should you tile the walls or floor of a bathroom first?
Install tile on the bathroom walls first, then move on to the floor. This prevents damage to floor tiles from any potential falling debris during wall tiling.
Is there a difference between a bathroom floor tile and a bathroom wall tile?
Bathroom floor tiles are generally thicker, more durable, and slip-resistant. Wall tiles are thinner and lighter, designed for vertical surfaces.
Can you lay the tile and grout on the same day?
No, avoid laying tile and grouting on the same day. Allow the tile adhesive to cure fully before applying grout, typically waiting 24 hours.